
Divi's Mega Menus WordPress sites are a popular trend in modern web design, and you've probably noticed them while shopping online without even realizing it. It is frequently used by major online retailers like Amazon and Starbucks to assist consumers like us in navigating what could have been highly complicated menus.
You may be wondering, "What is a Mega Menu?" When you have an extensive list of subpages and menus, Mega Menus are an excellent method to avoid clutter. The objective of a Mega Menu is often to graphically show the possibilities for things like categories, which will disclose more options when hovered or clicked on. This improves the user experience by reducing aggravation in getting to those fantastic things you or your clients might want them to buy.
When Do You Need A Mega Menu
eCommerce sites and blog or news sites are two sorts of sites that profit immensely from employing Mega Menus. This is because these sites typically have Deep catalogs of content and items that must be easily navigable. Instead of overloading the screen with text links, using Mega Menus provides users with a very visual and natural-feeling approach to browse through the different layers of the menu.
In addition, Divi's mega Menu may potentially improve your SEO indexing because they provide additional links to relevant material for your visitors.
Create Amazing Websites
With the best free page builder Elementor
Start NowWhen You Don't Need A Mega Menu
They are great, but they might be challenging to utilize on smaller screens, which can frustrate your users. In addition, smaller groups of material or goods, except for a few examples such as pricing tables, may not perform well in a Mega Menu. Long menu links will also give your visitors an unpleasant experience, with text wrapping strangely and the screen simply being loaded with a bunch of text.
Adding Mega Menu To Your Divi Website
Let's get to the exciting part and see how we can create a Mega Menu for our Divi WordPress sites. The ability to add a Mega Menu to your website is dependent on your level of programming knowledge. You can do so with some HTML and CSS code or a 3rd party plugin to have one up and running in minutes.
Custom Code
If you are a professional coder, you may readily add a Mega Menu to your Divi WordPress site. You could also pay a code samurai to do the work for you. The disadvantage is that it can be costly. You can read this article to learn how to code a Mega Menu from the ground up.
Third-Party Plugin
If you're like me and don't have the time, money, or skill to create that Mega Menu, you may use a 3rd Party Plugin to add it to your Divi WordPress site. Not all plugins are supposed to be equal, but you can generally find a good one for under $30 that will get you up and running quickly. The disadvantage here is that your selections may be limited, mainly because most plugins do not work well with the Divi Theme.
Mega Menu by Divi
Then there's our one-of-a-kind method for creating a Mega Menu for your Divi WordPress site. At roughly $11, you're coming close to a custom-coded experience. Why? Because this plugin makes use of the Divi Builder to create your Mega Menus. This is fantastic since you benefit from the versatility of design options provided by the Divi Theme. We also went a step further and included more custom choices, such as overlays to accentuate your Mega Menu.
Creating Mega Menu With Divi Mega Menu Plugin
Let's explore how quickly you can use Divi Mega Menu to add a stunning Mega Menu to your Divi WordPress site. Install and active the Divi mega menu plugin and its Showtime!
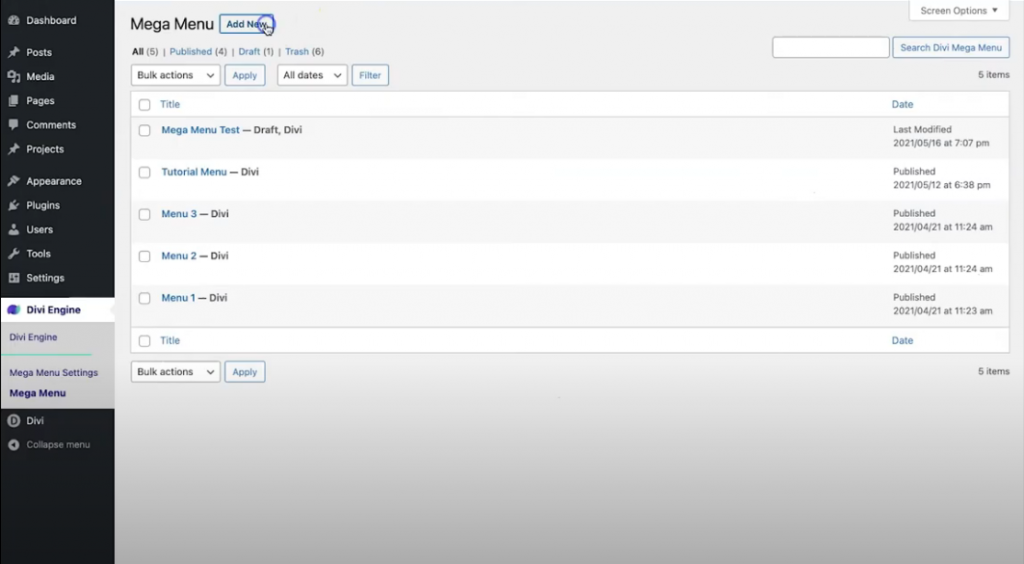
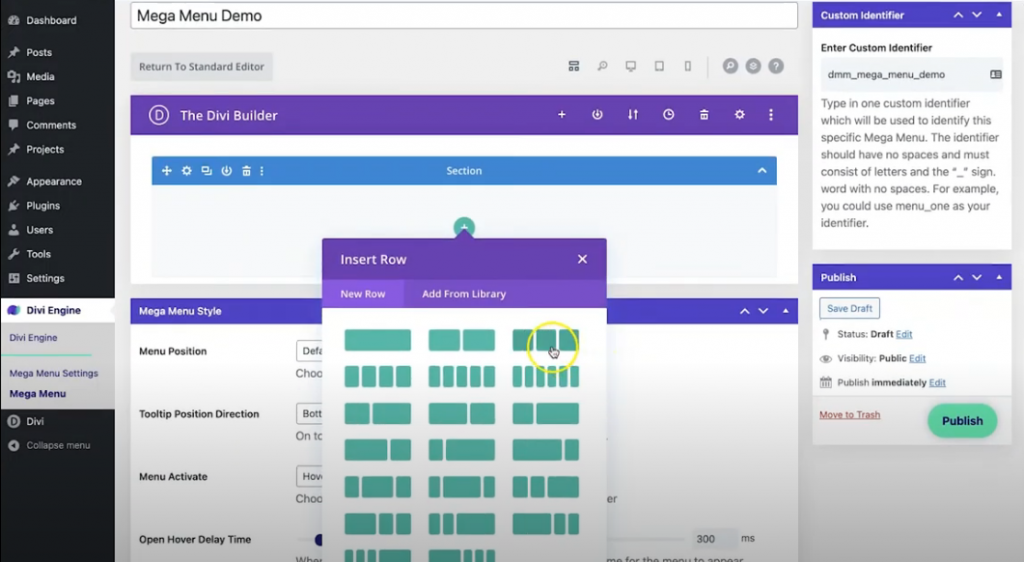
Go to your dashboard, and from the left panel, navigate to Divi Engine > Mega Menu. Once it's open, select Add New.
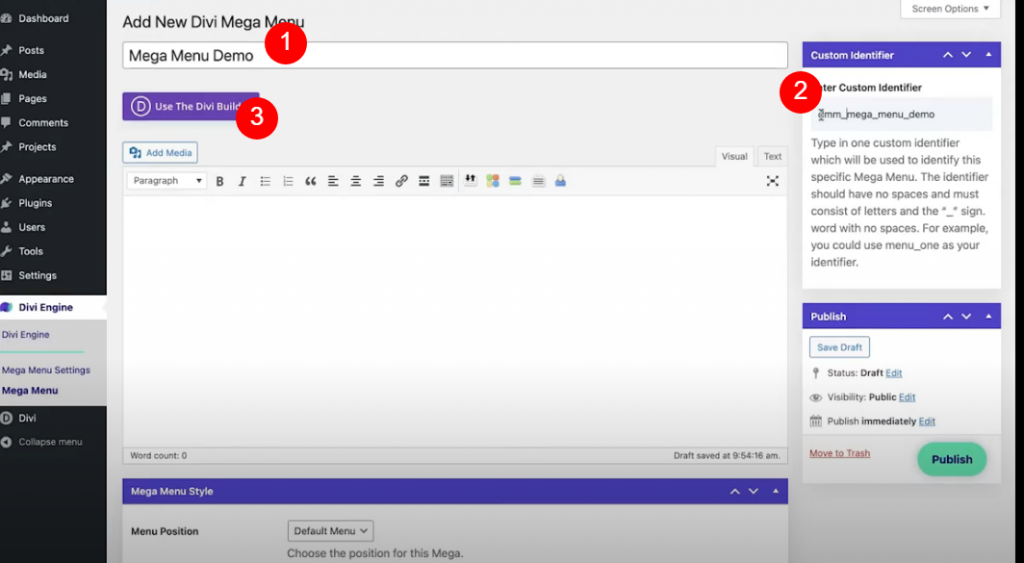
A new window will open, add a descriptive title over there. Then you will see a custom identifier is generated automatically on the right bar. You can edit the custom identifier if you want. And then select Use The Divi Builder.
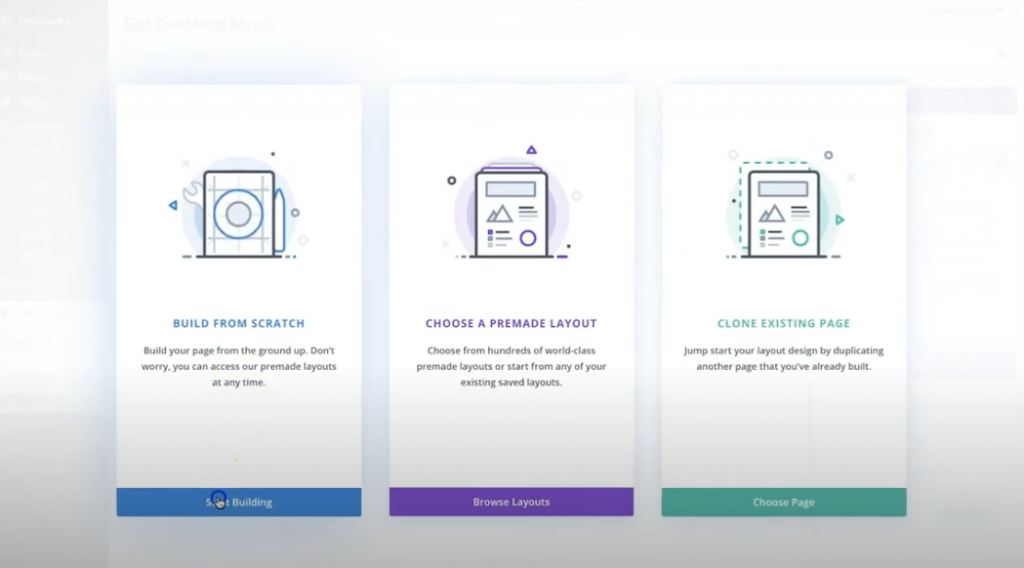
Now Divi will ask you how you want to create the menu, select Build from scratch.
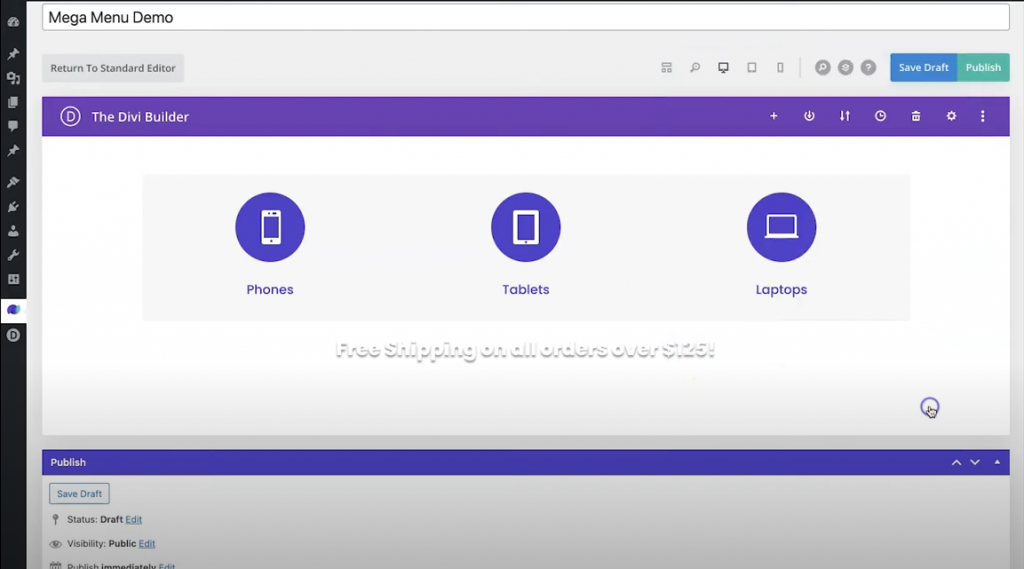
Now add a 3 column row on the regular section.
Blurb Module
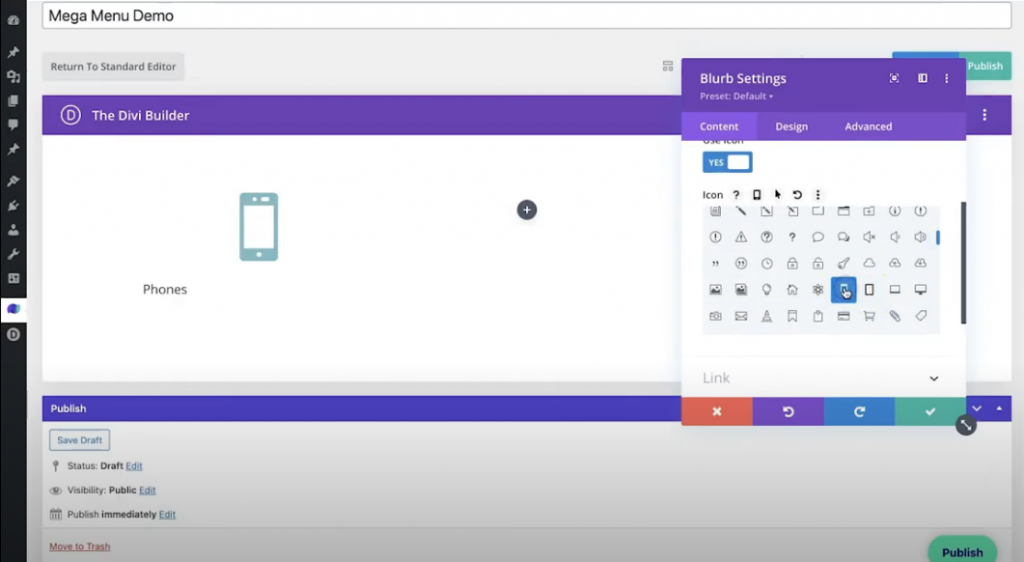
Then, add a blurb module on the first column. Next, change the following things on the content tab.
- Text Title: Phones
- Use Icon: YES
- Icon: Mobile Phone
- Background Hover Color: #0fe5a8
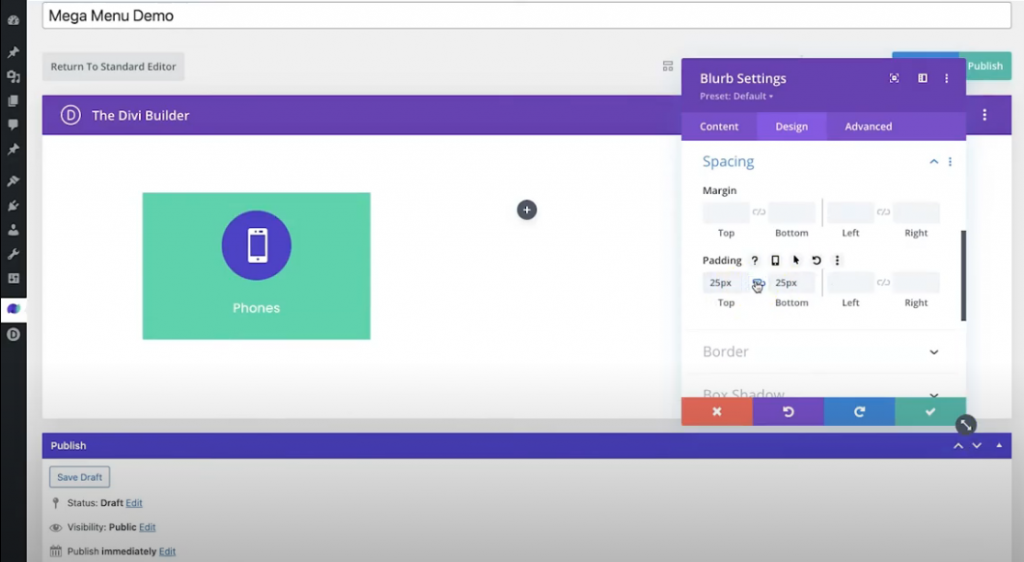
On the Design tab, You should make these changes.
Image & Icon
- Icon Color: White
- Circle Icon: YES
- Circle Color: #5430ce
Title Text
- Title Font: Poppins
- Title Text Alignment: Centered
- Title Text Color: #5430ce / White (Hover)
Spacing
- Padding : 25px Top, 25px Bottom
Now copy the blurb module 3 times.
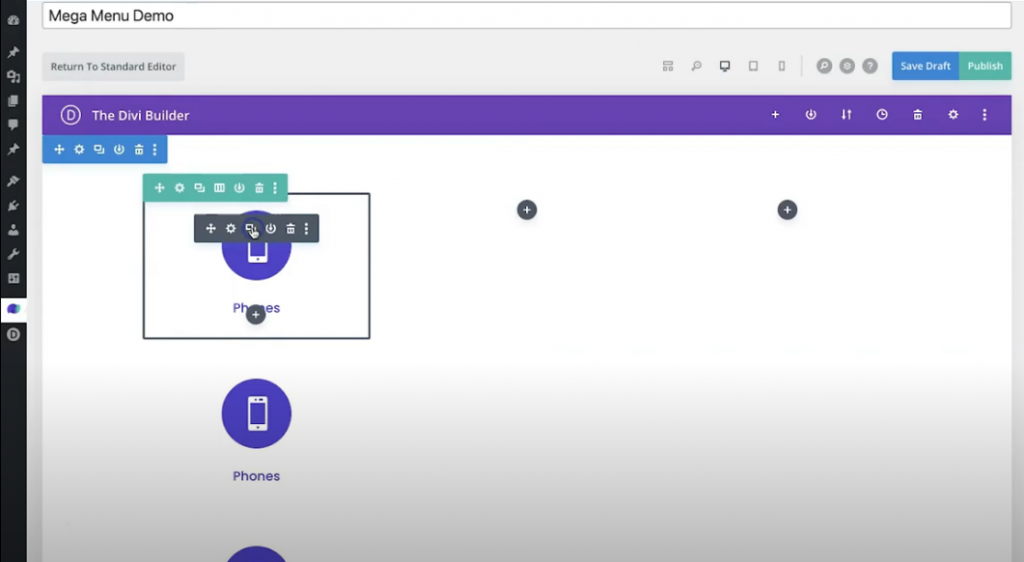
Now drag them properly on each column.
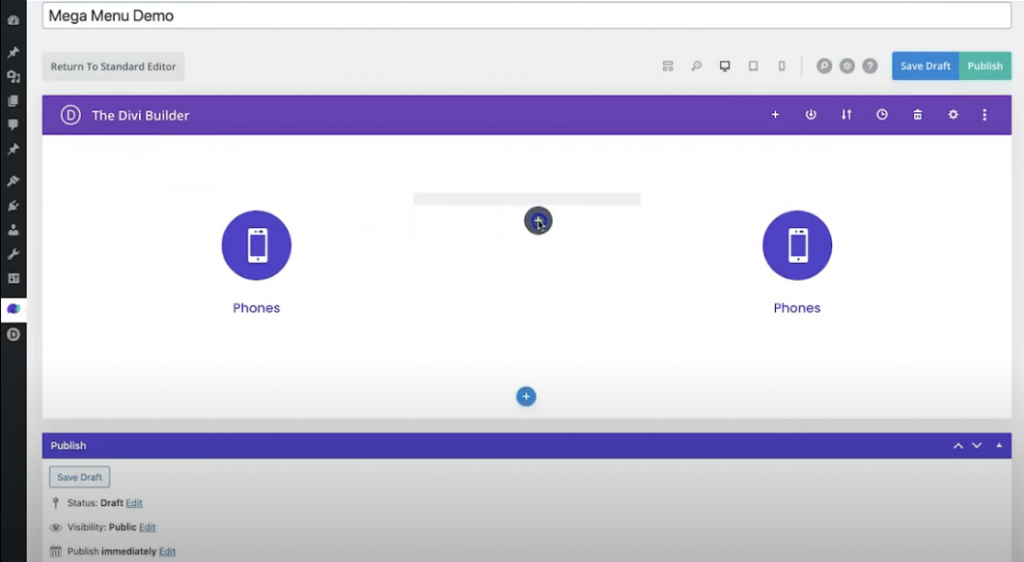
Now change content on the rest of the blurb modules.
Blurb Module 2 - Content Tab
- Text Title: “Tablets”
- Use Icon: YES
- Icon: Tablet
Blurb Module 3 - Content Tab
- Text Title: “Laptop”
- Use Icon: YES
- Icon: Laptop
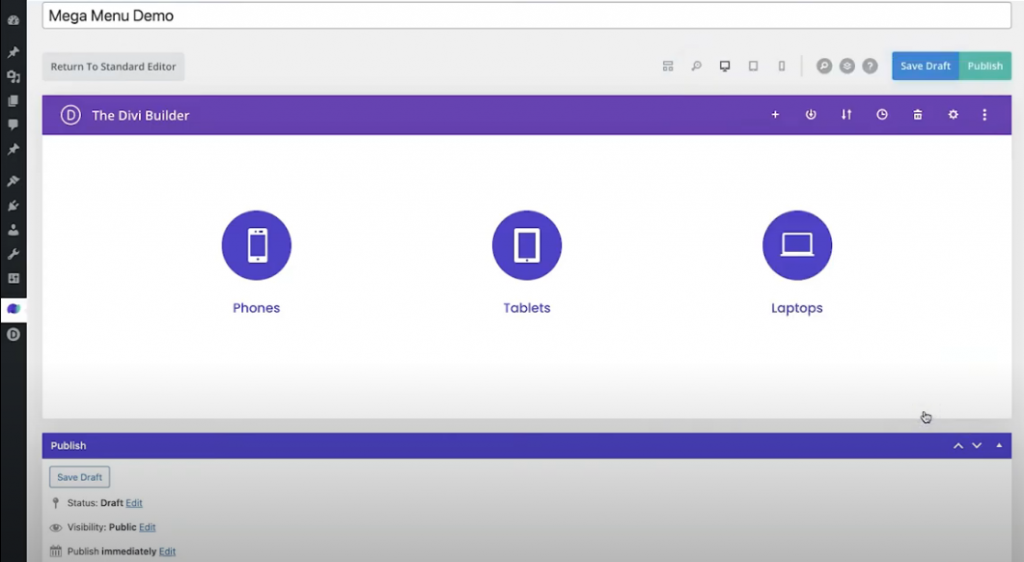
That looks awesome.
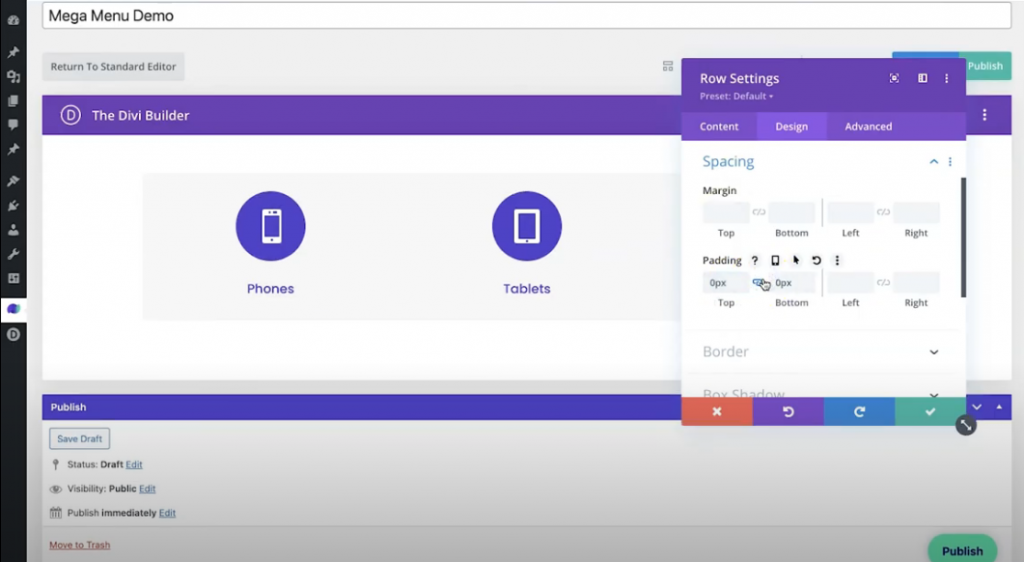
Row Settings
Now we are going to add some settings to the row.
- Background Color: #f7f7f7
- Use Custom Gutter Width: YES
- Gutter Width: 1
- Padding Top/Bottom: 0px
Add Promo Bar
Now we will add a promo bar. Add a one-column row under the blurb modules and add a text module.
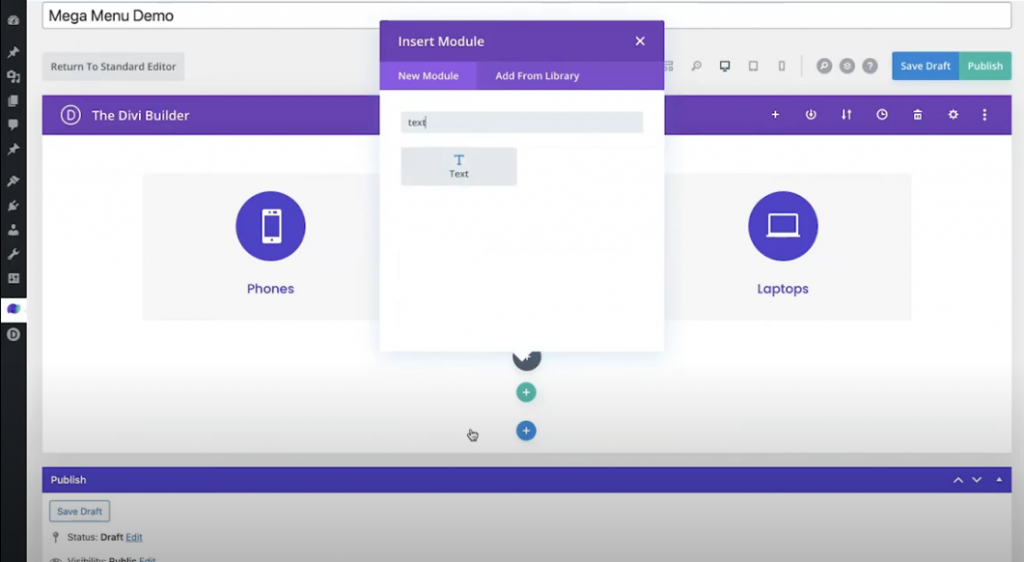
Now change the following settings on the text module.
Content Tab - Text
- Body: “Free Shipping on all orders over $125!”
Design Tab - Text
- Text Font: Poppins
- Text Font Weight: Ultra Bold
- Text Color: White
- Text Shadow: Option 1
- Text Alignment: Centered
Design Tab - Spacing
- Padding Top/Bottom: 25px
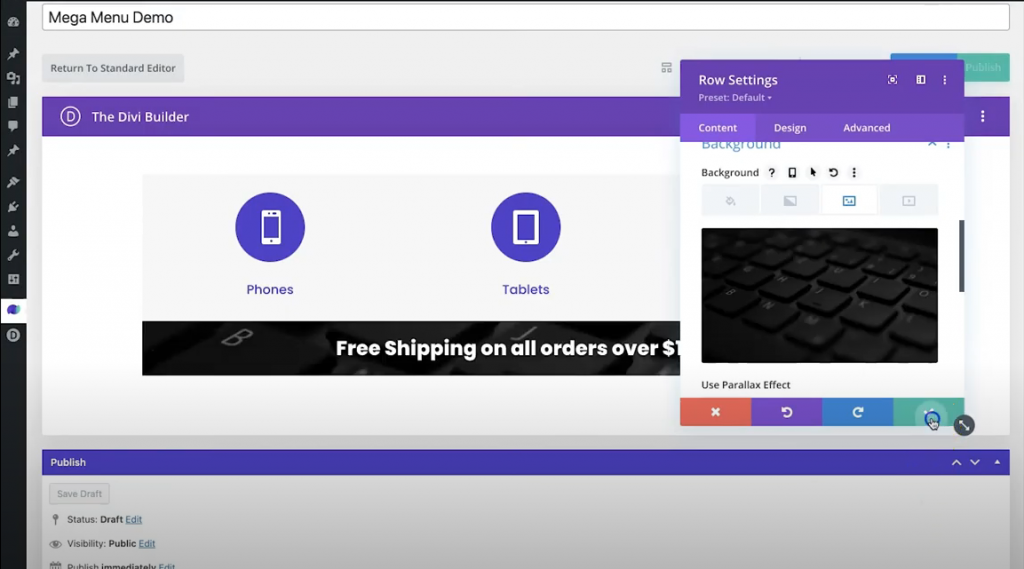
Row Settings
Open the row setting and under the content tab, add a background image.
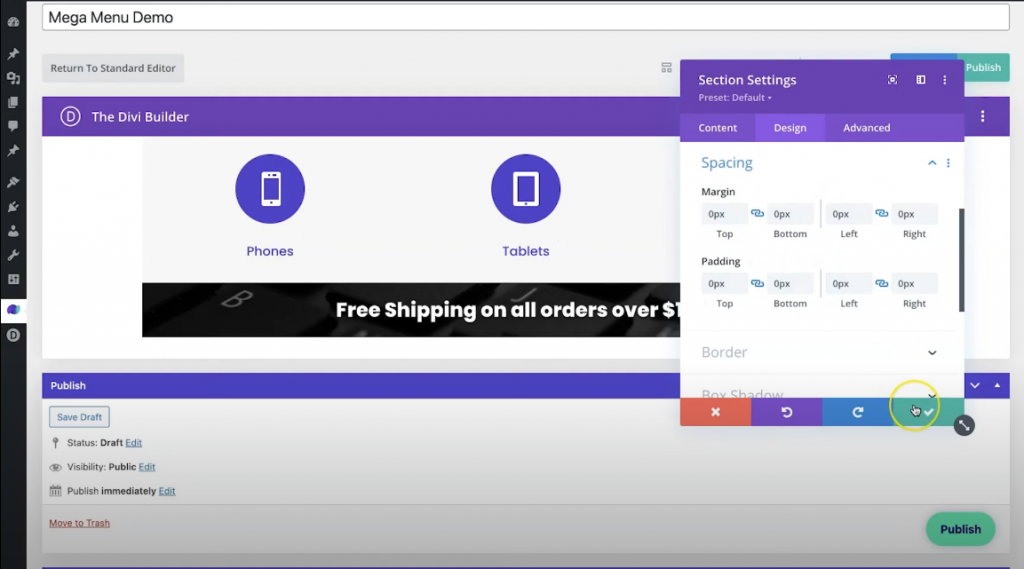
Section Settings
We will make some padding and margin adjustments on the main section settings.
- Background Color: Transparent
- Margin: 0px (Top, Bottom, Left, Right)
- Padding: 0px (Top, Bottom, Left, Right)
Now save the changes and hit publish.
Mega Menu LinkUp
We have successfully created the mega menu. Now we will link it to the main menu. For that, scroll down to the page and make some changes to Mega Menu Style Settings.
- Full Width: YES
- Disable on Mobile: YES
Copy the custom identifier and go to Appearance > Menus. Then select your Primary Menu. Next, select your item, which will trigger your Mega Menu. Add "#" on the custom link, and from the screen options, check CSS Classes. You'll see an optional CSS class under your selected item, now paste the CSS identifier on that box.
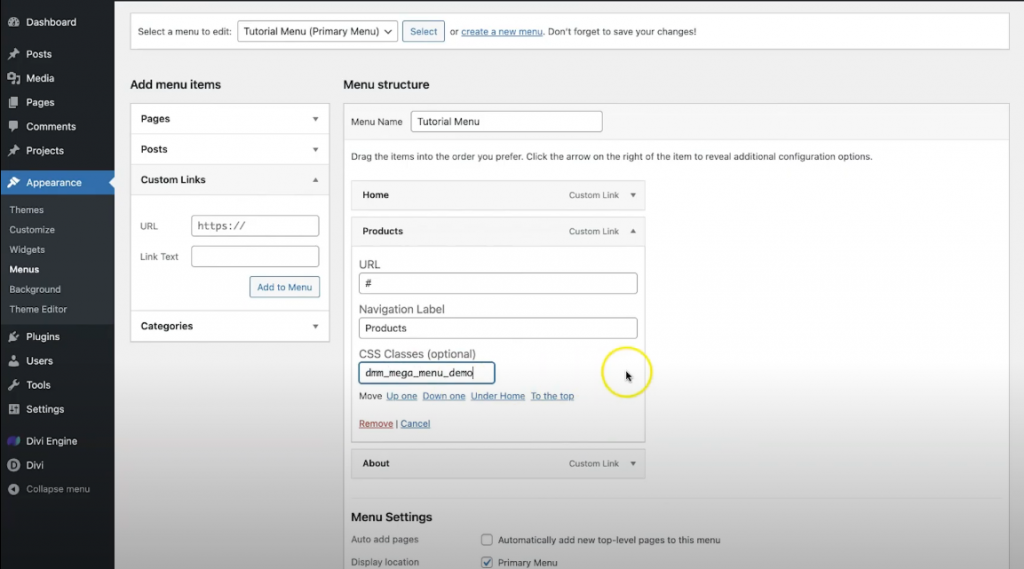
Save the settings by clicking the Save Menu button. And you are done.
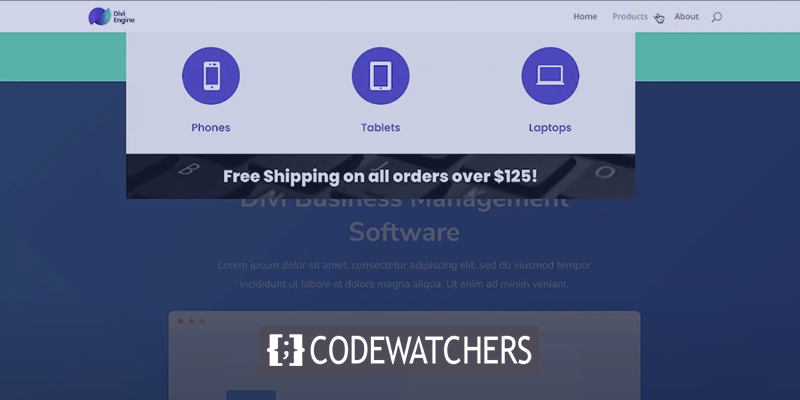
Final View
Here is how our final design looks like.
Wraping Up
As you can see, Mega Menus are a terrific way to add depth and class to your sites while also assisting your visitors in getting to the content they are looking for as soon as possible. We discussed why you might want to add a Mega Menu to your Divi WordPress site, as well as different methods for doing so that ranged from a little complicated to slightly pricey to our excellent in-house solution! We hope this was useful, and please leave a comment below if you have any further questions on adding a Mega Menu to your Divi WordPress site.
Keep being wonderful, everyone!


