
Very few WordPress themes can match the customization level Divi theme. Undoubtedly, Divi is very flexible in terms of customization. In our Divi Tutorial section, you will find almost all customization articles to elevate your website from zero to hero. Today we are about to give a grayscale effect to any image in Divi Gallery, which will be changed to the original color by hovering. Also, this effect will work even if you touch the small screen. Today we will learn how we can easily implement this responsive design on the website.
Design Preview
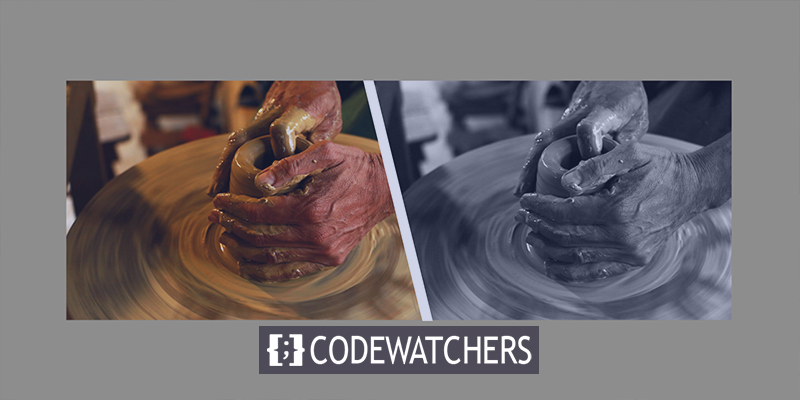
Before demonstrating how we will make images grey and then bring the color back by hovering or touching, here is a little video that shows the outcome of today's design. This design scheme works excellent for paintings, photography, artifacts, or any art-related website where displaying images is a core part.
Preparing The Page With Divi Gallery Module
If your website doesn't have any divi gallery pages, you can create one like we are about to do with a premade divi template. If you already have a page with gallery items, make sure to use the divi gallery module. Otherwise, it won't work.
Now create a new page from the dashboard and open it with Divi visual builder.
Create Amazing Websites
With the best free page builder Elementor
Start Now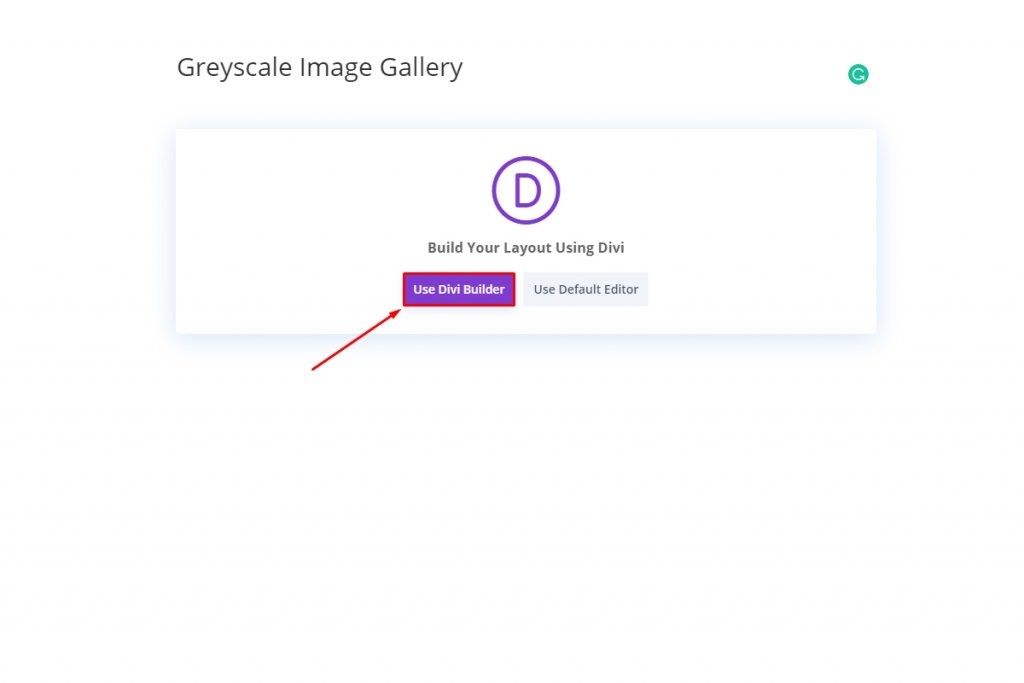
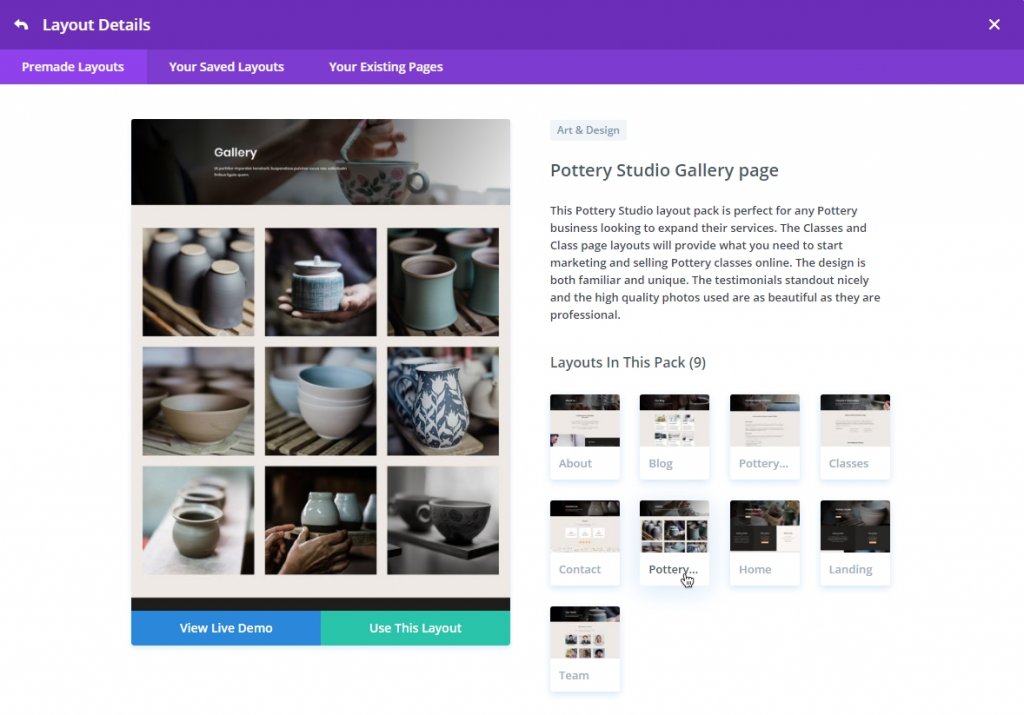
Then select the second option labeled as "Browse layouts," and from there, continue with choosing the pottery studio gallery page.
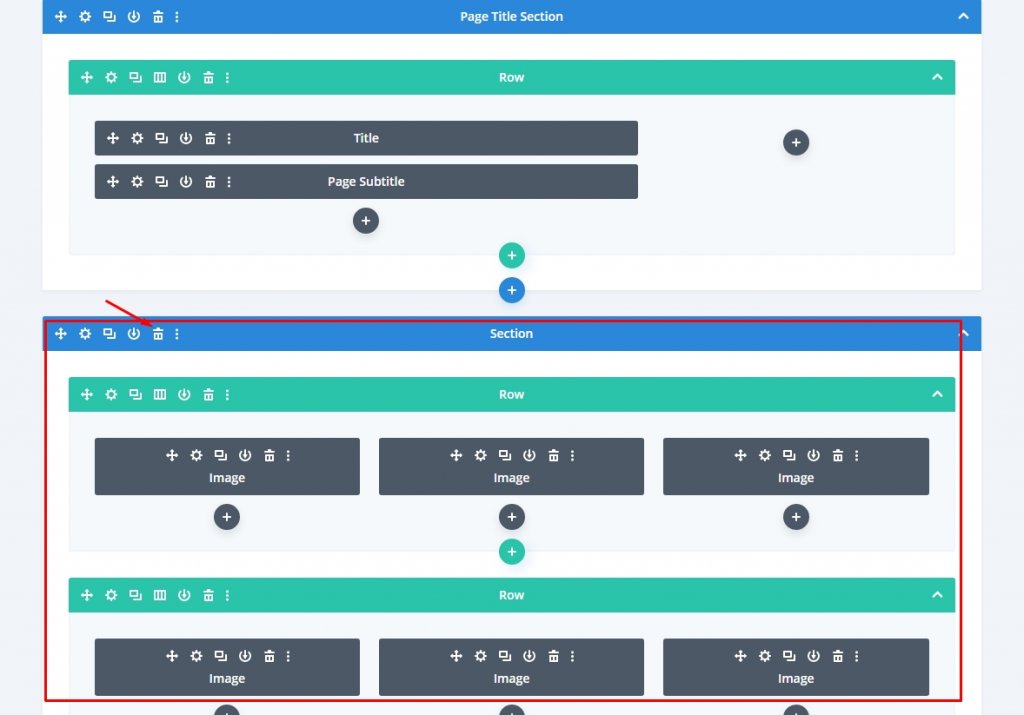
Now we will replace the existing custom gallery module with a Divi galley. Navigate to the second section and erase all the rows inside. Doing so will remove all the elements inside the row.
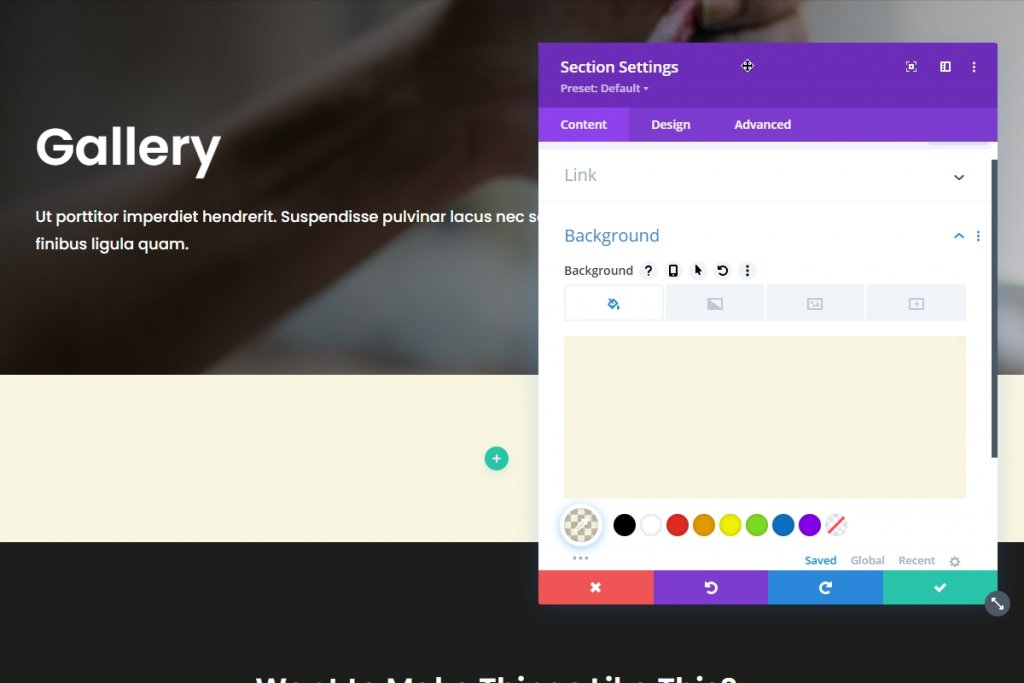
Let's create a section and give it a background color.
- Section Background Color: rgba(198,182,0,0.12)
Now we are ready to proceed with creating a gallery and implementing the effect.
Row Design
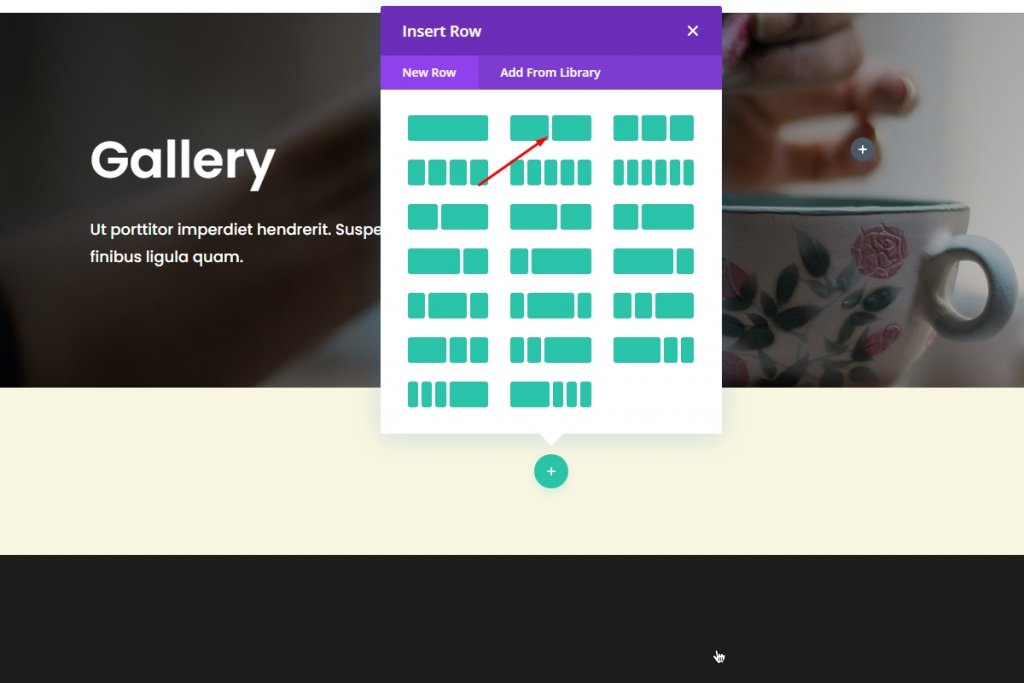
Adding New Row
Add a new two-column row to our newly created section.
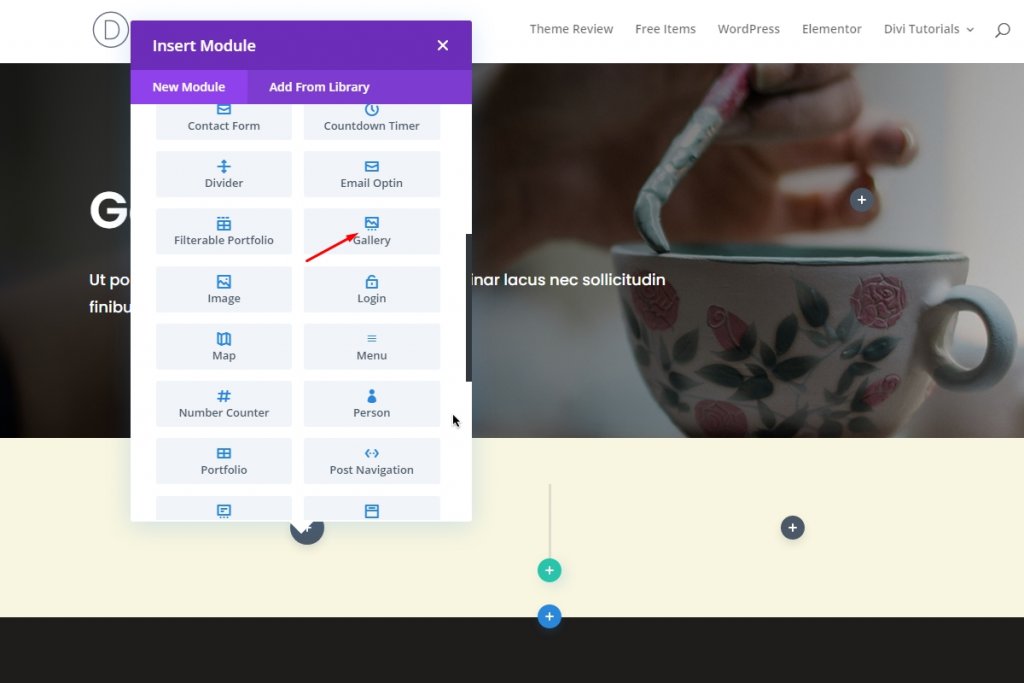
Adding Gallery Modules
Now add the divi gallery module to the first column.
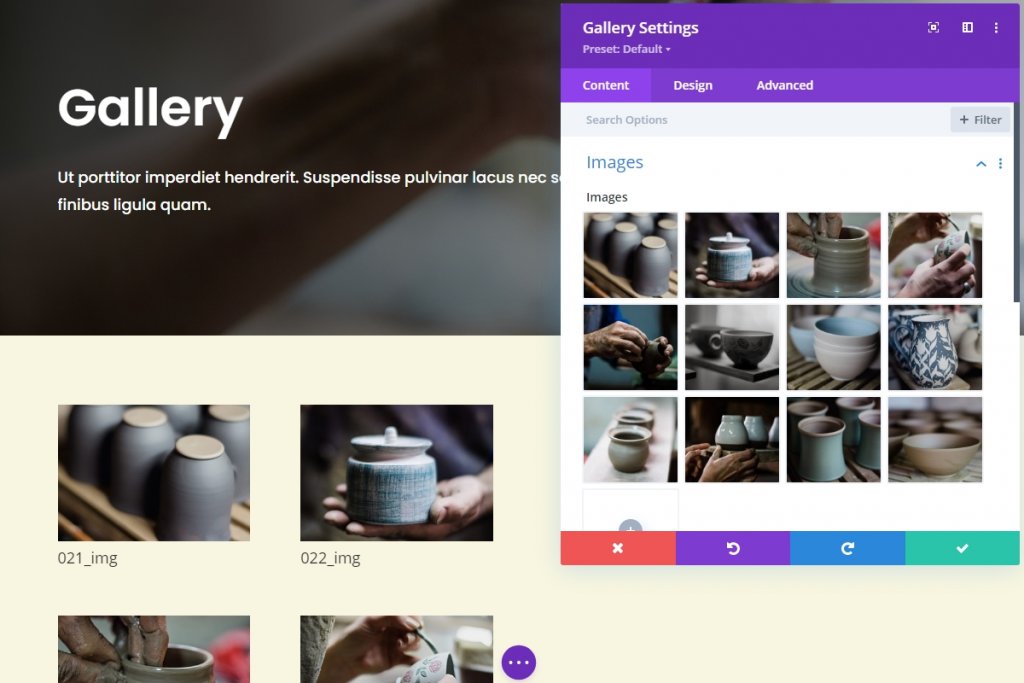
Add Images
Now add images you want to display.
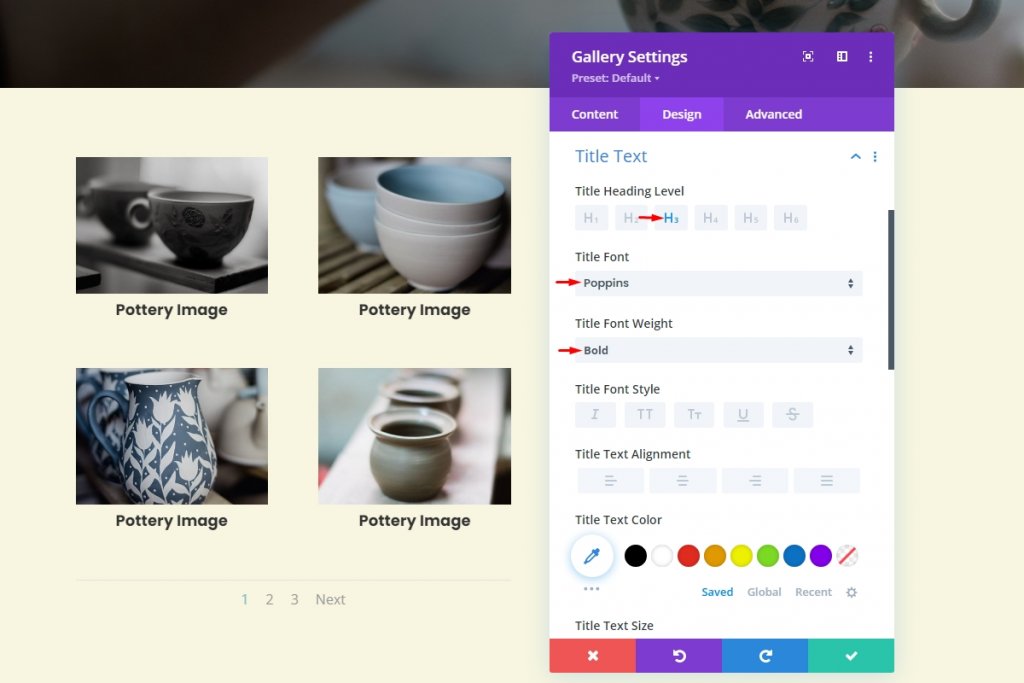
Design Gallery
From the design tab, set the text alignment and color.
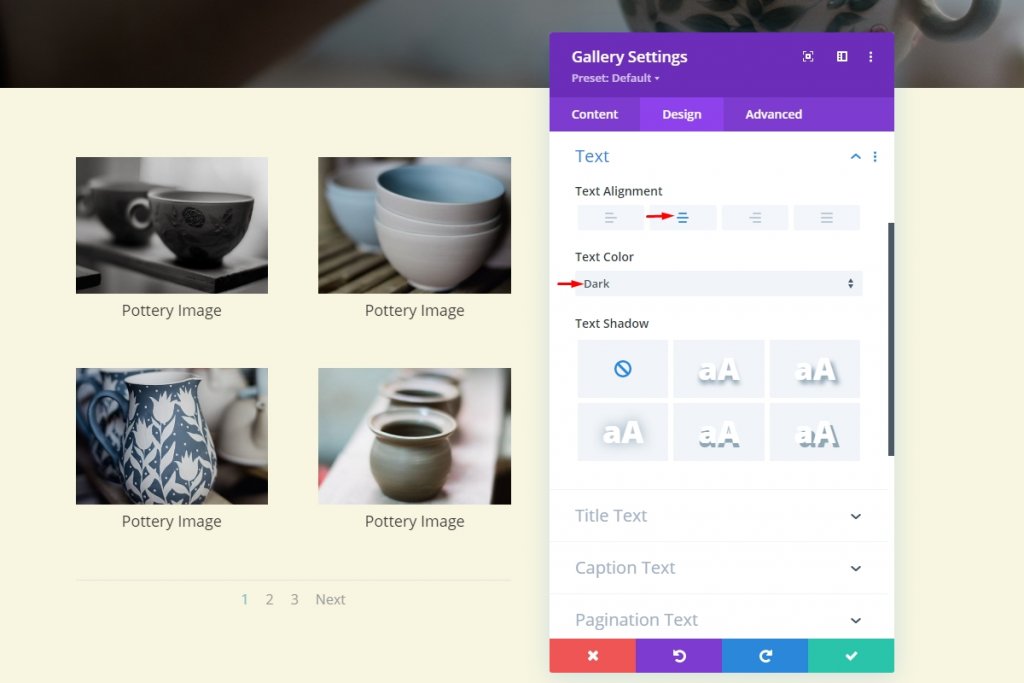
Font
Now change the font to Poppins.
Greyscale Color Effect
Since our gallery is ready, we will now apply the greyscale effect to our design. It's effortless to do, and we don't need any coding knowledge to do this.
Overlay Icon & Background Color Changing
Move the overlay section of the gallery design tab and adjust the overlay color with something that goes well with your design.
- Overlay Icon Color: #fdb467
Turn overlay background color to transparent.
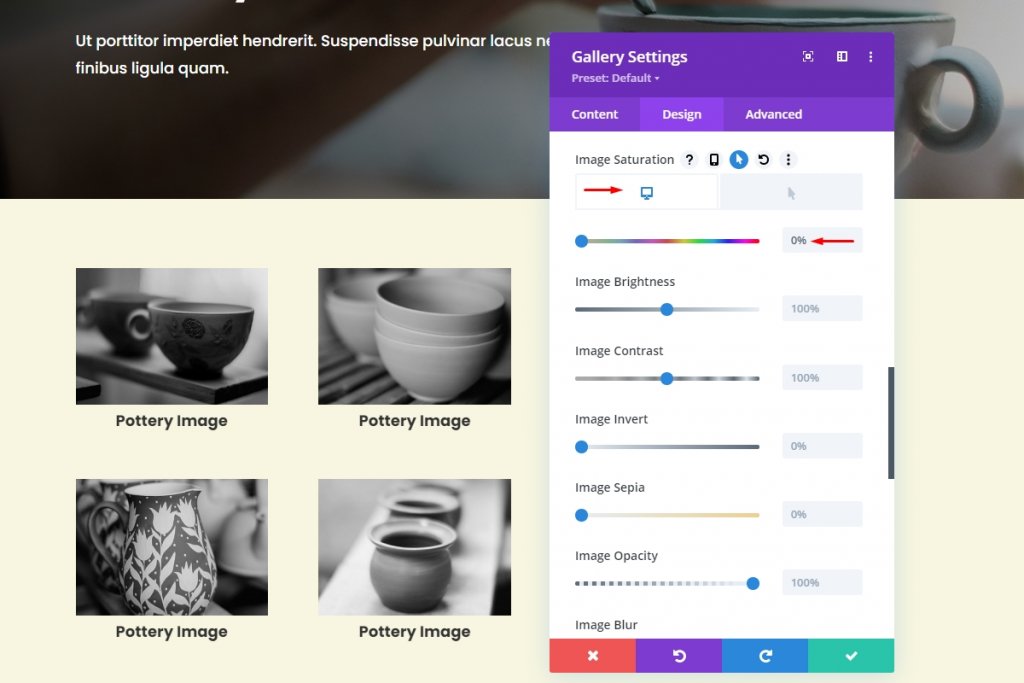
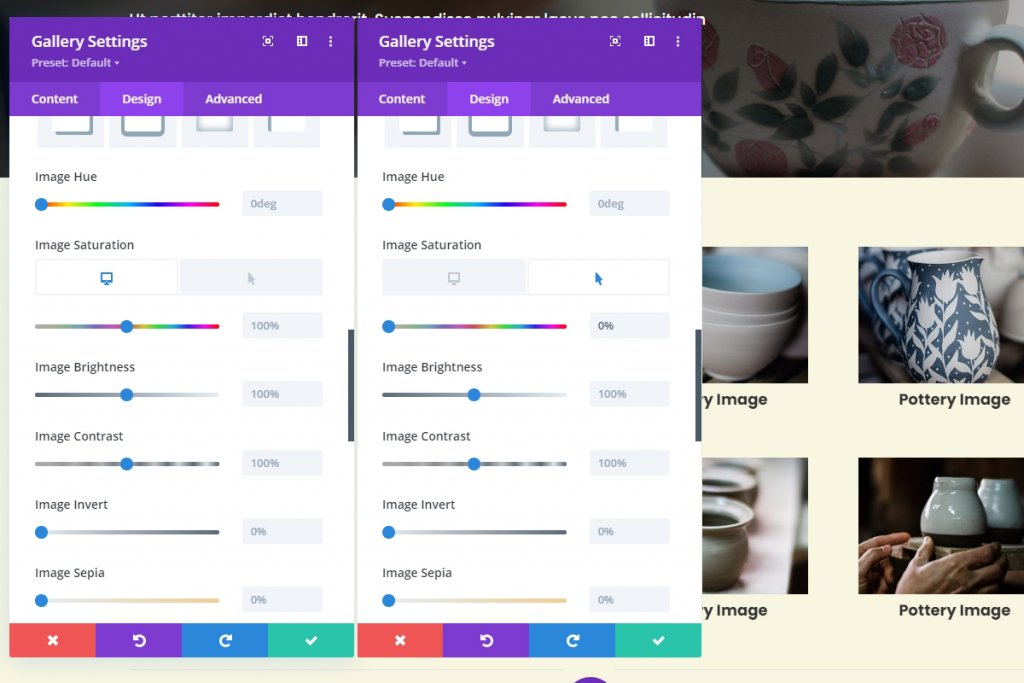
Image Settings
Move to the image section from the design tab and apply the following settings.
- Image Default Saturation: 0%
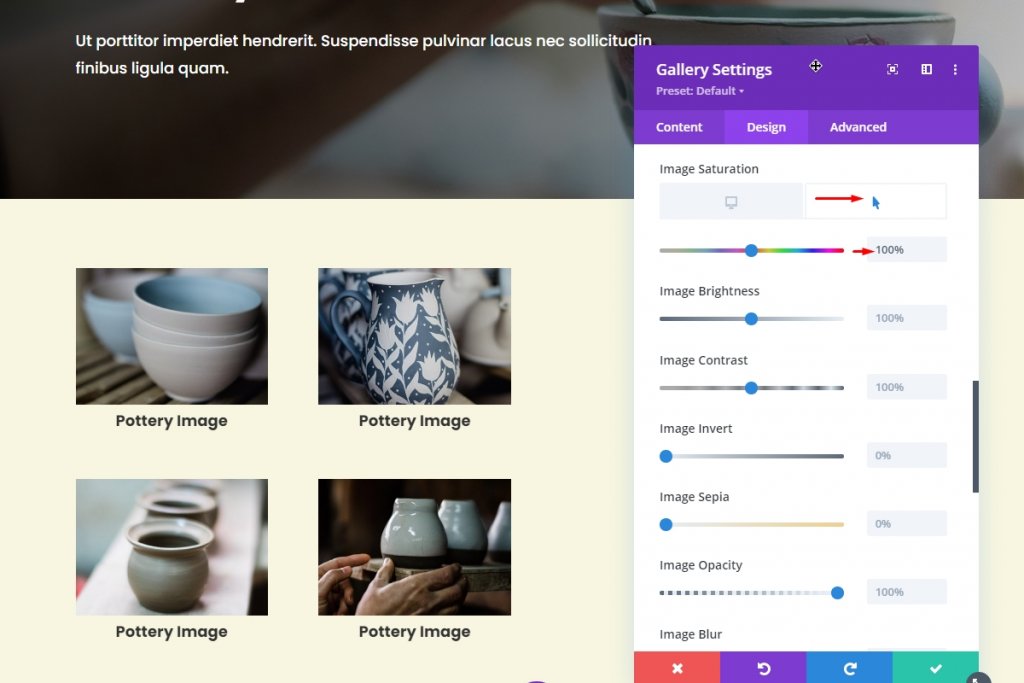
Now we are about to apply saturation on hover. We will set the saturation 100% on hover. However, if you want to make the image more vibrant, you can increase the saturation.
- Image Default Saturation(On hover): 100%
You will not notice this change while you are on the editing page. There is no reason to worry because once you close the page building options and visit the page directly, you will notice the change. Also, you can reverse the setting if you want to see an image with color at first and put a greyscale effect by hovering.
Final Preview
Now we can see the final output of our design by visiting directly from the page.
Final Words
It's very easy to create a greyscale effect on any divi gallery module. All you need to do is change normal and hovering saturation settings. This effect brings life into photography websites like nature photography, wedding, landscaping, space photography, and many more. Despite any niche, the Divi gallery greyscale effect will turn your website from good to best.


