
Do you want to build a dynamic download link on your WordPress site powered by Elementor? If you answered yes, this article would show you how.

The pro edition of Elementor, as you are surely aware, allows you to dynamically link a page or template. You can include two types of dynamic links: internal links and external connections.
To build a dynamic download link, use ACF to create a custom field in which to add the download links. You can specify whether the connection is internal or external.
Create Dynamic Download Link in Elementor
Create the Custom Field Using ACF
To begin, you must construct a custom field in which to add the download links. To make the data, you enter into the field function as a link and change the custom field type to link/URL. One of the custom field plugins that supports the link field type is ACF. The custom field can be assigned to an existing post type (e.g., blog post, page) or a custom post type. If you wish to attach the custom field to a custom post type, you can utilize JetEngine plugins such as Pods to build a new custom post type. In this example, the custom field will be assigned to a blog post/post.
Create Amazing Websites
With the best free page builder Elementor
Start NowBefore you begin, ensure that you have downloaded and enabled the ACF plugin on your WordPress site.
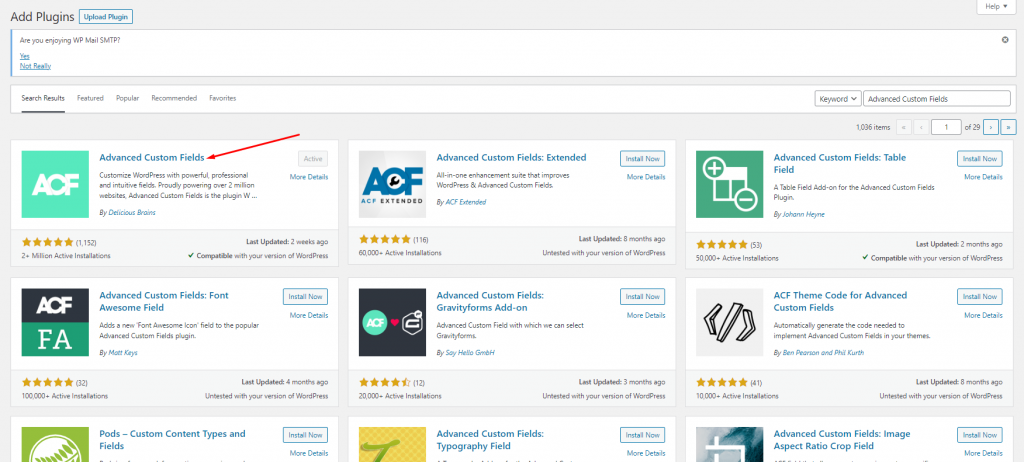
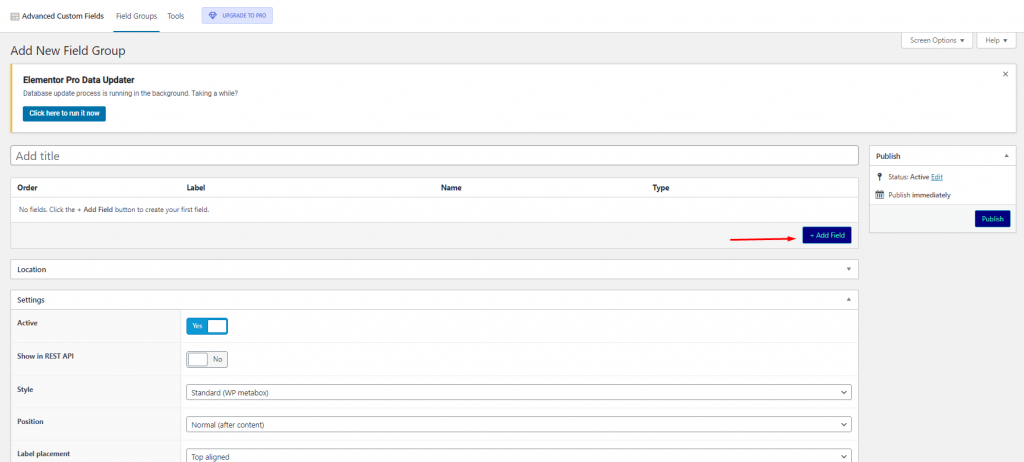
When you're finished, go to Custom Fields -> Add New in your WordPress dashboard to make a new custom field group. Give your new custom field group a name and add a custom field by clicking the Add Field button.
Fill in all of the required fields to add your own field. Set the Field Type to Url in the Field Type section.
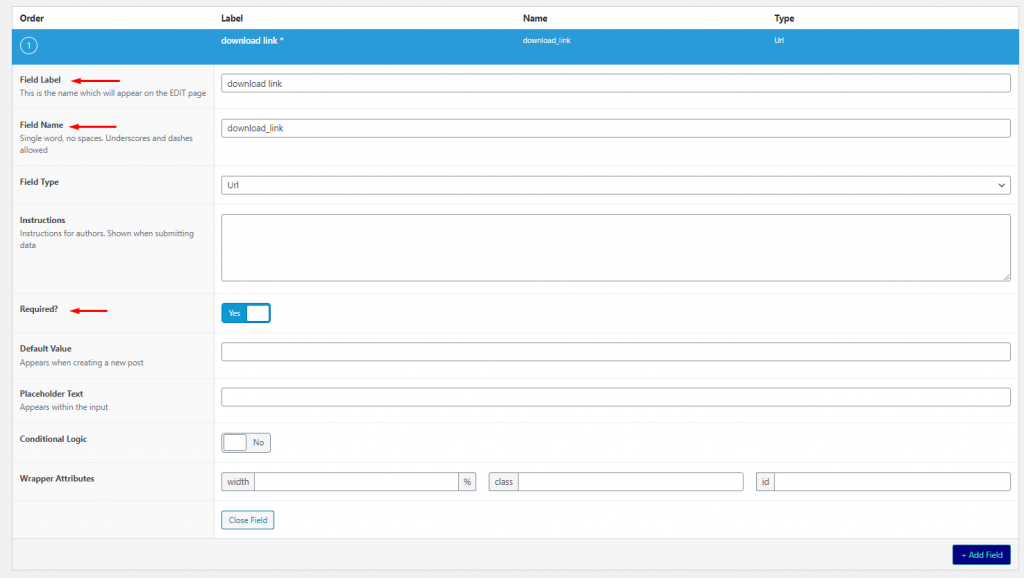
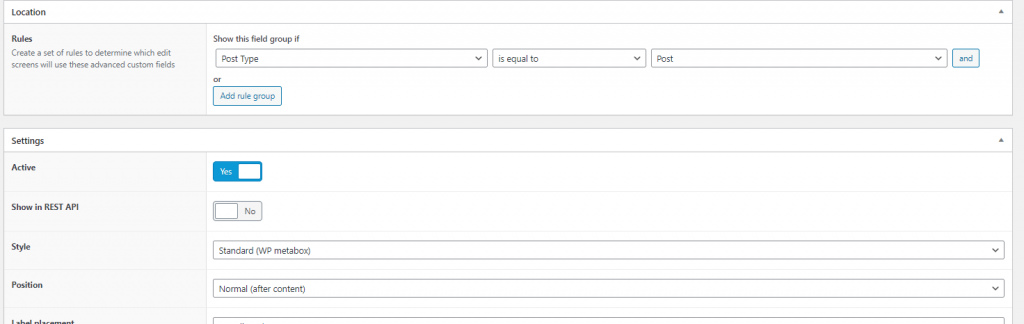
You just need one custom field for this reason (dynamic download URL), but if you want to add other custom fields, try clicking the Add Field button. After you've finished adding custom fields, navigate to the Location section to assign the custom field group to. Your custom field group was tasked to Post by default (blog post). To generate your custom field group, click the Publish button.
Create A Template For The Post
Once the custom field is complete, you must construct a custom template for the post type to which you assigned the custom field. We will generate a custom template for the blog post because we assigned the custom field to it.
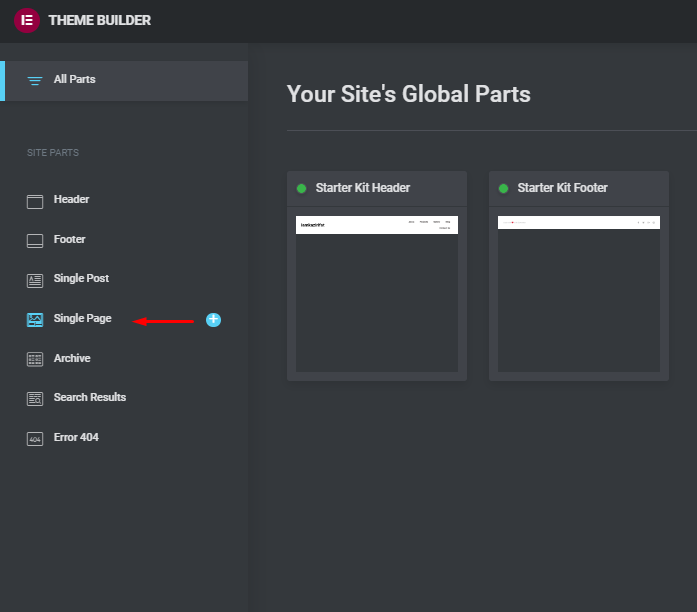
Go to Templates -> Theme Builder in your WordPress dashboard (make sure you have upgraded to Elementor Pro to access this feature). Hover your mouse over the Single Post label on the left side and then click the plus symbol.
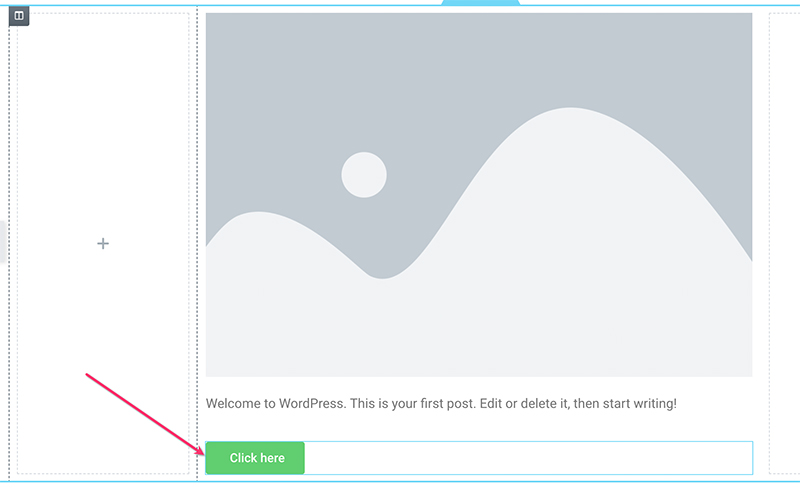
If you want to use a prepared template, select it from the template library that appears. Simply dismiss the template library to begin creating the custom template from scratch. Fill the canvas with all of the widgets you'll need. After that, add the Button widget.
After you've added the Button widget, navigate to the settings panel to make some changes. The most important setting to make here is the link. On the Link field, click the Dynamic Tags button and then pick the ACF URL Field.
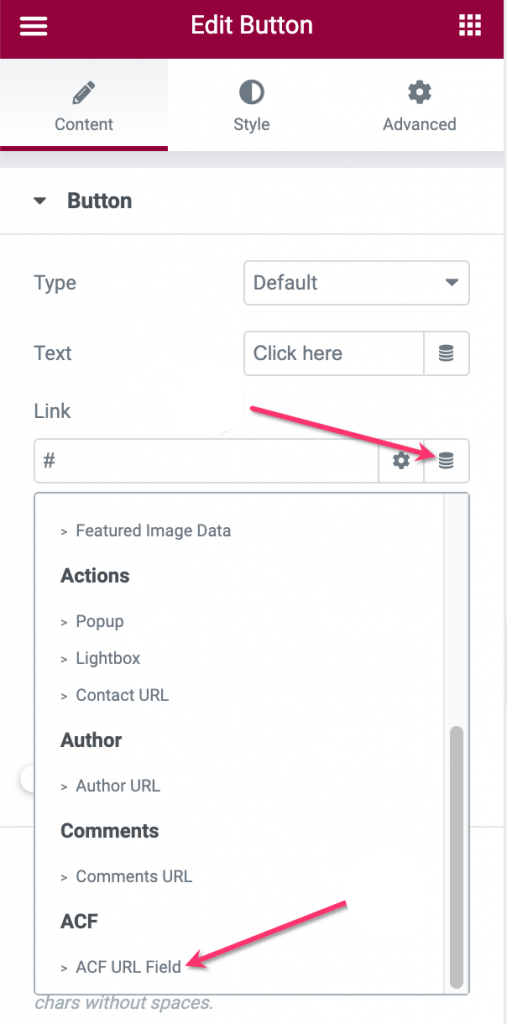
Select a key (custom field) you've just generated by clicking the wrench symbol on the ACF URL Field field.
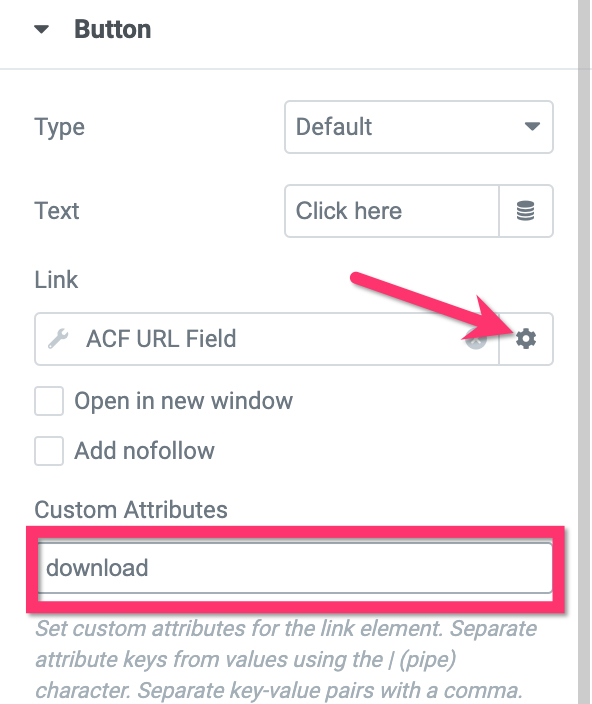
Then, in the ACF URL Field field, click the gear icon and put download in the Custom Attributes field. This will ensure that all file types linked with the link, including photos, are downloaded automatically.
To style the button, go to the Style tab in the options panel.
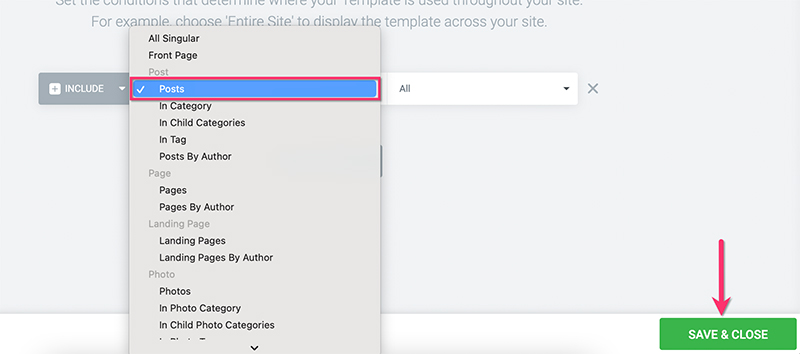
When you're through editing the custom template, click the PUBLISH button at the bottom of the settings page to publish it. To add a condition, click the ADD CONDITION button in the resulting dialog. Because the custom template is for blog posts, make sure to pick Post from the options list. To save and close the changes, click the SAVE & CLOSE option.
Creating A New Post
After you've finished building the custom template, you can begin generating new posts. Be sure to designate the post type for the custom field when you create it (blog post in our case). Don't forget to add the URL to the custom field section beneath the editor after you've added the material.
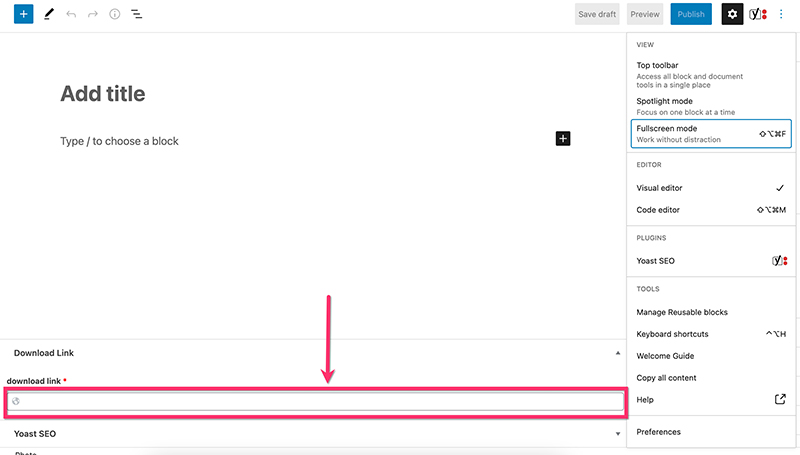
After editing the content, publish it.
Wrapping Up
You can leverage Elementor's capabilities to create custom templates and add custom fields. The capabilities enable you to construct a professional website with no coding. There is no need to deal with code. One of the feature implementations is to establish a dynamic download link, which will be very beneficial when creating a stock photo website or a website that offers various types of digital items. Hopefully, you liked this content, and to get to know more, follow out elementor posts.


