
Are you trying to figure out how to sell products on Instagram?

You may attract a larger audience, increase sales, and even build a feeling of community around your brand by selling your goods on Instagram.
Instagram boasts over 1.4 billion monthly active users, making it one of the most popular social media networks worldwide. For e-commerce companies, it's an even more potent marketing tool since it lets you interact with customers, highlight your goods, and increase traffic to your web store.

However, what is the best way to market your WooCommerce goods on Instagram?
Create Amazing Websites
With the best free page builder Elementor
Start NowWe'll go over some advice and best practices in this blog article to help you increase sales using Instagram markdown.
Reasons You Should Consider Selling Your WooCommerce Products on Instagram
There are many reasons you should consider selling your products on Instagram. Let's talk about some of the main ones:
- A sizable and active following exists on Instagram, where users like finding and purchasing new goods. As per Instagram, 130 million users tap on shopping posts monthly, and 90% of users follow at least one company account.
- Instagram allows you to creatively and aesthetically present your products. A variety of forms, including images, videos, reels, stories, IGTV, and live streams, can be used to showcase the qualities and advantages of your goods and share your brand's narrative.
- You can make shoppable stories and posts on Instagram that take users straight to your WooCommerce store. As a result, you may boost sales and conversion rates while lowering the barrier to purchase.
Here are a few reasons for thinking about selling your WooCommerce goods on Instagram.
Requirements you Must Fulfill to Set Up an Instagram Shopping Store
- Your Facebook page needs to be linked to your Instagram account.
- To sell goods on Instagram, link a Facebook store to an acceptable product catalog.
- Follow the instructions for domain verification.
- Observe all of Instagram's commerce policies and guidelines.
- The most recent version of the Instagram app is required.
- To sell things, your website has to be integrated with an eCommerce platform.
- You need to upload your public business details and change your Instagram account to a business account.
- Admins must create a Facebook Business Manager account or serve as page administrators.
"Note: A downside of Instagram Shopping is that, if your WooCommerce store is made up of digital products (e.g. eBook, Music, etc), then you won't be able to sell those digital products on your Instagram handle."
"Furthermore, in some countries, Instagram has yet to roll out the Instagram Shopping feature. This implies that even if you satisfy the requirements, the inaccessibility of the feature in your area may prevent you from being able to sell products on Instagram."
Having stated that, let's look at how to configure WordPress for Instagram Shopping.
How to Sell WooCommerce Products with Instagram Shopping
To start with, you need to turn on the Instagram Shopping feature
You must have also set up your WooCommerce store by now and created a Facebook business account.
1. Submit your Instagram Store for review on Instagram
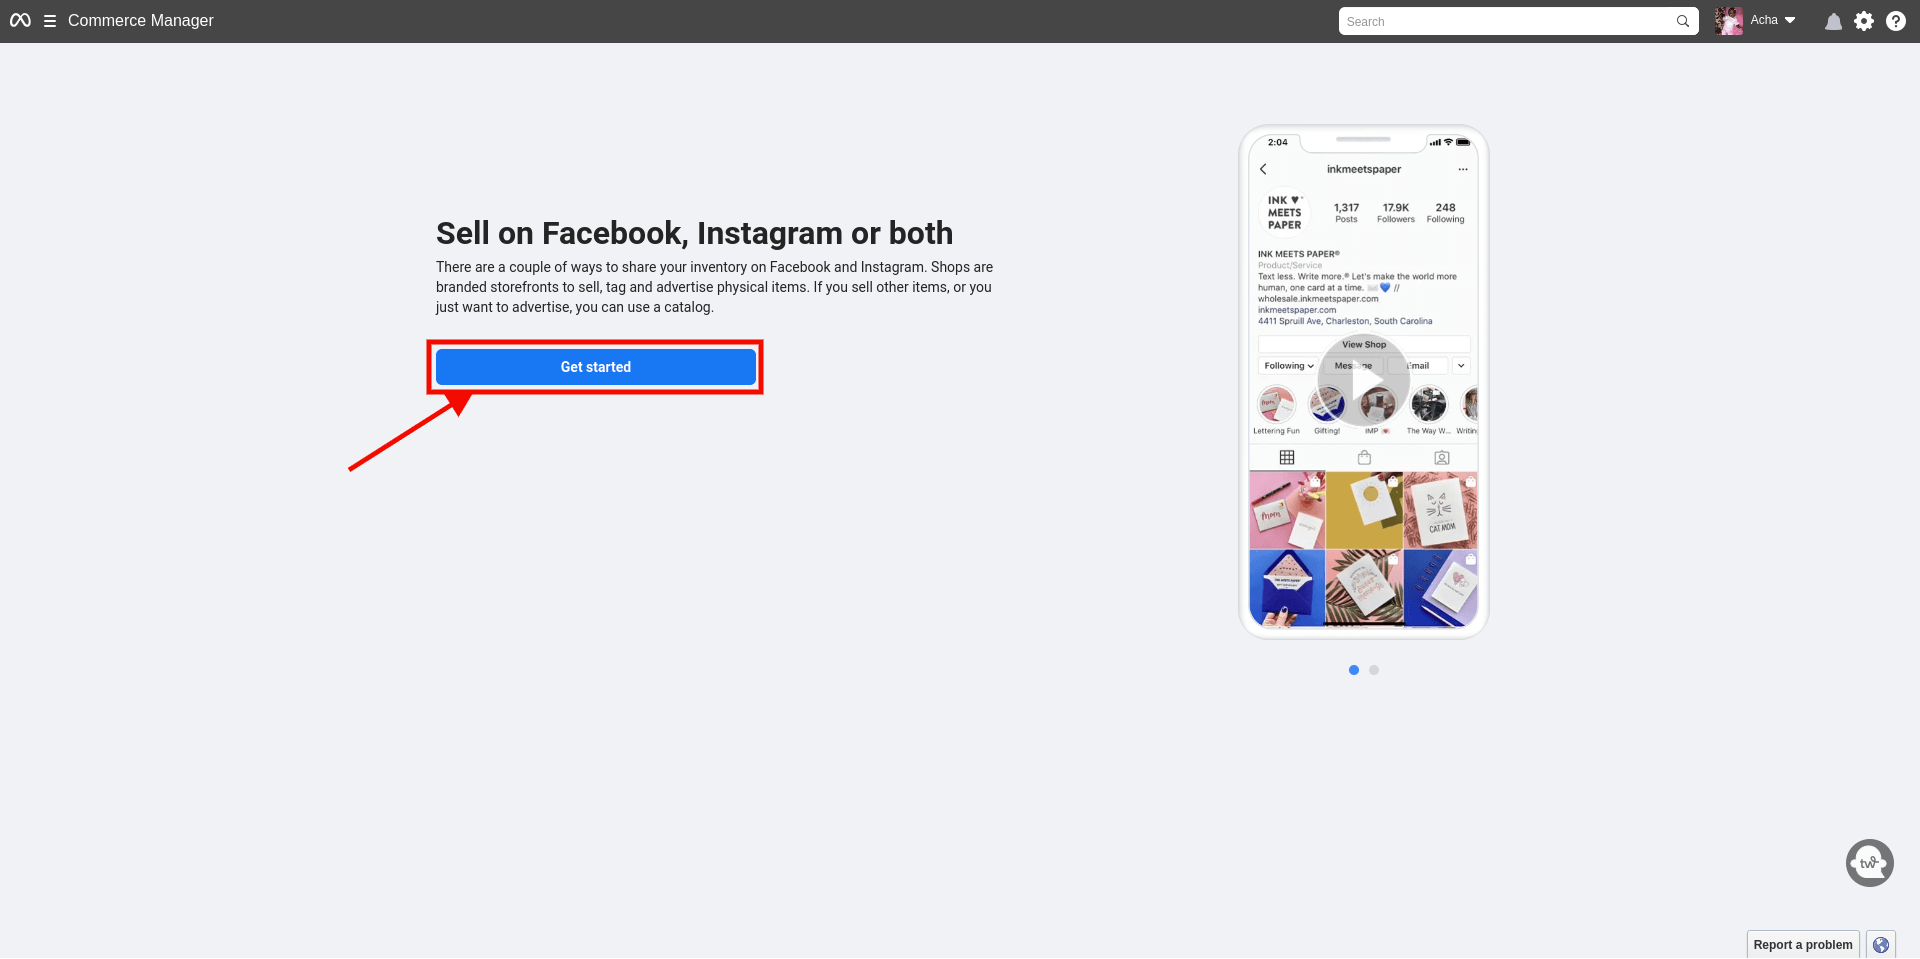
You must go to the Meta website's Commerce Manager page in order to submit your WooCommerce store for platform approval.
To move on to the next screen, click the "Get Started" button here.
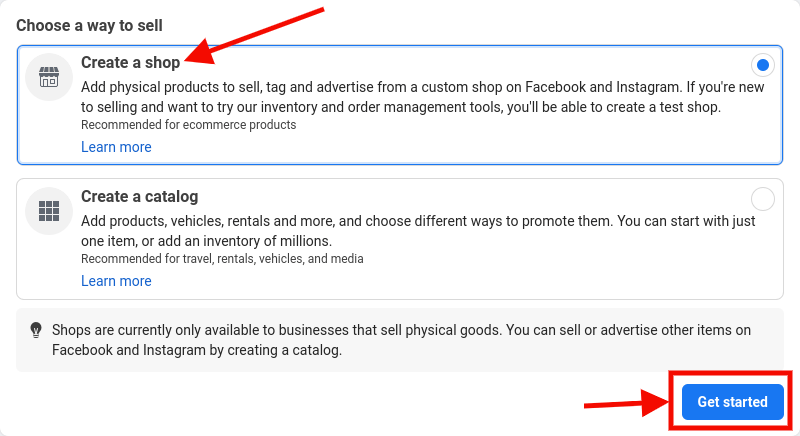
To sell your goods on Instagram, you must choose the "Create a shop" option from this menu.
Click the "Get Started" button to proceed after that.
Just add products to your catalog after that, and submit the store to Instagram for a review.
After you've completed that, Instagram will evaluate your online store and, within a few days, email you a response.
Step 2: Turn On the Instagram Shopping Feature on Your Account
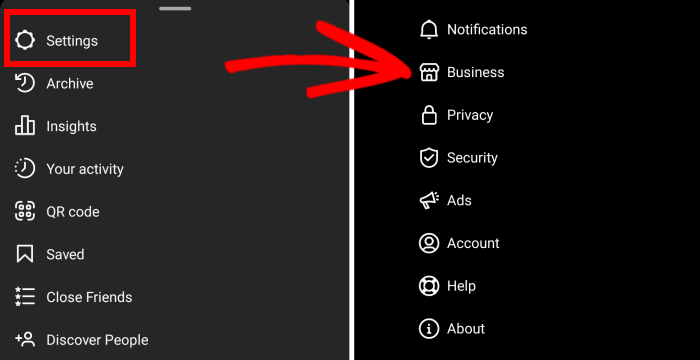
Open your Instagram app and choose the three-line menu located in the upper right corner of the screen after creating a business account and getting your online store approved by Instagram.
This will cause a prompt to appear, and you must select Settings » Business.
You must click or touch on the "Shopping" tab that appears on the screen if Instagram has authorized your account for shopping.
To set up Instagram Shopping, you must next click the "Continue" button on the screen and choose one of your product catalogs.
Remember to click the "Done" button to save your settings after you're finished.
It appears that you have successfully launched an Instagram shopping store.
Step 3: Add Products to Your Instagram Shop Using Product Tags
After setting up your Instagram shop, all you need to do is click the "Share Photos" button to quickly make a post featuring your products.
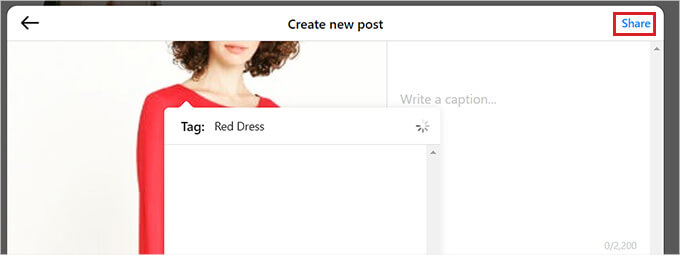
Before selecting the 'Tag Products' option, you must include a call to action (CTA) and a description of the product in the caption.
Next, tap the post's area where the product tag should be added.

This will cause a search box to appear; you will then need to type in the name of the product and choose it from the list.
Once everything is ready, hit the "Done" and "Share" buttons at the top to publish your product post live on Instagram.
Users can now see product information in the post, and they can visit your Instagram Shopping store by clicking on the tag.
How to Set Up Instagram Shopping on Your WordPress Site
Instagram Shopping can boost your sales, but setting it up and getting your store approved can be somewhat difficult.
Having your shoppable Instagram feed displayed on your WordPress website is another simpler method of making sales on the platform.
In this manner, users won't even need to visit your Instagram account to view your posts, videos, and product reels. They have the option to purchase goods straight from your online store.
With the Smash Balloon Instagram Feed Pro plugin, integrating your Instagram account with your WordPress website is simple.
It makes it simple to design, personalize, and add your shoppable Instagram feed to any WordPress website or post.
First, you need to download the plugin from their official site.
After downloading the plugin as a zip file, install and activate it.
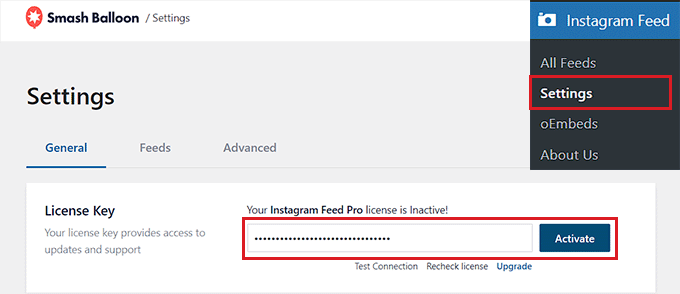
After activation, navigate from the WordPress admin sidebar to the Instagram Feed » Settings page.
Once there, click the "Activate" button after entering the Smash Balloon plugin license key in the designated space.
This information is available to you through your Smash Balloon account.
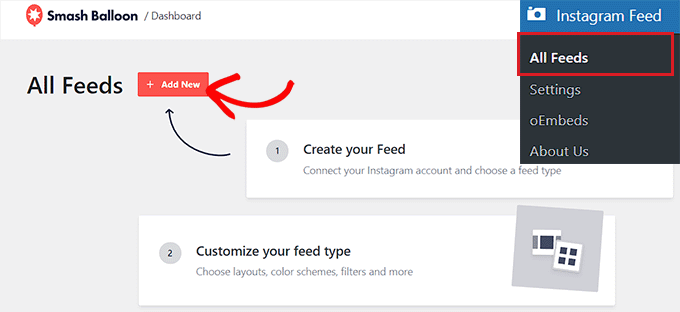
Next, navigate to the WordPress dashboard's Instagram Feed » All Feeds page and select the "+ Add New" option.
With WordPress, you can immediately begin to create your own shoppable Instagram feed.
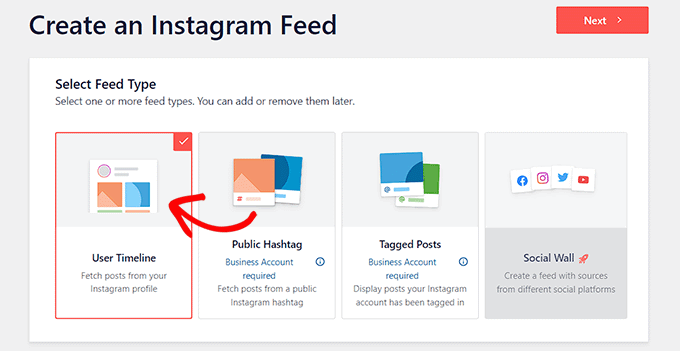
This will take you to the "Create an Instagram Feed" screen, where you must click "Next" after choosing "User Timeline" as the feed type.
This means that whenever you upload new photographs to your Instagram account, Smash Balloon will instantly refresh the feed with the latest content that it has directly retrieved from your account.
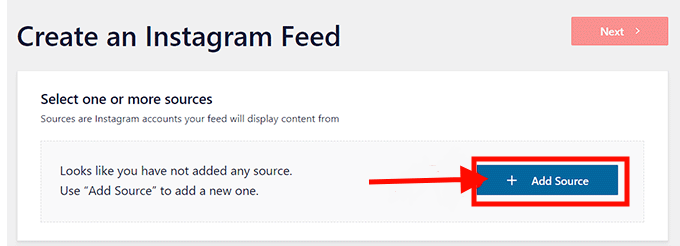
After that, you will be prompted to "Select one or more sources," where you must link your Instagram account.
Click the "+ Add Source" button to accomplish this.
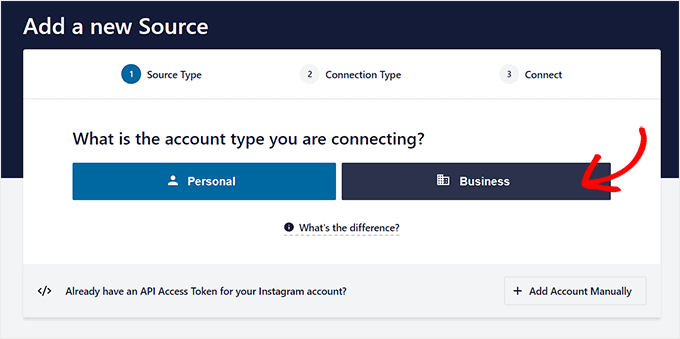
You will be prompted to choose your Instagram account type on the Smash Balloon website after doing this.
Click "Business" to go to the next step at this point. The next question will inquire if you have already used Smash Balloon to connect your Facebook account.
Simply choose your response from here, then proceed to the next stage.
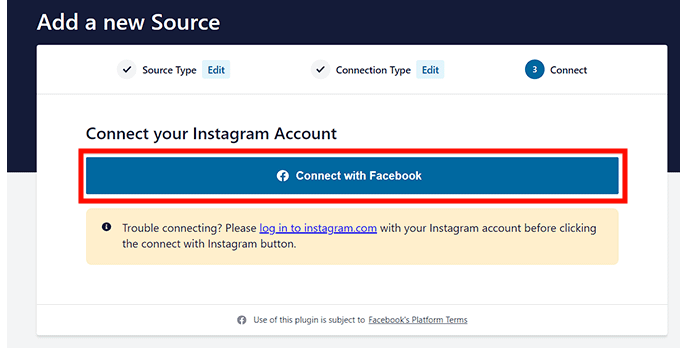
Remember that you must first connect your Instagram account with your Facebook profile in order to integrate it with WordPress.
Click the "Connect with Facebook" button to accomplish this.
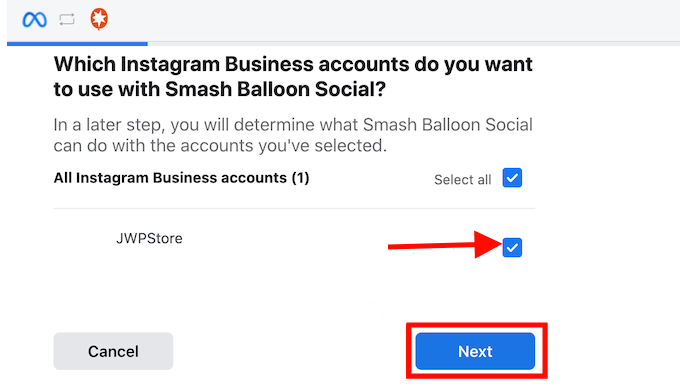
This will take you to your Facebook account, from where you must choose the option to access your business's Instagram account.
Then, to proceed, click the "Next" button.
Next, you have to select the Facebook page that you want to link to your WordPress site.
Once you’ve done that, just click the ‘Next’ button to move forward.

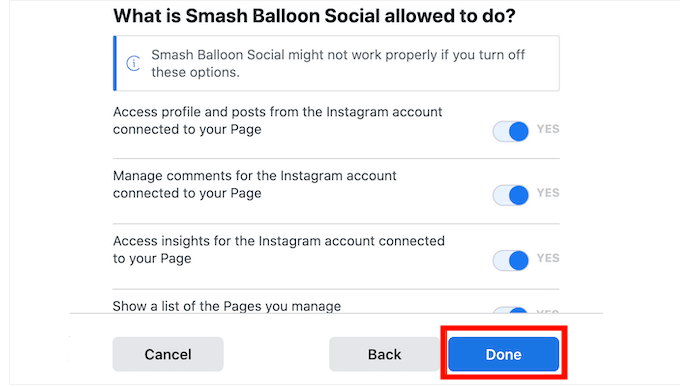
Facebook will now prompt you to adjust your Facebook page's access rules for the plugin.
All you have to do to grant Smash Balloon access to your Facebook profile is click the "Done" button.
You will then be taken to your WordPress dashboard, where you can see that your Instagram and Facebook accounts are now successfully linked to your website.
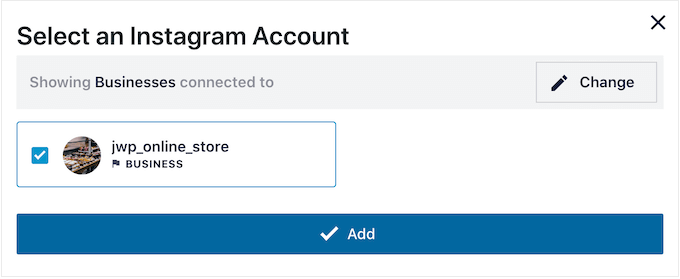
You must click on the Instagram account box that appears after linking it to your website in order to begin building a feed.
Then, to proceed, click the "Next" button.
Creating an Instagram Feed for Your WordPress Site
Smash Balloon will open the Instagram feed in the live feed editor when you select your account.
Here, all of the customization options are displayed in the left column of the screen, and there is a live sample of the stream on the right.
To access further settings, just select the Settings » Shoppable Feed tab from this menu.
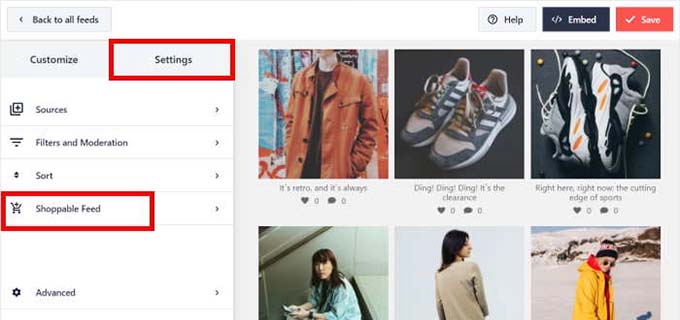
To enable the Shoppable Feed function, turn on the toggle on the new screen.
You will now see an 'Add' button from Smash Balloon next to every product post on your Instagram feed.
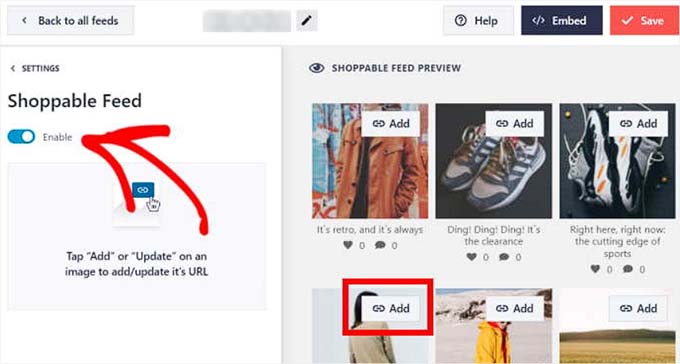
Next, open the Instagram post's settings in the left column by clicking the "Add" button above the post in your feed.
Simply enter the product's URL from your WooCommerce store into the "Product Link" section after that, then click the "Add" button.
Now, a visitor will be sent straight to the product page on your WooCommerce store when they click on this product while perusing through your Instagram feed.

To make your products shoppable, you may now repeat these steps for every post in your feed.
A product's URL can also be modified by selecting the "Update" button found on the postings.
To save your settings, click the "Save" button at the top. Your WooCommerce store and Instagram Shopping account are now successfully linked.
Customizing the Instagram Shopping Feed
Using the live feed editor, you can quickly alter the Instagram shopping feed you just established.
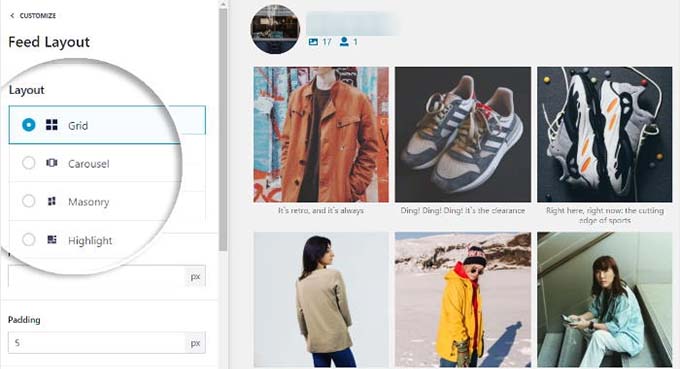
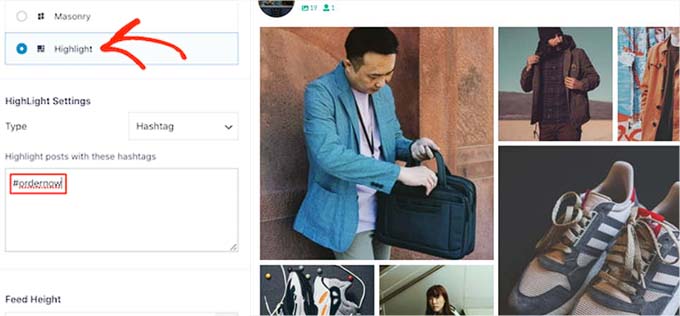
To start, you can modify the arrangement of your Instagram feed by selecting the 'Feed Layout' tab located in the left column.
You can use the Grid, Carousel, Masonry, or Highlight options from this point on. Your selected selection will be automatically updated in the live feed preview.
You will have various additional variables to adjust your feed, depending on the layout.
For instance, you can select the element—such as a pattern, post ID, or hashtag—that will be used to highlight certain posts when you select the "highlight" option.
By completing those options, you may also choose the feed's height and padding.
Remember to click "Save" to save your changes after you've finished making them.
You may further alter your Instagram feed by adding a load more button, changing the color scheme, and adding a header with Smash Balloon's live feed editor.
Add the Instagram Shopping Feed to Your Website
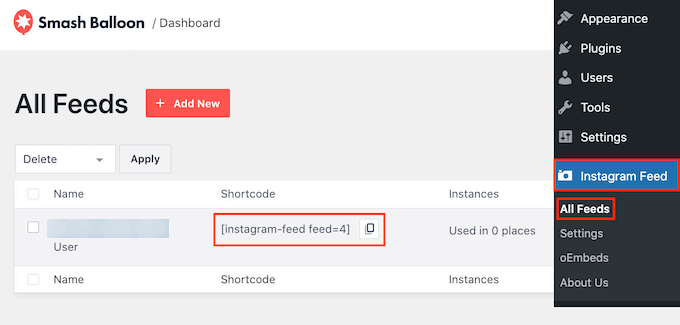
You must go to the Instagram Feed » All Feeds page from the WordPress dashboard in order to add the Instagram Shopping feed to your website.
Copy the shortcode located next to the Instagram feed you generated from this point on.
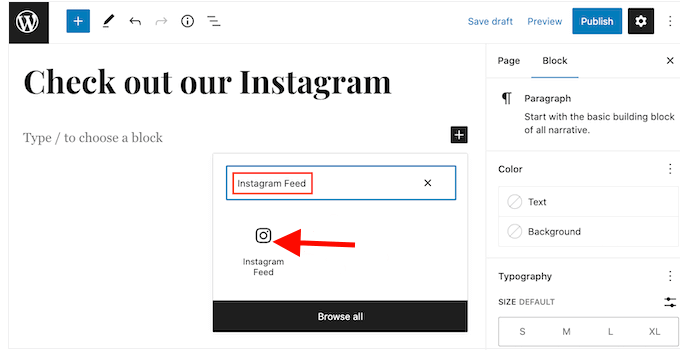
Next, use the block editor to open a page or post.
When you get there, open the block menu by clicking the '+' icon on the screen. Next, locate the Instagram Feed block and include it on the page.
The Smash Balloon will show a random feed by default.
Simply put the shortcode into the block panel's 'Shortcode Settings' section and click the 'Apply Changes' button to integrate your Instagram feed on the page.
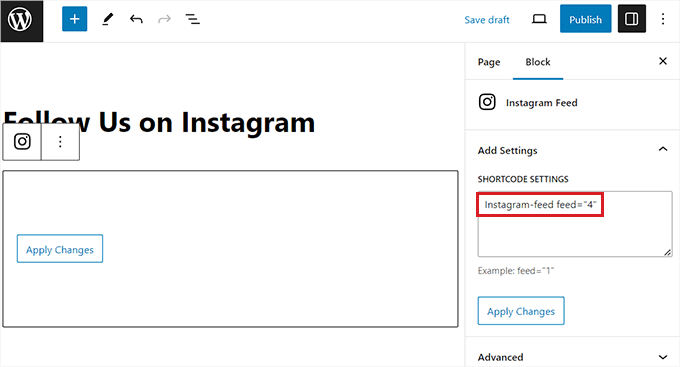
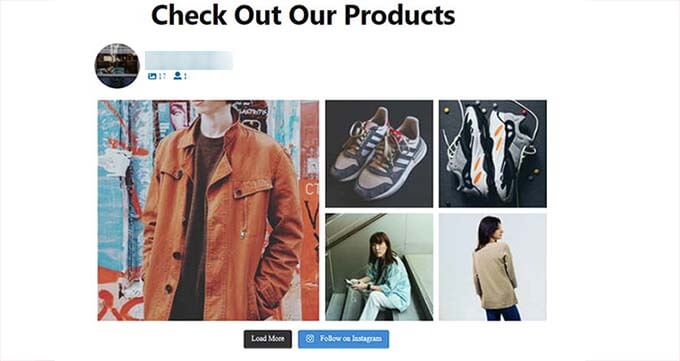
To save your settings, click the "Update" or "Publish" button at the end.
Your WooCommerce store now has your Instagram Shopping feed successfully added.
Conclusion
Instagram is a great platform to sell your WooCommerce products and grow your e-commerce business. By connecting your online store with your Instagram account, creating engaging content for your products, and optimizing your shopping experience, you can reach more customers, increase your sales, and build your brand.


