
As a website owner, you should consider building your own list of email subscribers. It would be best to not rely on a third-party platform to establish a community around your business or brand because your social media updates only reach a percentage of your followers.

Launching a newsletter is, in short, a good idea. Allow your visitors to subscribe to your site directly. Compared to opening a social media account, building an email list is a slow process. Consider this: one email subscriber is equivalent to 100 social media followers.
Connection Between Elementor and Mailchimp
Elementor is a famous WordPress page builder. Elementor just revealed that they had reached 4 million active installs. Elementor's success is due to the fact that it provides a sophisticated visual editor for WordPress that is also simple to use. When you use Elementor to modify a page, the changes you make are visible to your website visitors. You don't have to switch back and forth between the backend and the frontend any longer.
Mailchimp is the most widely used email service for newsletter distribution. A dead-simple editor and a freemium business model helped it become successful. Every day, 8000 people sign up for Mailchimp.
Create Amazing Websites
With the best free page builder Elementor
Start NowMailchimp Setup
If you haven't previously done so, create a Mailchimp account. You can make one email list of up to 2000 contacts with a free account.
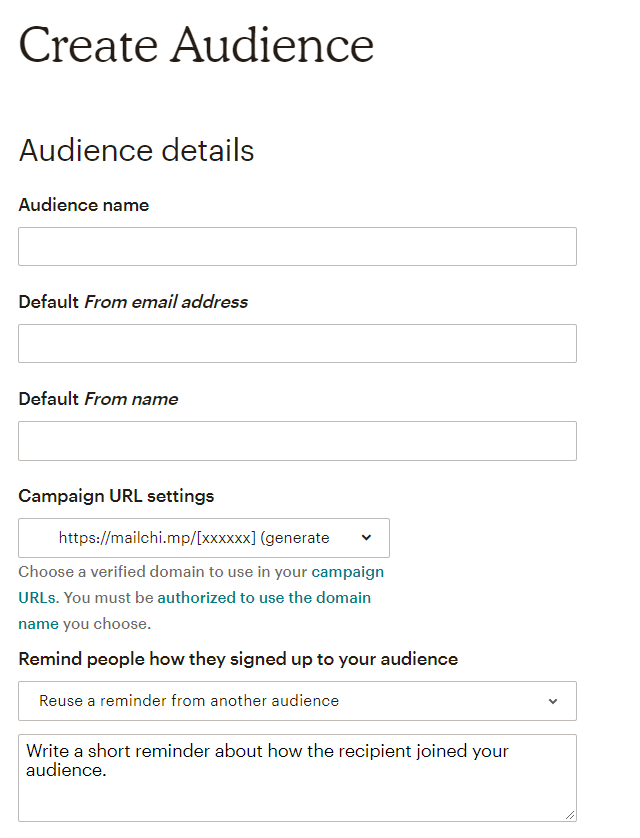
The first step is to establish an "audience."
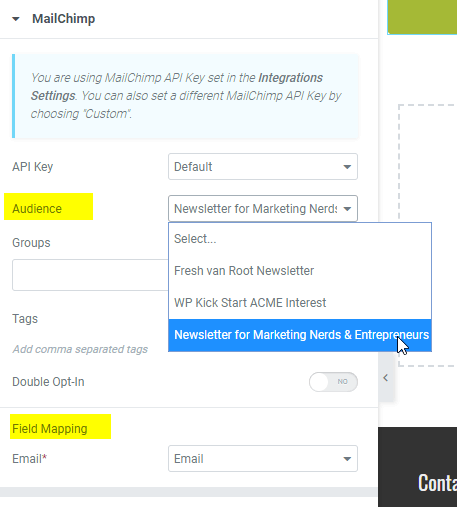
"Newsletter for Marketing Nerds & Entrepreneurs" is the audience for our newsletter. This audience includes everyone who registers on our website. Consider it a contact list or an email list. The audience is the one who determines the outcome.
- The name
- Default from eMail and name
- The company/organization behind the email list and more
These options can be changed at a later time. After a period, the focus of your newsletter may shift.
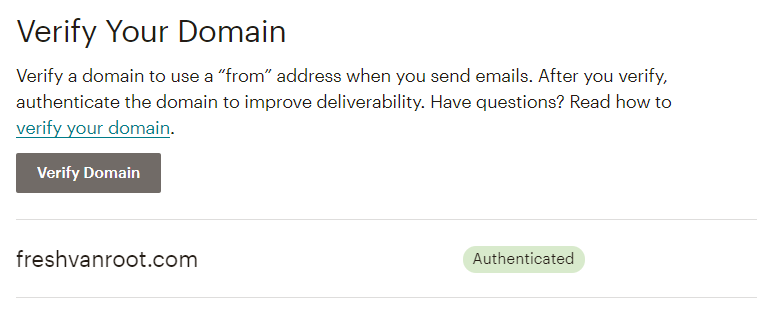
You can construct signup forms, import contacts, and more for each audience. Make sure your domain is connected and verified. This step will help your emails get delivered more often.
You can also link your Mailchimp account to your Google Analytics account. This allows you to measure traffic on your newsletter archive pages (web version of your newsletter) in GA as well as identify traffic coming from your newsletter in your GA account.
Mailchimp API Creating
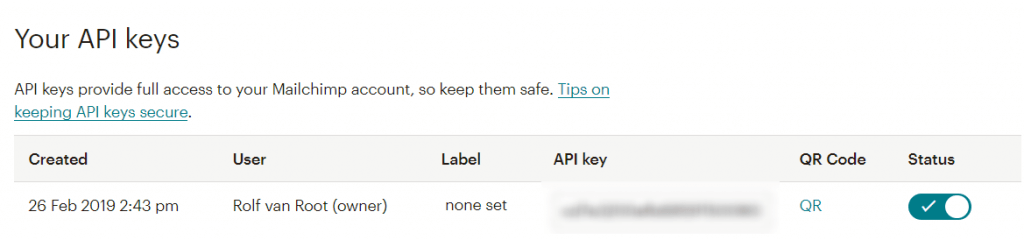
Go to account settings after you've created an account and a target audience. Select API keys from the Extras menu. Make a key for yourself. Keep in mind that anyone with this key can access your Mailchimp account!
Adding API To Elementor
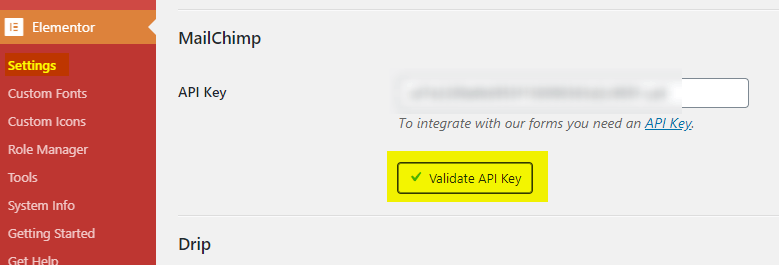
Go to the Elementor settings page after logging in to your WordPress site. The Mailchimp API key field is shown in the integrations tab. Save your API key after copying and pasting it. Keep an eye out for the green checkmark when you click Validate API key. Your Elementor account is now linked to your Mailchimp account.
Mailchimp sign up form in Elementor
In the next stage, you'll use Elementor to design a signup form. For your email list, Mailchimp has pre-built sign-up forms. In Elementor, you may use an HTML widget to incorporate the Mailchimp signup form.
When you create your signup form in Elementor, you have more control over the style of your signup form.
You're looking for the widget for general forms. Add it to your page and fill in the fields you want new newsletter subscribers to fill out. I would recommend merely using an email address, however, you can customize it in Mailchimp.
Select Mailchimp from the "activities after submitting" column.
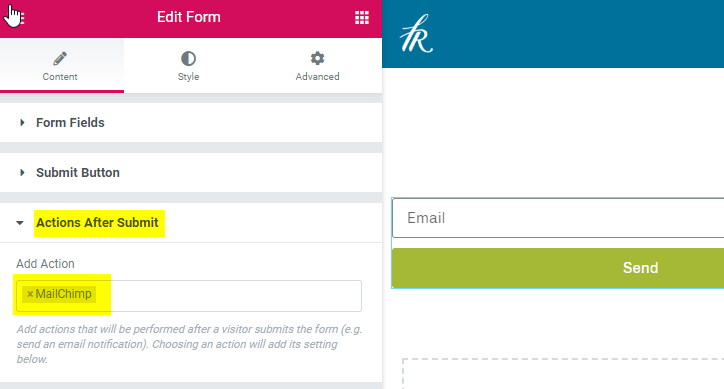
After you've added Mailchimp to your Actions, a second settings window will display below. This is where you choose the target audience for your email sign-up form.
Your Mailchimp account is now linked to your Elementor-powered WordPress site.
You should also look at the extra choices, which allow you to customize the messages that are presented to people who submit the form.
Mailchimp Testing
You may test if everything works as intended after you've developed and created the page with the signup form. This is something you should do before putting the form on all of your pages.
Here's what you should put to the test:
- Sign up for your newsletter and check to see if your email address appears in Mailchimp as subscribed.
- Do you receive a confirmation notice through email and on your website?
- What if you wish to re-subscribe to the same email address?
- Try out the signup form on your phone.
- Request that others do the same.
You want to be certain that this works. It would be awkward to invite folks to sign up only to discover that they had reached Internet paradise.
Adding The Form To Elementor
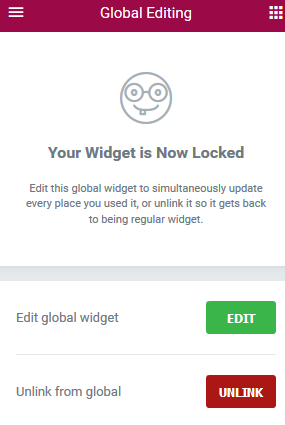
You can make the Mailchimp sign-up form widget global and use it anywhere on your site. This isn't very useful if you have more than 5 pages.
Creating a global area that contains your newsletter sign-up form is a better approach to manage this. This allows you to have more influence over the entire design, not just the shape.
Mailchimp Signup Form Pop-up
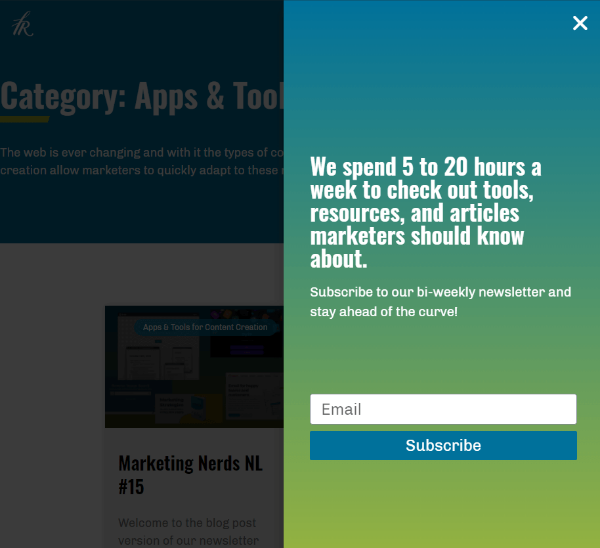
Adding a signup form to the footer or sidebar is a passive technique to grow your newsletter's subscriber base. The Elementor pop-up builder is a good place to start if you want to adopt a more aggressive approach to gaining subscribers.
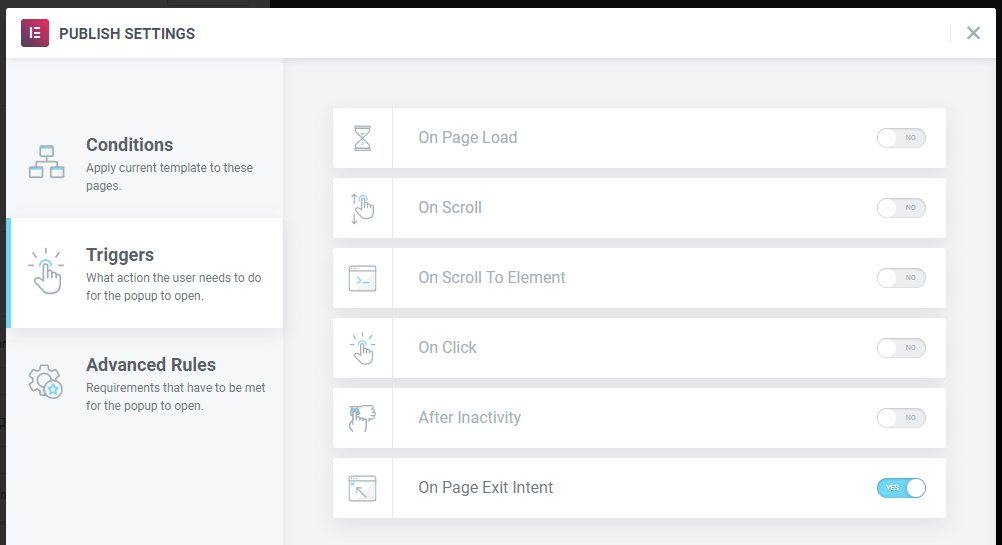
Elementor's Pop-Up builder includes a number of newsletter signup form templates. Start customizing by looking over the available options.
Spend effort locating the appropriate triggers.
On freshvanroot.com, we're always experimenting with new pop-ups. We're currently using an exit-intent-popup. It is triggered every time the mouse cursor travels away from the browser menu.
In Elementor Pro, you can play around with a variety of triggers and display circumstances.
Opt-In Option: Single Or Double?
For years, Mailchimp's default choice was double opt-in, but that changed. Mailchimp's new audiences are now Single-Opt-In by default. If you want to make sure an email address is legitimate, you can manually switch to Double-Opt-In, which forces a potential subscriber to do an extra step.
For your audience, Mailchimp provides two opt-in options: single opt-in and double opt-in. Both methods collect email addresses in a simple and secure manner, allowing you to expand your audience. You might wish to attempt the double-opt-in method, which includes an extra confirmation step that confirms each email address, depending on your organization's needs.
Send Emails To Your Subsciber
Subscribers sign up and then promptly forget about it. Your most recent newsletter was recently sent, and the next one will be sent in six weeks. Sending a welcome email to new subscribers is a wonderful way to introduce yourself and direct them to the most recent edition of your newsletter.
This is how our welcome email now appears:
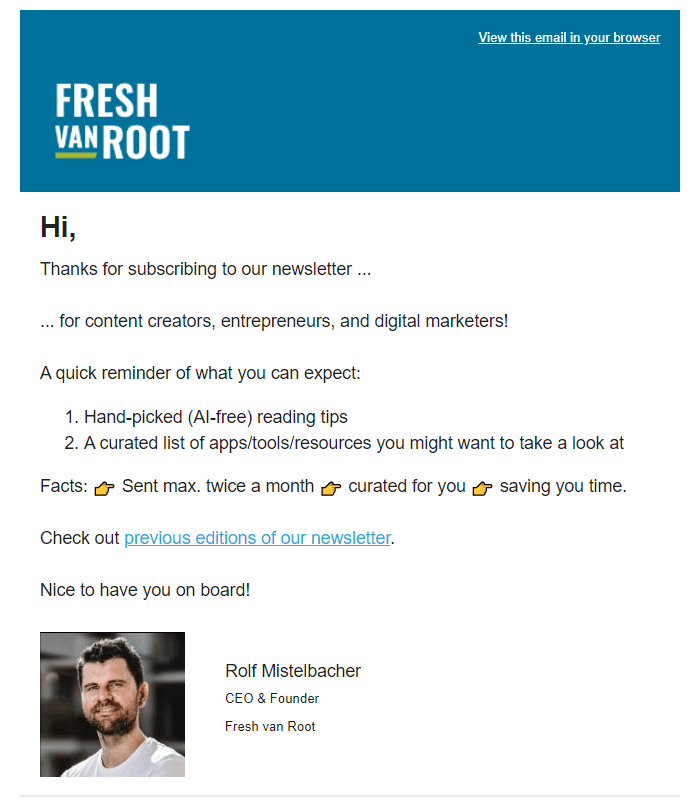
You're covered with Mailchimp. Create > Email is where you can set up your automated welcome email.
Click "Welcome new subscribers" after selecting Automated. Observe the procedure. The initial draft of your welcome email should take no more than a few minutes.

Ending Thoughts
Both Elementor and Mailchimp are strong technologies that can be connected effortlessly. It simply takes an hour from conception to deployment of your signup form. Keep a close eye on how your visitors respond to the newsletter signup form. You could also seek comments from others. Of course, offering a newsletter that is worth subscribing to is the difficult part.


