
Cloudways made some big changes to Breeze, so today's tutorial is about how to set up Cloudways Breeze. This plugin is getting better, and it now has JavaScript delay, heartbeat control, preload fonts, and prefetch. It only has a 3.8/5 star rating, but I hope they keep adding new features and making the app more stable.
Most Breeze settings are similar to what you'll find in other cache plugins like WP Rocket and FlyingPress, so setting up Breeze and testing your TTFB and load time should only take a few minutes. Cloudways also has a Breeze tutorial, but it doesn't add much to what's already in the plugin. Simply install the plugin and follow the tutorial to better understand it.
Basic Options
Turn on the Cache System because, of course, you want your cache plugin to support caching.
Set Purge Cache After to 1440. This is the lifetime of the cache, which is set to one day. You can change this number if your CPU is being used a lot or if you don't post content very often.
Create Amazing Websites
With the best free page builder Elementor
Start NowTurn on the Gzip Compression to shrink the size of HTML, CSS, and JS by compressing the content.
Keep the Browser Cache on so that the browser can store certain files by adding expired headers.
Keep the Lazy Load Images option. On which settings to lazy load iframes and use the lazy load feature of the browser itself. I would personally use Cloudflare Enterprise for image optimization (not Breeze), which comes with Mirage + Polish. Breeze doesn't have options to keep images from being lazy-loaded to lazy-load images in the background, or to replace YouTube iframes with preview images. There's also no way to preload images, add missing image dimensions, use WebP, or resize images for mobile. Use a Content Delivery Network (CDN) or an image optimization plugin instead.
Keep Cross-origin Safe Links turned on so that it can add "noopener noreferrer" to external links. This improves security by blocking access to the website where the link is located (noopener) or by hiding referral information (noreferrer). These shouldn't hurt your SEO or affiliate links.
Turn off Cache Logged-in Users. Most sites shouldn't need to cache logged-in users unless you're running a membership site or something similar, in which case you would select the roles.

File Optimization
You should test these settings to see if they break your site or make it more important on the web. If a minification setting breaks your site, it's better to find the broken files in your source code and keep them from being minified so that the rest of your files can be.
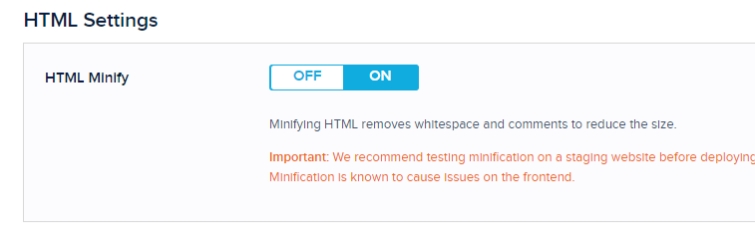
HTML Settings
Keep the HTML minify option ON so that it can reduce the HTML file size by emitting whitespace and comments.
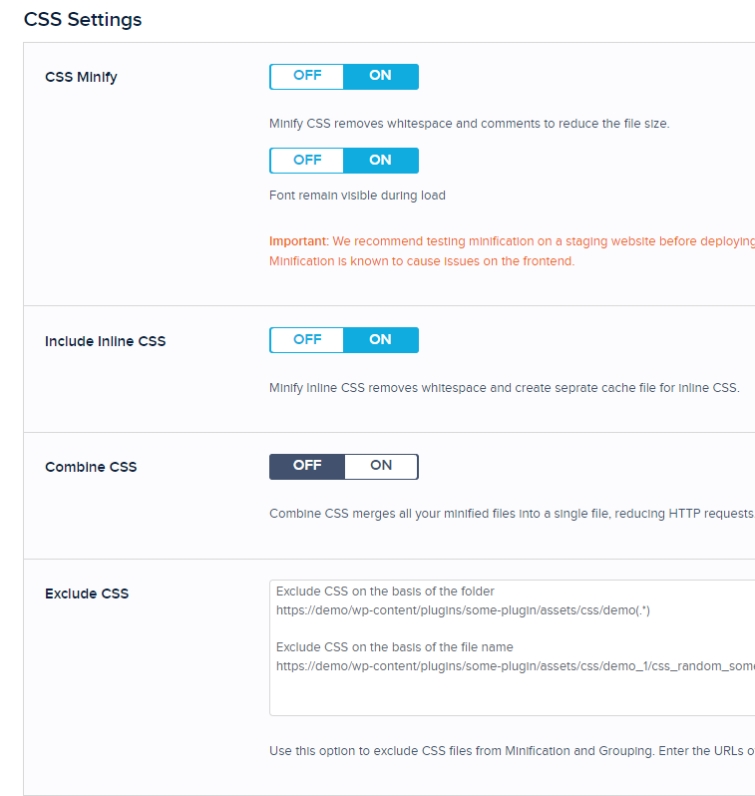
CSS Settings
The CSS Minify option should be turned on so that the plugin can remove whitespace and comments from CSS files to make them smaller.
The font should also stay visible while loading. You can fix the PSI recommendation to make sure text stays visible while a web font loads by adding font-display: swap to your font's CSS. This tells your computer to load a fallback font while your normal font loads. This stops FOIT (flash of invisible text) but causes FOUC (flash of unreadable text) (flash of unstyled content). It's a choice, so try both.
Turn on the Include Inline CSS options, which will also minify the inline CSS (CSS located in your HTML files as opposed to external CSS). It can sometimes break your site, so be careful when you test this setting.
Turn off Combine CSS because, according to WP Johnny, only sites with small CSS/JS files should combine them, while larger sites shouldn't. Check the size of your CSS and JS in the GTmetrix Waterfall chart.
Use Exclude CSS option. There may be a few files that cause problems. Find those files in your source code and add them to the list to keep them from being minified or combined.
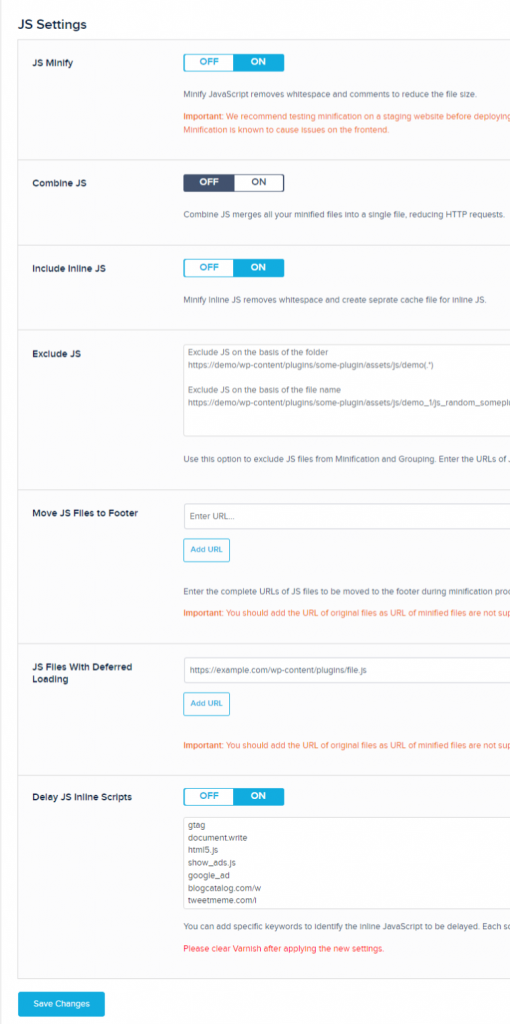
JS Settings
When you turn on JS Minify, it will shrink the size of JS files by getting rid of whitespace and comments.
Put an end to Combine JS. It's the same idea as putting CSS and JavaScript together. Again, check your GTmetrix Waterfall chart and only combine when the sizes of your JavaScript files are very small.
Do not turn off Include Inline JS. It's the same idea as including CSS inline, but for JS files.
Exclude JS is used in the same way as Exclude CSS. If JS settings are causing problems, find the files that are causing them and remove them.
On Move JS Files to Footer, many themes and plugins already load JavaScript files in the footer. However, if you have JS files that aren't loaded in the footer but are loaded in the header, you can add them here (minified files aren't supported). It can easily break your site, so be careful.
Choose this one. JS Files With Deferred Loading only if deferring JavaScript can fix the render-blocking resources PSI item. This is a good place to start to learn which JavaScript files you should defer. But any JavaScript file that isn't needed to load the page should be put off until later. Try Autoptimize if you don't want to add JavaScript files to Breeze by hand.
Keep Delay JS Inline Scripts On because it delays inline JavaScript until the user interacts with it. Check out my list of commonly used JS files to delay (you will enter the keywords, not the full files). A lot of third-party JS, like AdSense, Analytics, Facebook Pixel, and comments, loads below the fold.
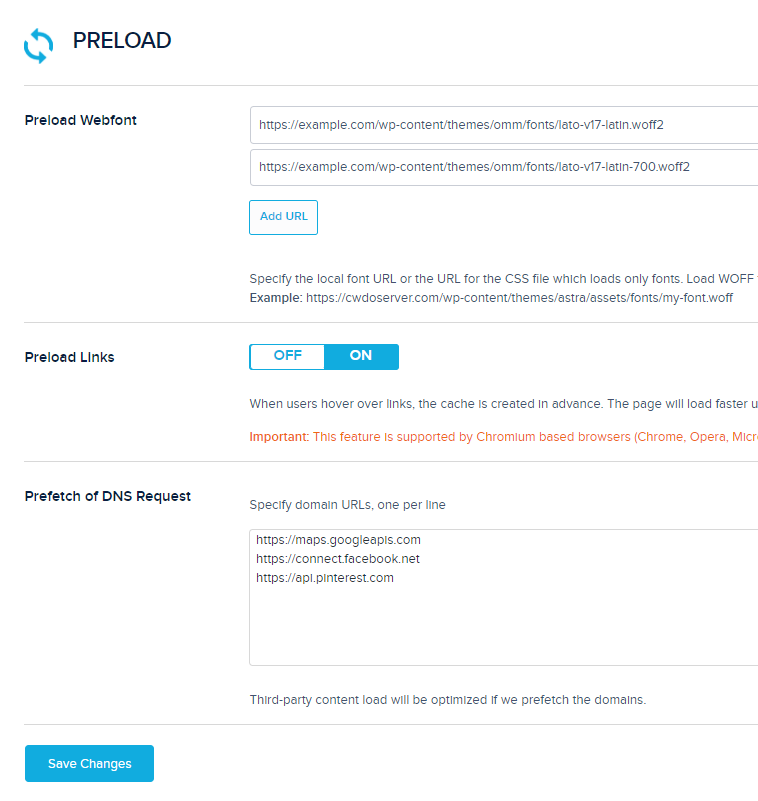
Preload
Preload Webfont - Under "preload key requests," PSI may tell you which fonts to preload, but as a general rule, you should only preload fonts that are in the CSS file or load above the fold. It can also be used to preload CSS files, but if you do that, be careful and test the results.
Preload Links - Don't turn this off. When a user moves their mouse over a link, that page will load in the background. When the user clicks the link, the page will look like it is loaded right away. But if a lot of your visitors hover over a lot of links, this can make your CPU work harder.
Prefetch of DNS Request - Look at the PSI report for "Reduce the impact of third-party code." Copy the URLs of all third-party domains that load on your website and paste them here. You should use preconnect for Google Fonts + CDN URLs, though. This helps browsers predict and load third-party domains a little faster, but it probably won't make the web better overall.
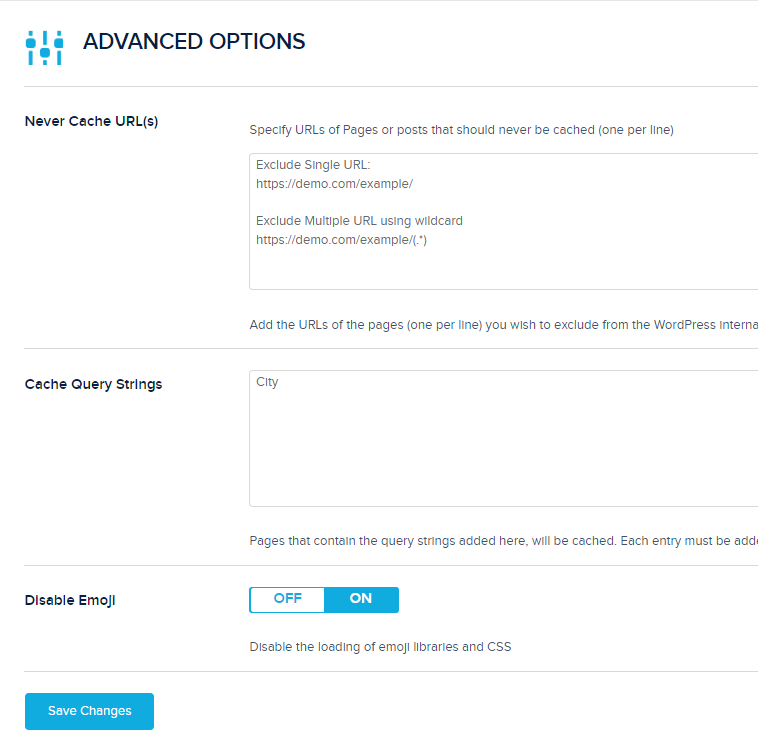
Advanced Options
Most of the time, Never Cache URL is used to keep URLs out of the cache (mainly for WooCommerce sites or similar). If you exclude them here, Cloudways says you should also exclude them from Varnish by going to Application Settings > Varnish Settings > Add New Exclusion.
Cache Query Strings to store string URLs in a cache. By default, Breeze doesn't store query strings (URLs that look like this:?model=mercedes) in its cache. If you need to store them in a cache, add them here.
Turn on "Disable Emoji," which removes a small JS file (if you want to use emojis, just use Unicode).
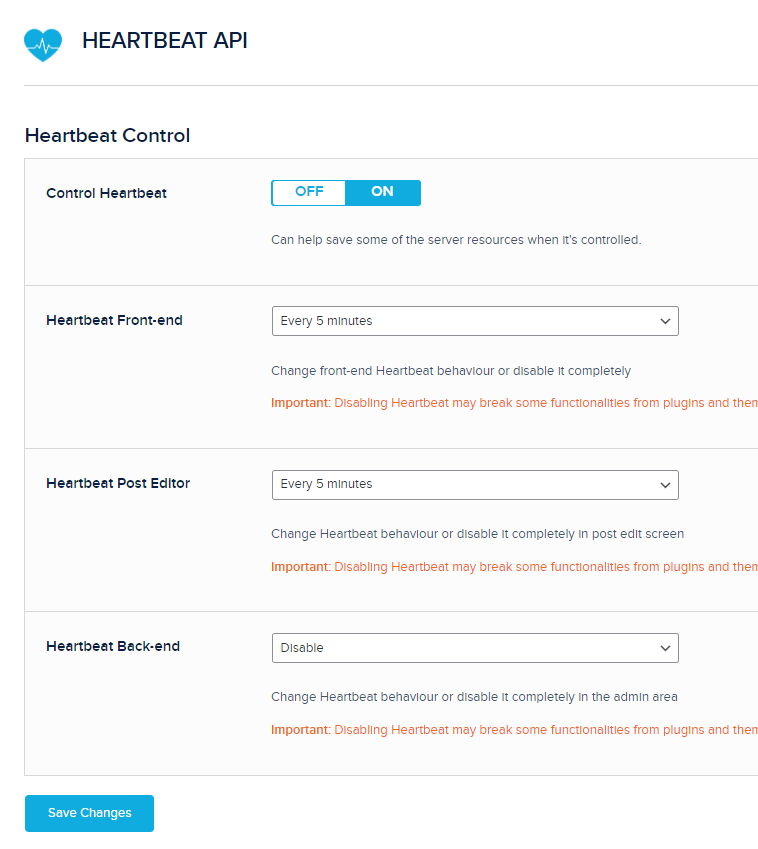
Heartbeat API
Do not turn off the Control Heartbeat. If you look at your Cloudways analytics (under Application > Monitoring), you might find that admin-ajax is getting too many requests. If you turn off or limit the Heartbeat API, these requests and CPU usage will go down. Even though it's best to turn it off completely, make sure you're okay with turning off real-time plugin notifications, seeing when other users edit posts and other Heartbeat API features.
Turn off the Heartbeat Front-end, since most sites shouldn't need it here.
Regarding Heartbeat Post Editor, it saves automatically every 5 minutes. If you want autosaves, you can set a limit here.
Also, turn off Heartbeat in the backend, since you shouldn't need to use it there.
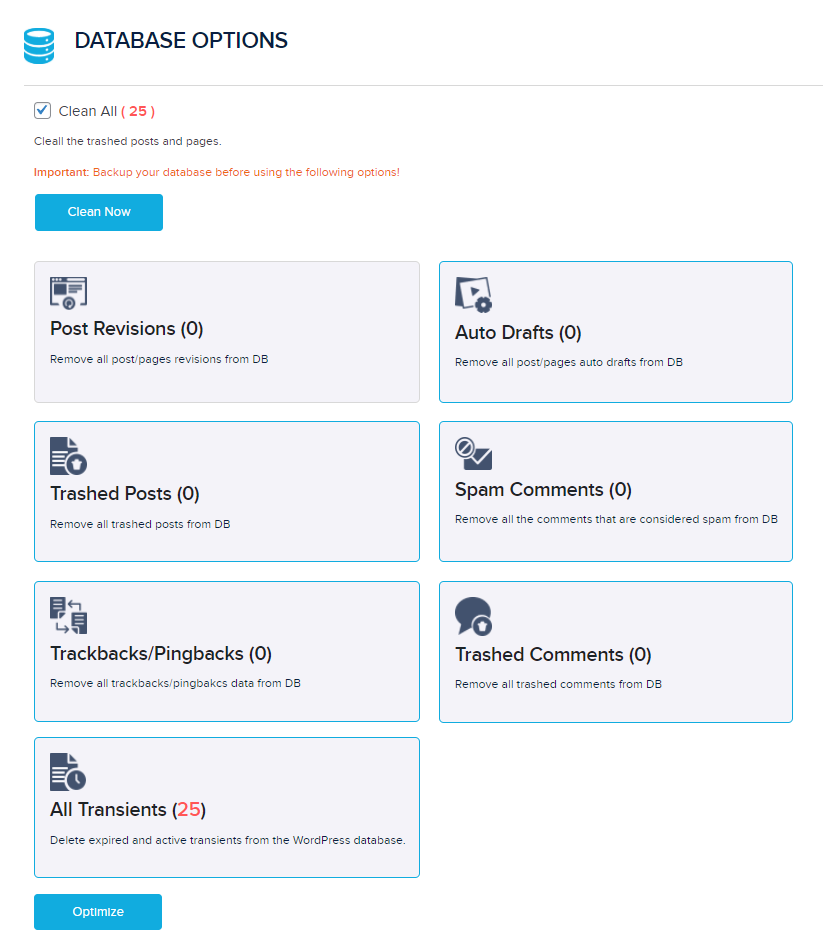
Database Options
Apart from the post-revisions cleaning, I would do everything else. Having the option to keep a certain number of post revisions (5, for instance, so you have backups) and regularly scheduled database cleanups would be very helpful. WP-Optimize, like other cache plugins, should be installed on occasion to perform a more thorough cleaning of your database. In this way, you can determine which plugins or modules are causing the most unnecessary load on the database and remove any lingering tables they may have left behind. Neither Breeze nor any other cache add-on does this.
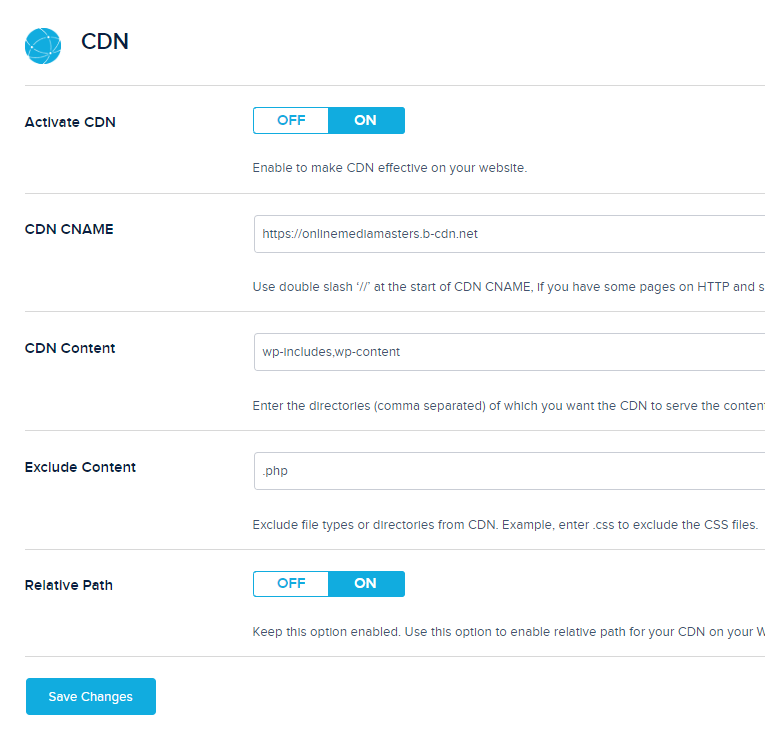
CDN
Turn on CDN activation only if you're not utilizing Cloudflare's CDN services. Like Gijo Varghese, I rely on Cloudflare and BunnyCDN (see his Facebook post below). Forego this step if you're not making use of a content delivery network (CDN) that requires a CDN URL.
If your content delivery network (CDN) employs a custom CNAME, enter it here. You can increase the number of assets served by adding the CDN URL to your cache plugin in addition to utilizing the BunnyCDN plugin.
When it comes to serving material from a CDN, the default directories are wp-includes and wp-content, but you can add more by specifying which directories you need to be served.
Keep this as is; normally, you want all static files to be provided by the CDN.
Don't turn this off if you want to utilize a relative path URL (the full URL of your website).
Varnish
When turned on, "Auto Purge Varnish" will clean the varnish invisibly (Cloudways says to enable it).
Varnish Server indicates the IP address of your Varnish server, which is added automatically.
If you've made changes to the design or other aspects of the site and haven't seen them yet, try clearing the Varnish Cache.

Final Thoughts
Cloudways is great, and I used Vultr High Frequency for a while before switching to Breeze (after moving from SiteGround). I think Cloudways could be a more appealing host if more attention were paid to the Breeze plugin.


