
The cursor, as a moveable indicator on a computer screen, indicates the location of work. You can move the cursor using either the mouse or the touchpad. When we point to a clickable object, the cursor automatically forms an arrow and an index finger. Fortunately, you can quickly alter the default cursor on your WordPress site to any form you desire with Elementor.

Change Default Cursor On Elementor
Before continuing, we'd like to make sure you have Elementor Pro because you'll require the Custom CSS feature, which is only accessible in Elementor Pro. So, let us get started!
Upload Cursor
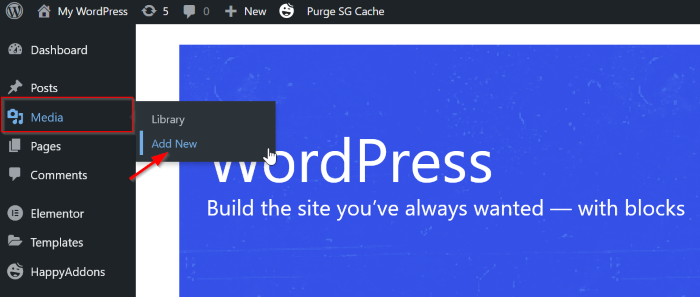
To begin, save your preferred cursor in PNG or SVG format to your Media Library. Go to Media -> Add New on your WordPress Dashboard. Make sure the maximum size has a weight and height of 100 pixels. In this example, a PNG file with the dimensions 32 by 32 pixels is used.
After you've finished uploading your file, remember to copy the link by clicking the Copy URL to clipboard button.
Create Amazing Websites
With the best free page builder Elementor
Start Now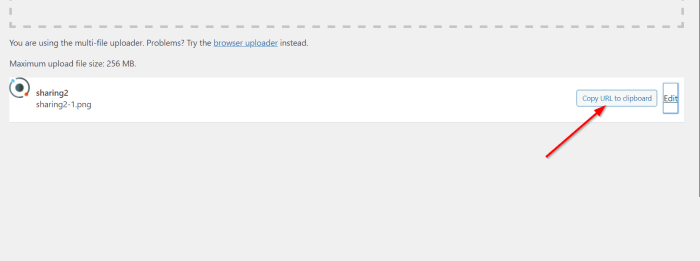
Change the Cursor on a Single Page
This approach will only influence and inherit the page you're editing.
Go to your Elementor editor and either build a new page or open an existing one. Go to the Advanced tab after clicking the Page Settings button. Next, select Custom CSS; in the Custom CSS section, enter the following CSS:
html{
cursor: url('paste your link here', auto
Your cursor has now been changed. Feel free to experiment with several cursors to discover the best cursor for your website (shapes, size, etc.).
Change the Default Cursor on the Entire Site
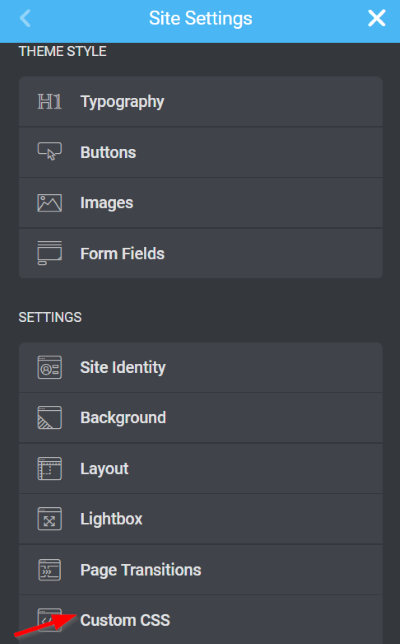
Next, we'll adjust the site's default cursor. Go to your Elementor editor and either build a new page or open an existing one. Click the hamburger menu on the Elementor settings screen, then the Site Settings menu.
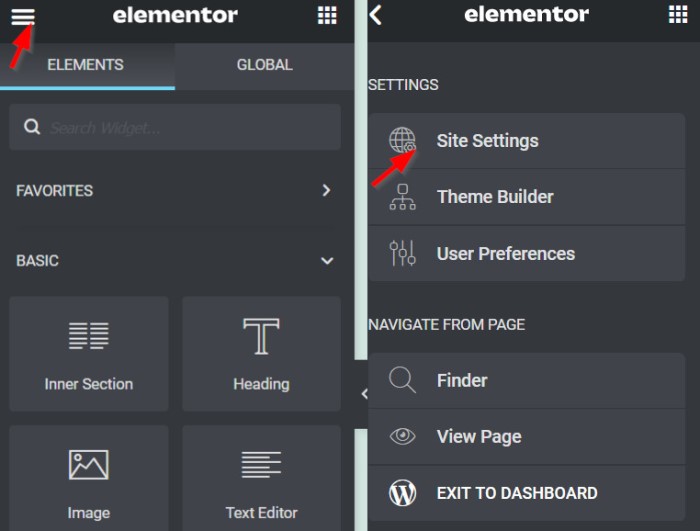
When you click the Site Settings menu, the header turns blue. It shows that you are editing globally across the web, rather than just on a single page. Scroll to the bottom and click the Custom CSS button.
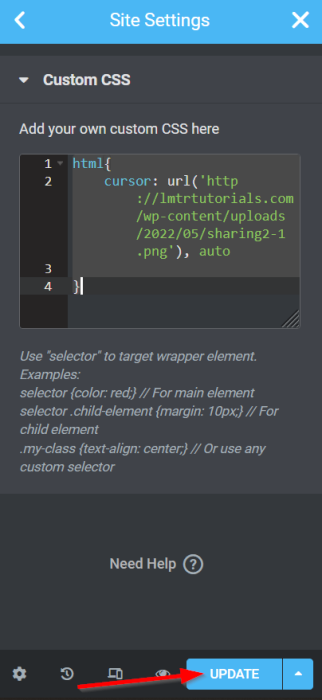
Write the CSS code below (similar to the first method):
html{
cursor: url('paste your image URL here', auto
Now the cursor has changed, don’t forget to click the UPDATE button to save the progress, and the changes will be inherited entire site.
So, here is the final design.

Wrapping Up
This tutorial demonstrates how to use Elementor to simply alter the default cursor on your WordPress site. You can customize the cursor to your liking. However, we would like to remind you that the functionality is not affected by the cursor you select. I hope this tutorial is useful to you, and if it is, please share it with your friends. Check out our other elementor lessons as well.


