
You want to know how to change the picture on a website link because… You just finished your WordPress website and are really proud of it, so you send the link to someone via text message or post it on Facebook. But when you click on the link, an image that you don't want to represent your website pops up. Do you recognize it?

There is a simple way to change the image link on your website, which is good news.
How To Add Link To An Existing Image
First, go to the edit page for the post or page where you want to add a link to an image. Next, click on the image in the editor, and you'll see the following toolbar:
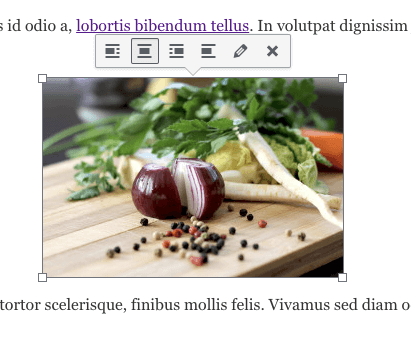
See the little pencil? The Image Details window will open when you click that button. To open the window, click it now.
Create Amazing Websites
With the best free page builder Elementor
Start NowIn the Display Settings area of the Image Details window, there is an option called "Link To."

Click on it and choose "Custom URL." Then you'll see a box where you can type any URL.
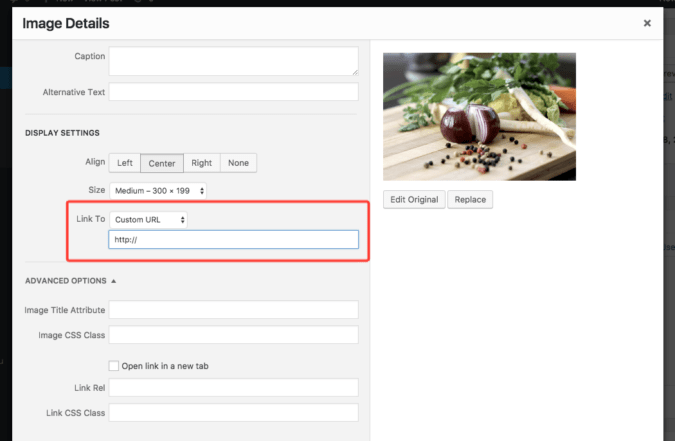
Change the image and save the page or post. The image will now link to the new URL.
Link An Image As Inserted
You'll save some time by doing this.
You've probably seen the Insert Media window before. It shows up when you want to add new media to a post. The same Link to the option is in the bottom-right corner.
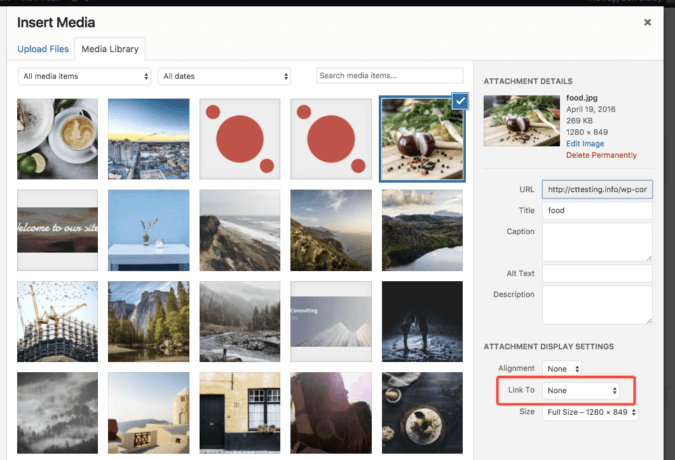
This way, you can add the link at the same time as you insert the image instead of having to open the image details window later.
Remove The Default Link
By default, images always link to the page that has the attachment. This is pretty pointless, since the attachment page just shows the same picture, and usually not even in a bigger size.
This is the Link to status, which controls where an image in a post links to:
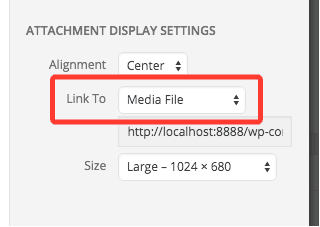
"Media File" is what "Link to" means by default for images in WordPress. The Media File page, which is also called the attachment page, doesn't do much because it's just a page with the same image.
You probably don't want every image in your post to link to a page that just has the image at the same size again, but it can be very time-consuming to remove this link from every single image.
The No Image Link plugin was made by a developer who had the same idea as you.
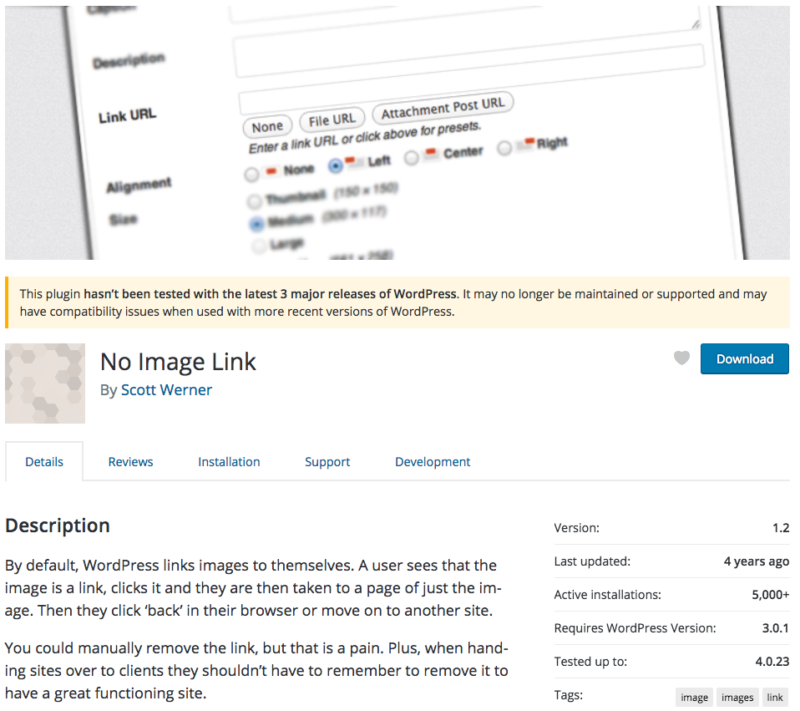
This plugin hasn't been updated in a while, as you can see from the screenshot, but it still works fine.
This simple WordPress plugin will make it so that the images you add to posts and pages don't have any links by default. In other words, it gets rid of the link to the default image.
Once you install this plugin, you will never again have to change the status to "none." You can still link your images if you want to, but it won't happen automatically anymore.
Wrapping Up
Now you know how to add links to your images quickly and easily. You can save time by adding links as you insert images by using the display settings in the Insert Media window.
Post a comment below if you have any questions about how to add links to images with WordPress.


