
There is no web design without fonts. They establish the style and mood of the design, which can help or hurt its visual appeal. After deciding on the font families for your website, you'll want to be able to modify them easily. WordPress provides a number of options for modifying the site's typeface. Whether you'll need a plugin or will be able to add them manually, as well as the type of theme you're using, will all affect how you make the necessary adjustments. Here, we'll go over each option and show you how to use it in WordPress so you can change the fonts on your Divi site. Okay, so let's begin.
What are Web Fonts?
Google, Adobe, FontSpace, and many others all offer free web fonts for your use. They let you add custom fonts to your website's code, which gives you more options for how to lay things out. Web fonts, as opposed to desktop fonts, are hosted remotely. When a user goes to your website, the web fonts are downloaded right away from the font provider. When they are fully optimized, they will be visible on your website in under a second. Web fonts allow you to use different fonts on your website without having to embed each one individually.
The 4 Web Font Types
The four most common types of web fonts are:
- Serif: Because of the embellishments on the top and bottom of each letter, serif fonts are best used for headings.
- Sans Serif: In comparison, Sans Serif fonts are equally at home in headings and body text due to their cleanliness and readability.
- Script: Because of the whimsical appearance that script fonts have, they should generally be used sparingly.
- Display: Last but not least, display fonts are usually bold and chunky fonts, so you should only use them for headings and not the body text.
Using Web Fonts in WordPress
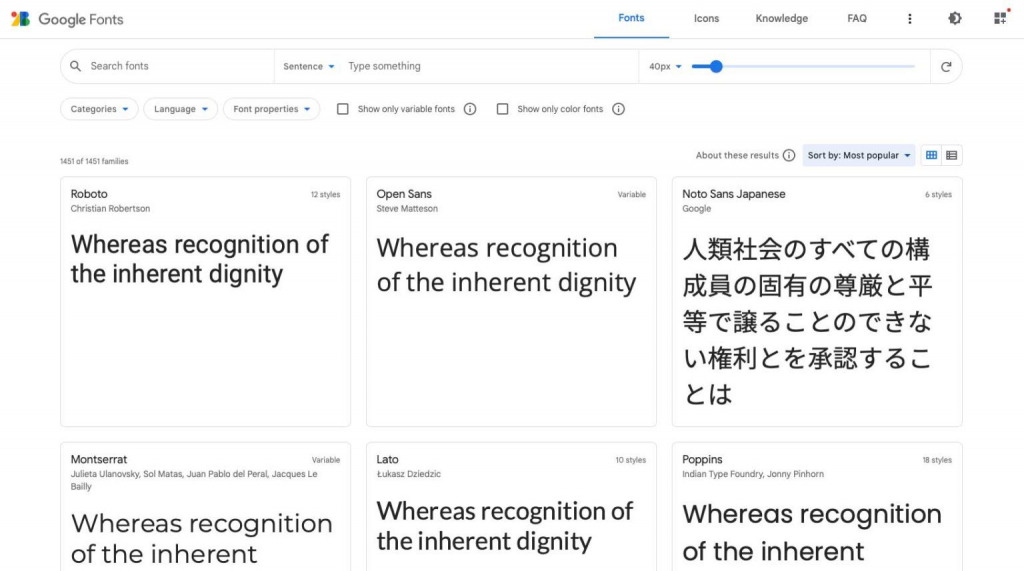
WordPress provides a number of options for working with web fonts. Whether you're working with a full-site editing block theme, a generic WordPress theme, or a theme that uses a theme builder, you can embed them manually, with a plugin, or through your theme's settings. Because of their availability and simplicity, Google Fonts are frequently used by WordPress developers.
Create Amazing Websites
With the best free page builder Elementor
Start NowHow to Change Fonts in WordPress (5 Ways)
There are a few different approaches to changing the fonts in your WordPress installation. Some paid themes, like Divi, include a font manager that utilizes pre-installed Google Fonts. To top it all off, if you want Divi to use all of the Google font subsets, you can turn that on in the theme's settings.
Customizer settings allow you to alter the theme's default fonts, but not in Divi. It's possible that, depending on the style, this approach will have a limited selection of fonts to choose from. Include them in the theme.json file if you're employing a block theme that supports full site editing (FSE), like Twenty Twenty-Two. In addition, the Gutenberg block editor and a font management plugin are both available. Finally, you can enter them by hand. Let's check out the different ways to alter the fonts in WordPress.
Using the Theme Customizer Options to Change Fonts
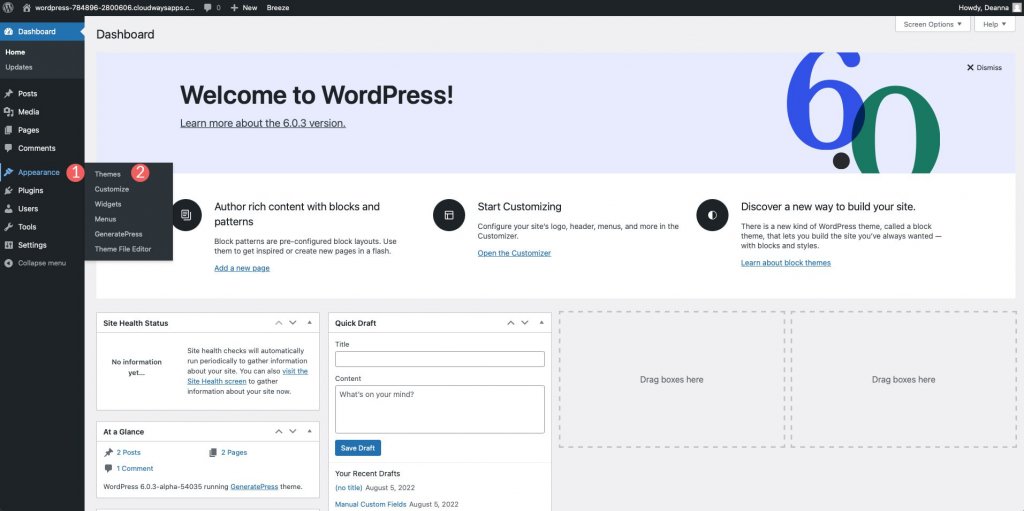
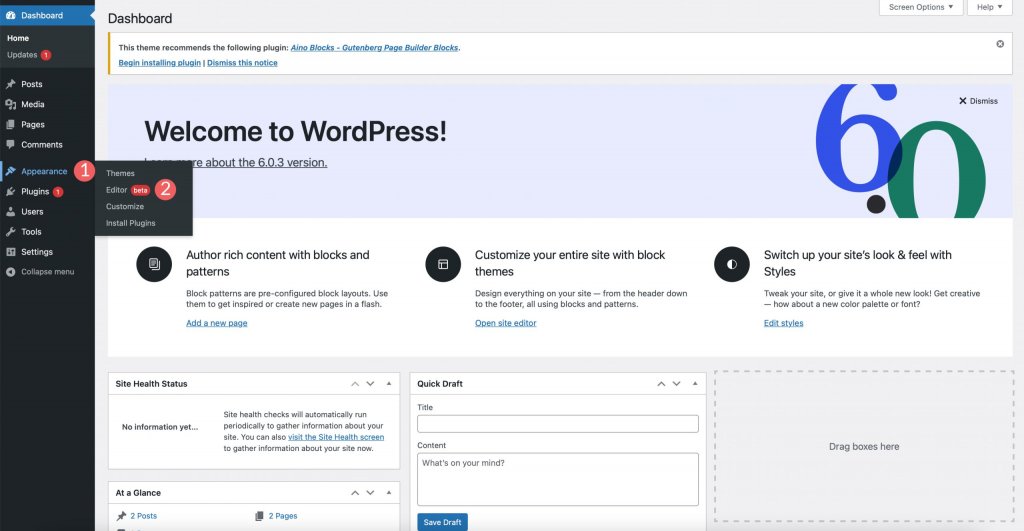
In the WordPress theme customizer, you can change a few settings based on the theme you're using. To demonstrate, let's alter the Genesis theme's default font type. Log in to the WordPress panel. Navigate to Appearance > Customize.
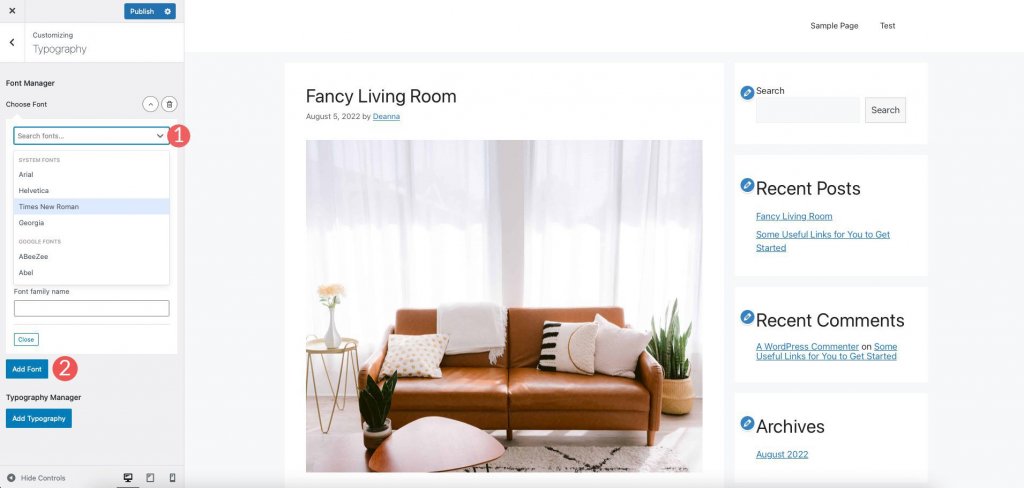
Select typography from the list of customization options that appears. Font Manager and Add Typography are the two alternatives available. To access the drop-down menu under the first choice, click on it. You can then browse the available fonts or start a search for a specific one. After settling on a font, you can incorporate it into your site by clicking the Add Font button. By repeating the steps above, you can add more fonts and give them to different elements.
Typography Manager is the second option, and it lets you designate specific fonts for use in specific parts of your site. You can insert them anywhere on the page, including the main text, the site's title and description, menu items, and headings.
Also, you can modify the fonts here. Choosing the element you want to change the font for is the first step. The next step is to choose a font family. Modify the text in any way you like by picking a new font and size. Choose the right font, size, line height, and letter spacing to change how the text looks. Use your flexibility to apply the same method to other components.

Changing Fonts Using WordPress Full Site Editing
The majority of full-site editors have preloaded themes with a limited number of fonts. You can alter the theme's font in the theme editor of themes like Blockbase, Emulsion, Aino, and Twenty Twenty-Two. Let's take the Blockbase template as an example. Select Theme > Editor to modify the fonts.
Then, on the top right corner of your screen, click the style icon.
Select the Typography tab to make adjustments to the theme's font.
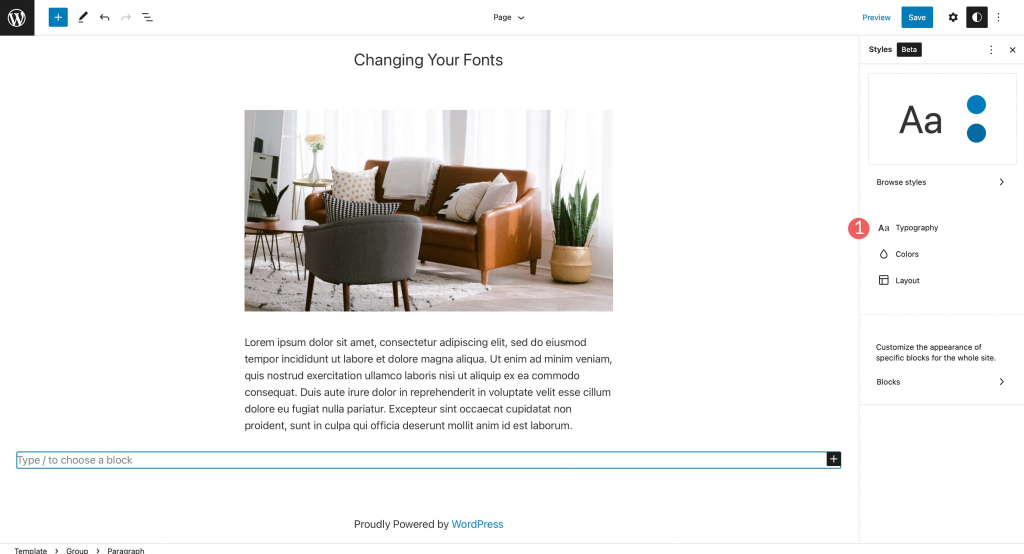
You can customize the site's text and link text, as shown here.

To access the font menu, locate the heading labeled "font-family" and click it. Make your choice from the available fonts. Size, line height, and style options are also available. Make your selections, then click the save button in the top right to apply them.

Changing WordPress Fonts with the Block Editor
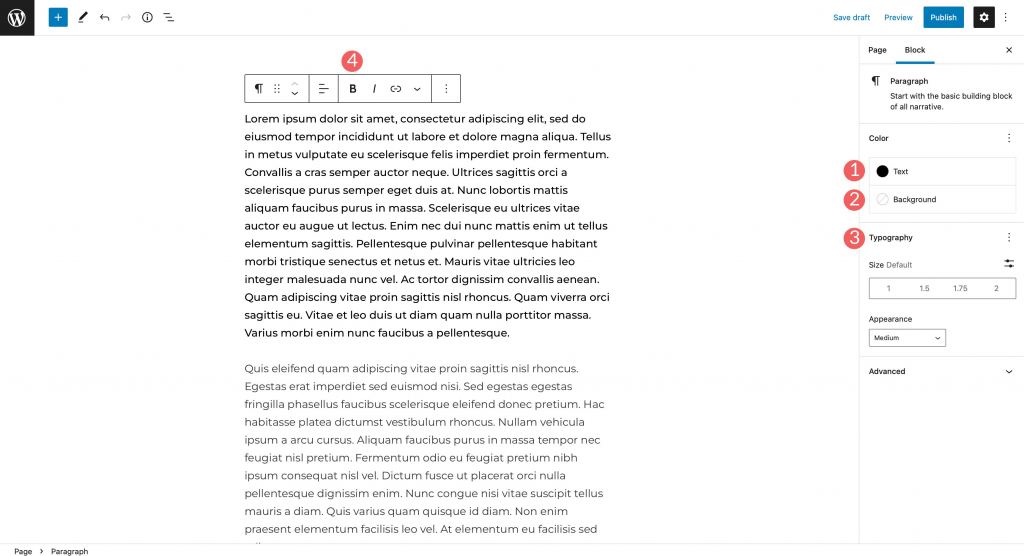
The fonts in your document can be customized through the block editor. You have complete control over the font, size, color, and style of the text and its background. Font weight is usually one of the options for how something looks, and it changes depending on the font you choose for your theme.
In text blocks, you'll find further customization options. You can align your text, make it bold or italic, and use other formatting options.
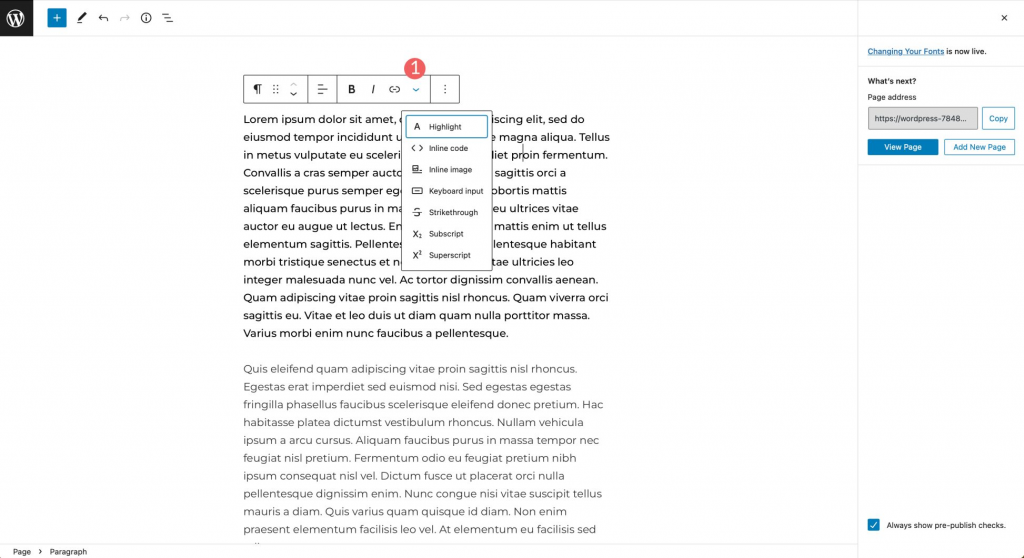
You also have the option to add inline code, images, and strikethroughs, as well as highlight your text. Finally, you can also use subscript and superscript characters.
Using a Plugin to Change Fonts
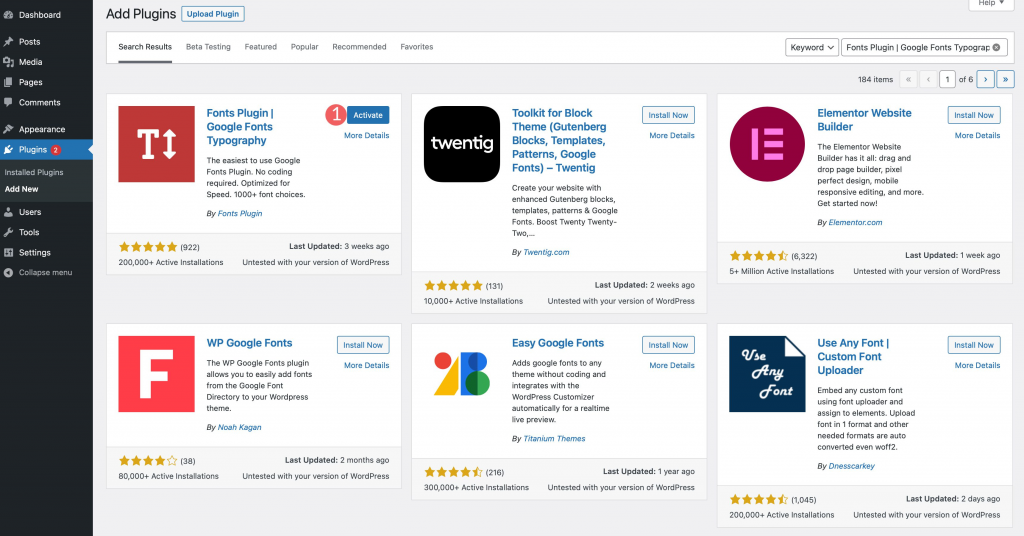
A plugin like the Fonts Plugin | Google Fonts Typography is necessary to alter the fonts used by a generic WordPress theme. In this tutorial, we'll go over setting up the plugin and using it to alter your site's fonts.
To install a new plugin, go to the Plugins menu and click "Add New." In the search bar, type "Fonts Plugin | Google Fonts Typography." To add the plugin to your site, please click "Install Now."

Activate the plugin next.
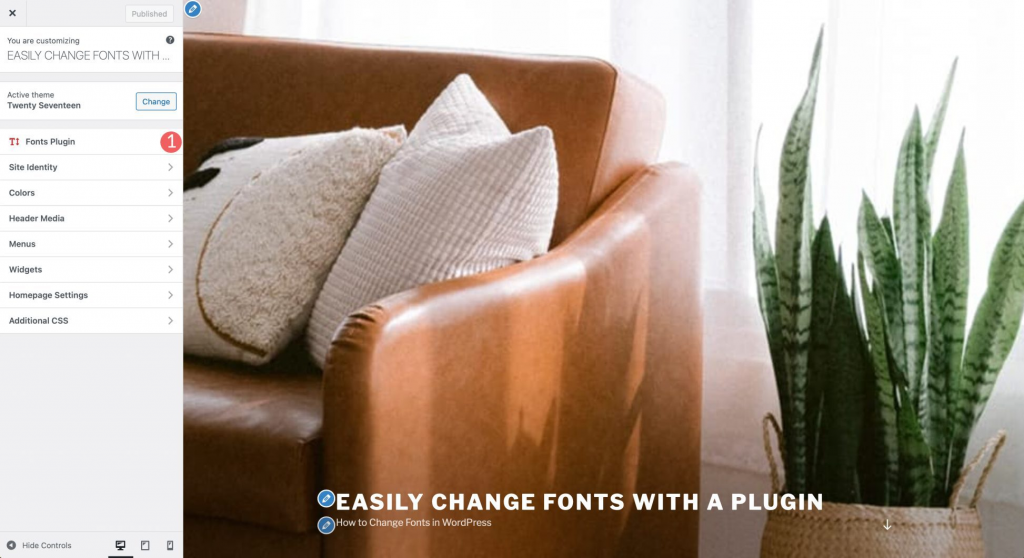
Go to Appearance > Customize to activate the add-on. If you click that link, a new submenu labeled "Fonts Plugin" will appear in the page's customizer after the page is restored.
Plugin Settings
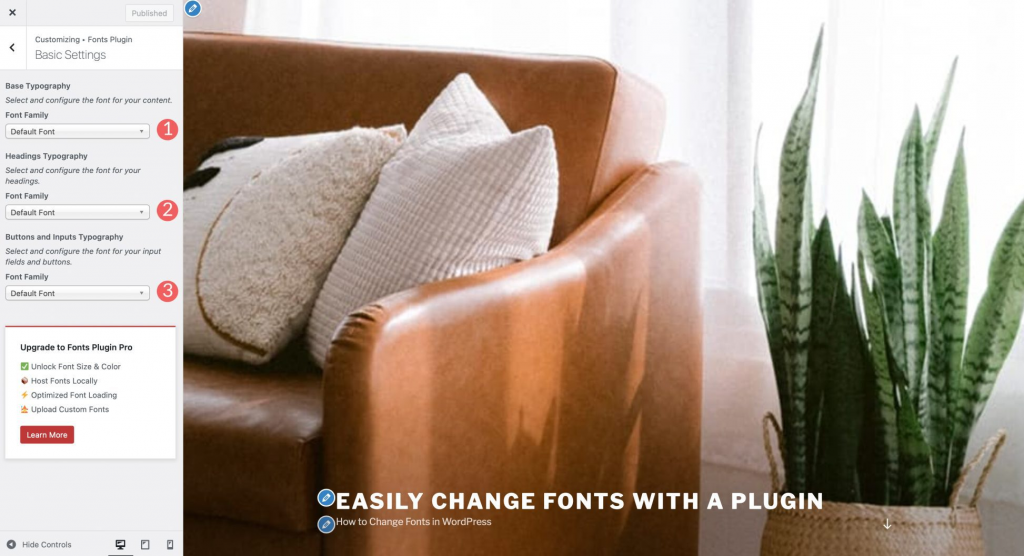
When you click on the tab, a drop-down menu with four sections will appear: font loading, debugging, basic settings, and advanced settings. In the most fundamental configurations, you can select a default font family from among the more than 1400 offered by Google. Headings, as well as buttons and input fields, can have their fonts customized.
Changes to the branding fonts, such as the site title and tagline, can be made in the More Advanced Settings section. The font used in your site's menus can be modified under the "Navigation settings" tab.
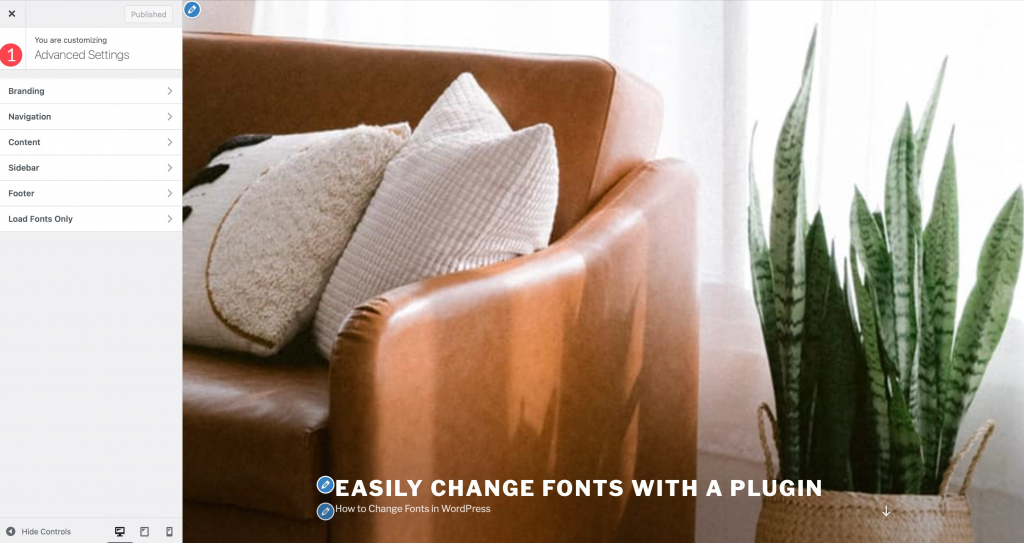
The Content Typography menu allows you to modify the font used for the body text and the font family used for all heading tags separately.
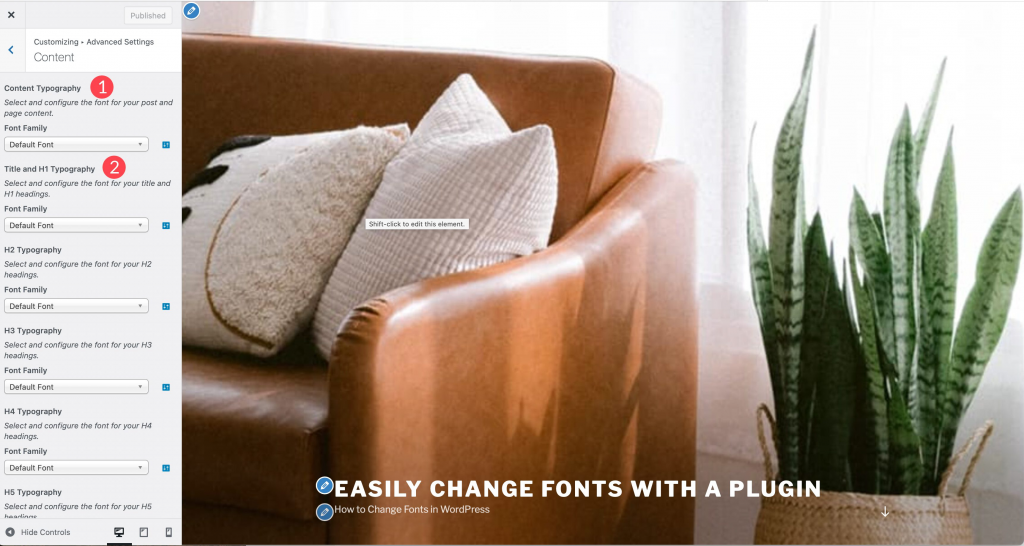
Both the heading and body fonts can be customized in the sidebar and footer sections of your site. The final option, "Load Fonts Only," lets you load specific fonts without applying them to an element. When only certain sections of your document should make use of specific fonts, this is the way to go about it. The premium add-on is the only one that includes the font loading menu.

Turning on the "Force Styles" option in Debugging will help you figure out why your fonts aren't loading. The disable editor controls checkbox hides the font menu when editing posts and pages. Swap, block, fallback, and optional are the four font display options available to you. You can undo all of your changes to the plugin's font settings by clicking the Reset All Fonts button.
Using the Divi Theme Builder to Change Fonts

When it comes to creating themes, Divi is among the best. Divi gives you a wide variety of controls over WordPress fonts. To start, it has a collection of Google fonts that you can use right away. Fonts can be used in the theme builder and in any module that has text options. Divi's built-in theme customizer makes it simple to apply global font settings. Let's check out Divi's font options and see how they work.
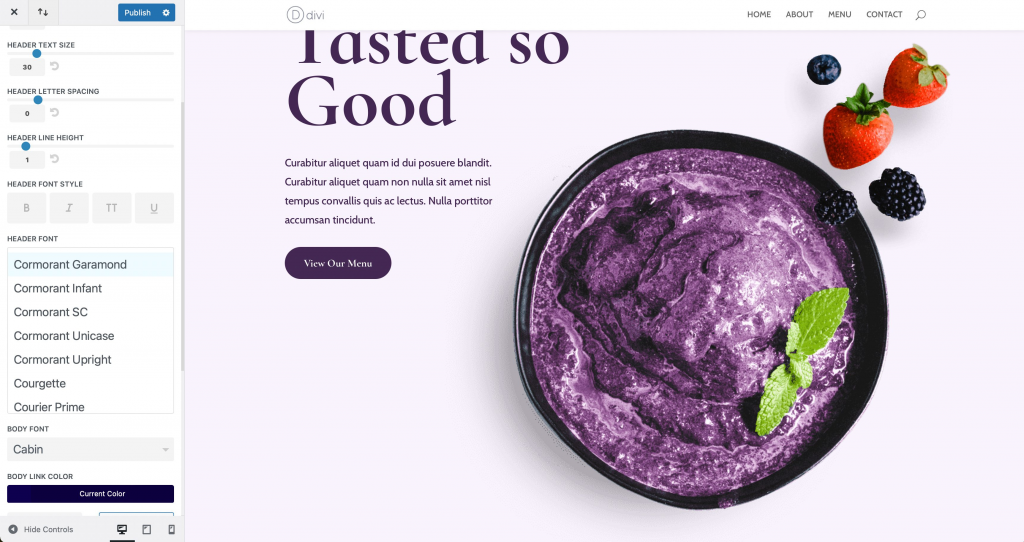
Enabling the theme customizer will allow you to select a default font. To begin, go to WordPress's admin panel and click on Theme > Customize. Select General Settings > Typography from the customizer's drop-down menu. Size, line height, letter spacing, font style, heading, body font, and color settings for each are all customizable. Divi comes with most of Google's fonts, so you can choose from a nearly endless number of styles.
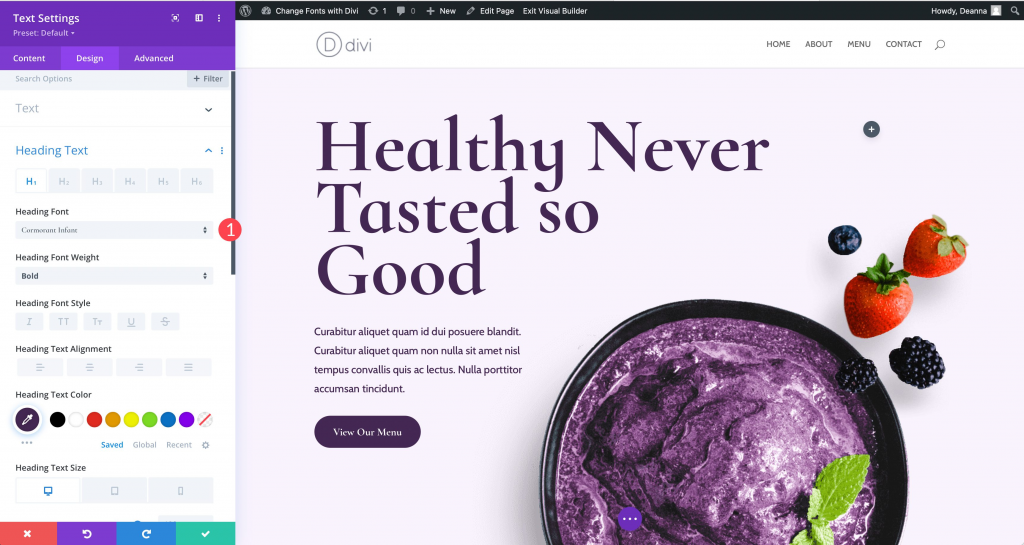
If there is text in a module, you can change the font style in addition to what you can do in the theme customizer. We'll use the text module's font customization features as an example. All of the text options are grouped under the design menu. You have complete control over the font, size, color, and style of the body copy and the heading copy. In order to make changes to the heading font, you must first activate the submenu by clicking on it. The font itself, as well as its weight, style, text alignment, color, size, and more, are all customizable.
Wrapping up
WordPress provides a number of options for modifying fonts. Using a plugin like Fonts Plugin | Google Fonts Typography is the simplest method if you're working with a generic theme. Themes that let you make a lot of changes to your site usually have more than two ways to change things, but some of them may be hard to use. Because of the flexibility it provides, a theme builder like Divi should be seriously considered. Last but not least, adding fonts manually may be the best option for you if you are a hands-on developer or if you need only a few alternatives.


