
Elementor is the top WordPress website construction tool, allowing web designers to create professional, pixel-perfect websites using an intuitive visual builder. Elementor includes the option to alter the background picture of any part or column on your website, including the hero section, which is the first thing visitors view when they land on your page.
What is a Hero Image
A hero image is an enormous web banner image that is pinned to a webpage's header section, typically near the top of the page. It usually includes both an image and text to express a company's main message. Above the fold, hero photos frequently include a call to action (CTA) that encourages visitors to explore the rest of the page. The purpose of this graphic is to provide energy and excitement to a page while also making a good first impression.
How to Change Hero Background Image on Hover
In this blog post, I'll show you how to use Elementor's dynamic tags and custom CSS to change the hero's background picture on hover. This will produce a magnificent impact that will draw the attention of your visitors and make your website stand out.
Step 1: Create a new Page
The first thing we need to do is to create a new page and edit it with Elementor.
Create Amazing Websites
With the best free page builder Elementor
Start Now
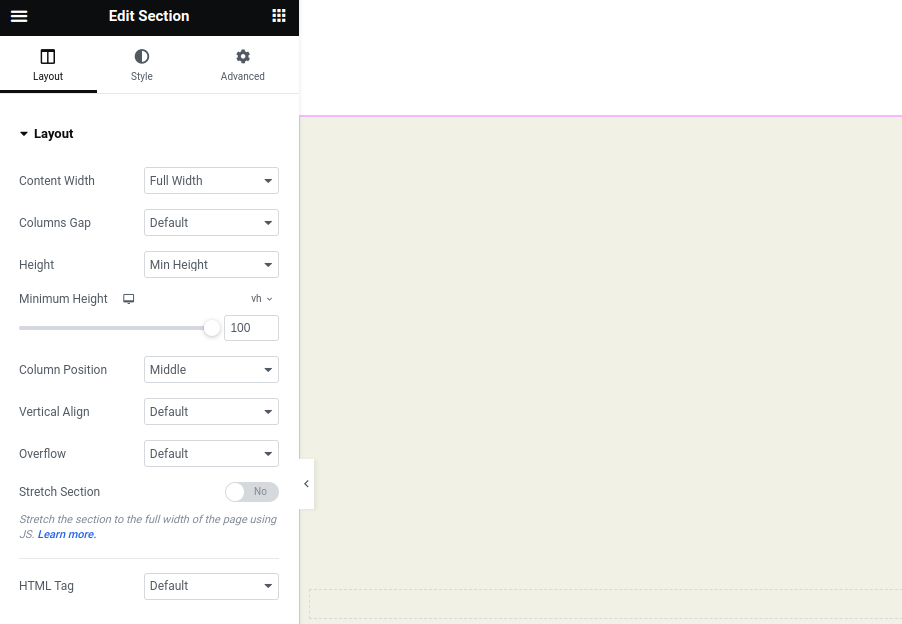
Insert a section with the following settings:
- Min-Height: 100vh
- Width: 100%
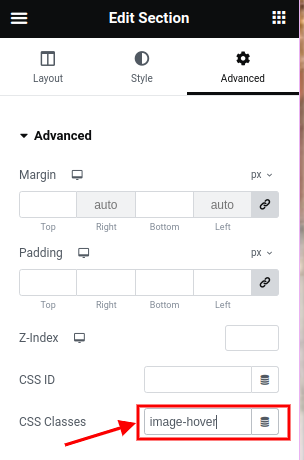
Set a class to the section called: "image-hover”
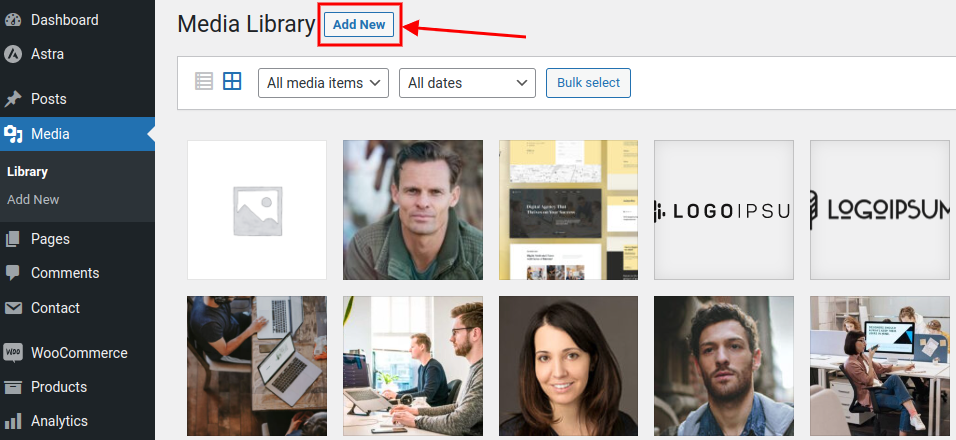
Go ahead and upload the images you will use for the hover effect in your media library.
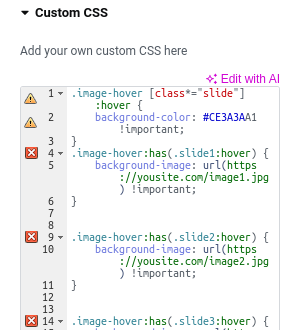
When that is done, go ahead and insert the following CSS code:
.image-hover [class*="slide"]:hover {
    background-color: #CE3A3AA1 !important;
}
.image-hover:has(.slide1:hover) {
    background-image: url(https://test.positivevibesmedia.com/wp-content/uploads/2021/05/gallery-2.jpg) !important;
}


.image-hover:has(.slide2:hover) {
    background-image: url(https://test.positivevibesmedia.com/wp-content/uploads/2021/05/gallery-1.jpg) !important;
}


.image-hover:has(.slide3:hover) {
    background-image: url(https://test.positivevibesmedia.com/wp-content/uploads/2021/05/cta-img.jpg) !important;
}
Note: Replace the background image URL with your image URLs from the media library.
This CSS accomplishes two goals:
1 - Change the background color of each container on hover.
2 - When hovering over the.slide-* containers, it changes the background image in the .image-hover.
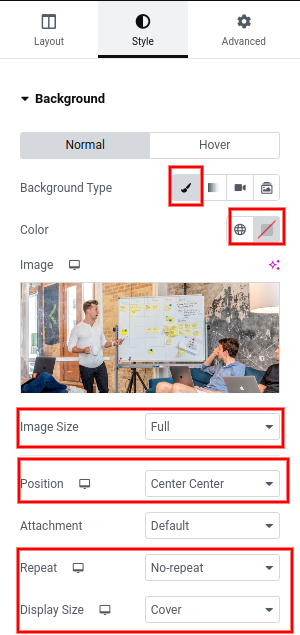
After inserting your custom CSS, go to the Style tab and enter the following settings:
- Background Type: Classic
- Color: Transparent
- Image size: Full
- Image: *Choose the first image you want to show
- Position: Center Center
- Display Size: Cover
- Repeat: No-repeat
Next Step:
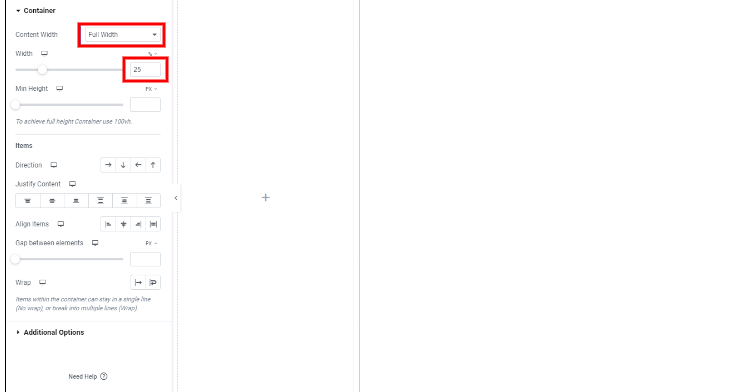
Add 1 section inside with these settings:
- Content Width: Full Width
- Width: 25%
Go to the Advanced Tab and create a class called: slide1.
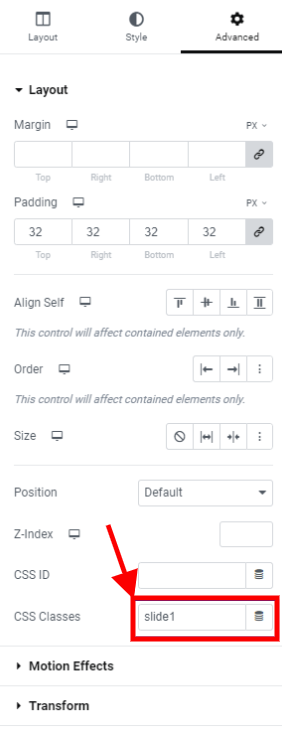
Now, customize each container with your style and items.
Once your first container is complete, replicate it three times and alter the CSS class on each container to create four consecutively numbered classes:
slide 1, slide 2, slide 3, and slide 4
Conclusion
In this article, we learned how to make a hero section with Elementor, the most popular WordPress website builder.
We concentrated on building a hero section that changes the background picture when the user hovers over different items, and we used Elementor's container functionality and custom CSS code to do so.
You may improve the UX/UI design of your website and create a visually appealing and engaging area that stands out from the crowd by following this instruction.
Elementor makes creating a professional-looking website simple for anyone with no coding expertise. Overall, this lesson shows you how to create a hero section that emphasizes your website's value proposition and engages your visitors.


