
People use Instagram to get in digital touch with their viewers. Instagram provides only one option to reach people to your website, and that is - a link in your description. Today we will learn about how to use Elementor page builder to build a dedicated link in the bio landing page for Instagram.

Since you can't add a link to each post separately, people usually update the link in the bio again and again. Here, we will learn an efficient way that allows you to keep a permanent link to your Instagram bio, that will let your visitors access the latest contents every time. Amazing right?
To do this, you can use Elementor to build a dedicated link on the bio landing page for Instagram. Your connection in the bio landing page will follow the exact design to Instagram for a consistent experience, while also granting you create impetus features for your latest blog content without any hassle.
Note - To catch up with this tutorial you will need Elementor Pro so that you have access to the Posts widget. These are the widgets that let you dynamically feature content without needing to edit your landing page every time you publish a new blog post.
Create Amazing Websites
With the best free page builder Elementor
Start NowStep 1: Create a New Page
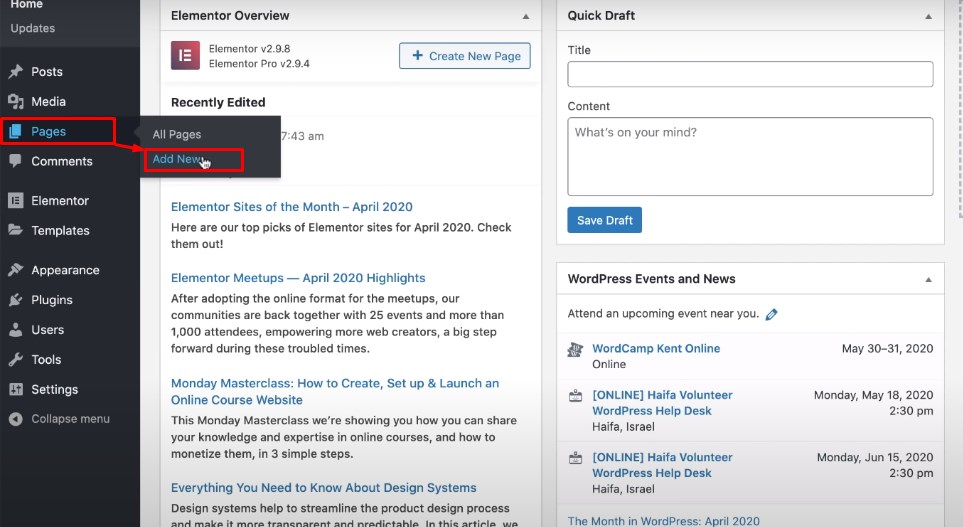
First, you have to create a new page for your website. Go to your WordPress dashboard, then go Pages > Add New.
Then name the page and open it with Elementor page builder to extend the elementor interface. Then, from the Gear icon from the bottom left corner, set the Page layout from equal to Elementor canvas. Then, for the Body Style, from the Style tab pick a light color for the background.

Step 2: Add a New Header Section
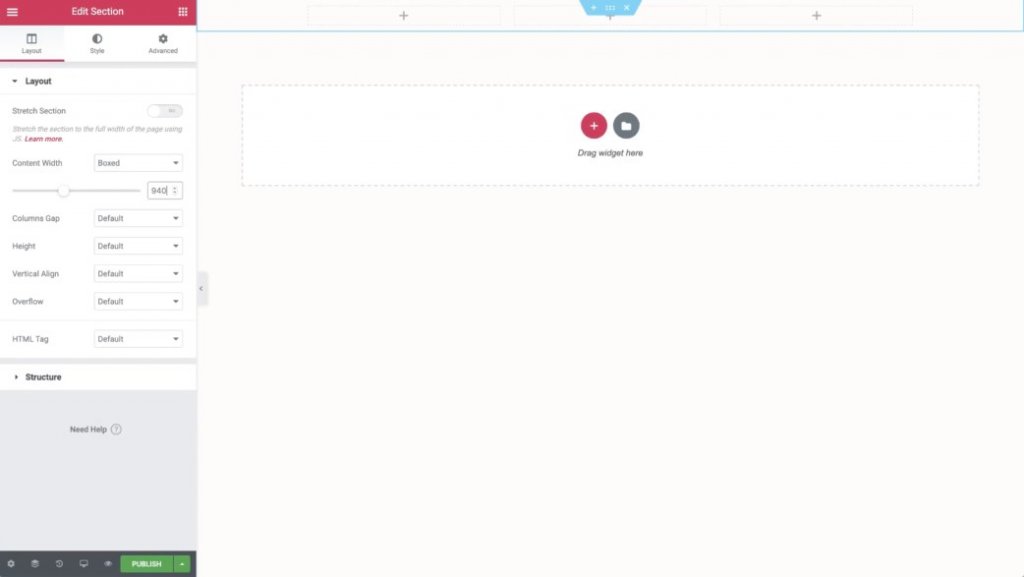
Now, create a New Section by clicking the Plus icon from the middle of the white page and choose a three-column layout. Set the Content width equal to boxed and width equal to 940. This measure will give you a similar fook and feel of the Instagram boxed layout. Do all these arrangements form Section Settings.
Arrange the section background similar to white and add a substantial grey margin to the bottom.
Then, add your content to the design:
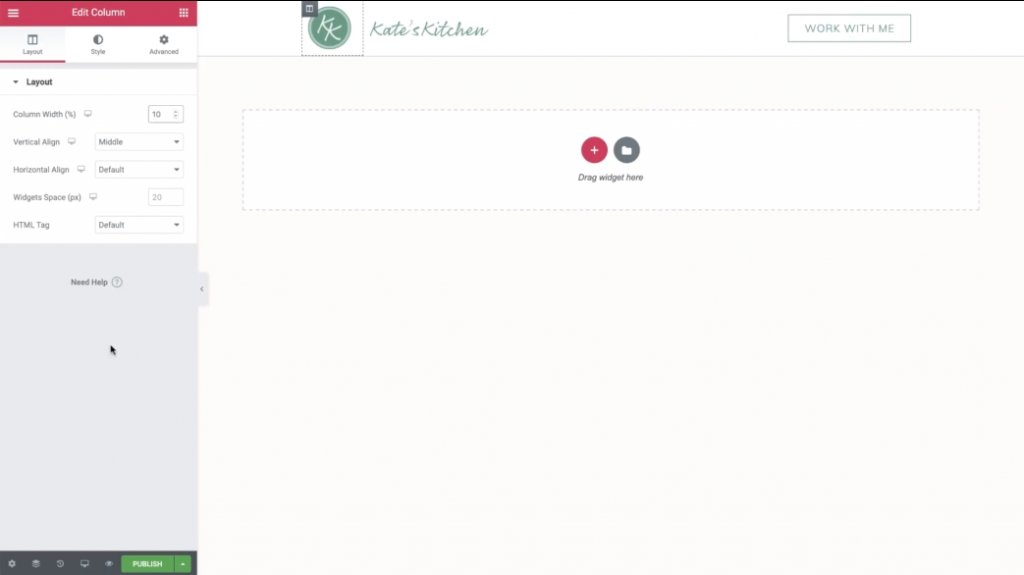
- Place an image widget to the left-most column to display your logo. You can set an active link to your homepage using the Link Setting option.
- Add another image widget to the mid column to show your trademark logo (or text, if you don't have one)
- Finally, add a button widget to the right-most column and set the Call to Action and the page to which you want to link. Then, design the button as you need.
After you are done with your content addition, change the width to 10% from the first column settings. Thus, your images will be nicely aligned.
Then, open the Mobile view by clicking the icon in the bottom-left corner. Make some adjustments if need, so that the mobile version of your landing page looks great. Remember, most of your Instagram visitors will be on mobile devices.
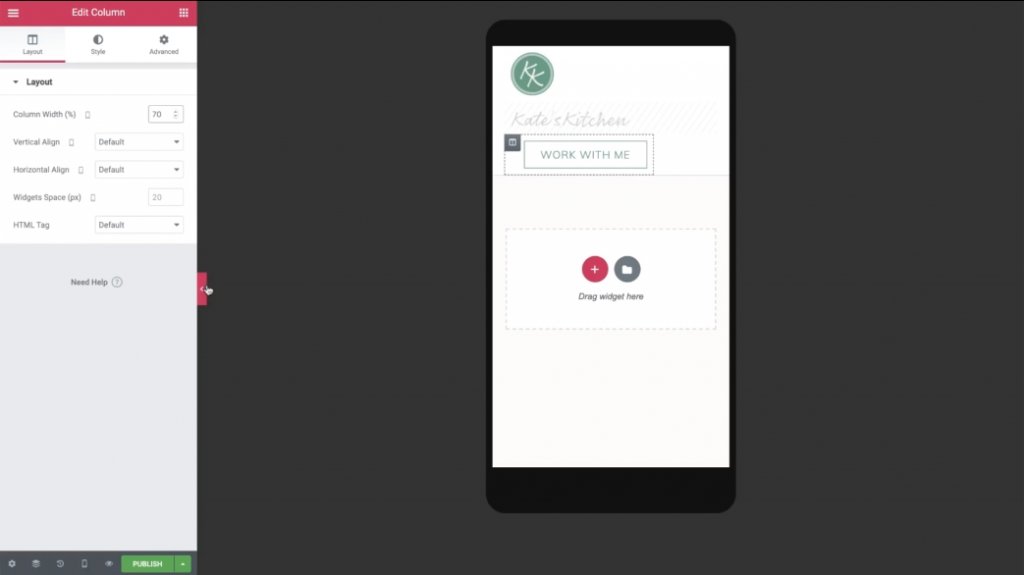
You can hide the middle column if needed so that your logo and button are horizontally aligned.
Step 3: Create a Feature post section by duplicating the Header section
Now, let's get back to the desktop view and right-click on the header section to duplicate it. On the duplicate section settings, go to Style tab and select transparent for the background color.
Now, delete the second and third column. After doing this, your logo is the only thing that should be left.
Here,
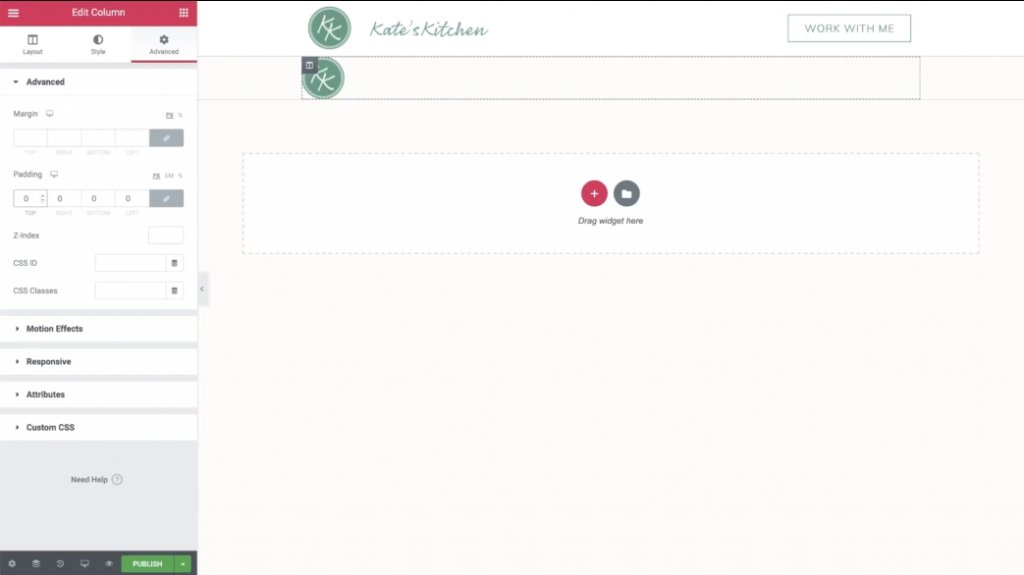
- Open setting for the remaining columns.
- Go to the Advanced section.
- Set the padding value zero for all sides.
- Delete the logo image widget.
After you delete everything, you can pull in a Heading widget and add some text regarding your site. Make sure to set the color and fonts to match your website.
Then, copy the Heading widget and make the text similar to the URL for your site. Next, add a dynamic link that carries the site URL.
Once again, go to the mobile view and make some modifications. For example, you might need to adjust the column width and update the padding for smartphones.
Step 4: Add your latest posts
Now, you can work on the rest of the space on your landing page to display your recently published content.
To display your fresh posts, go back to the desktop view and summon a Posts widget just under the two heading widgets.
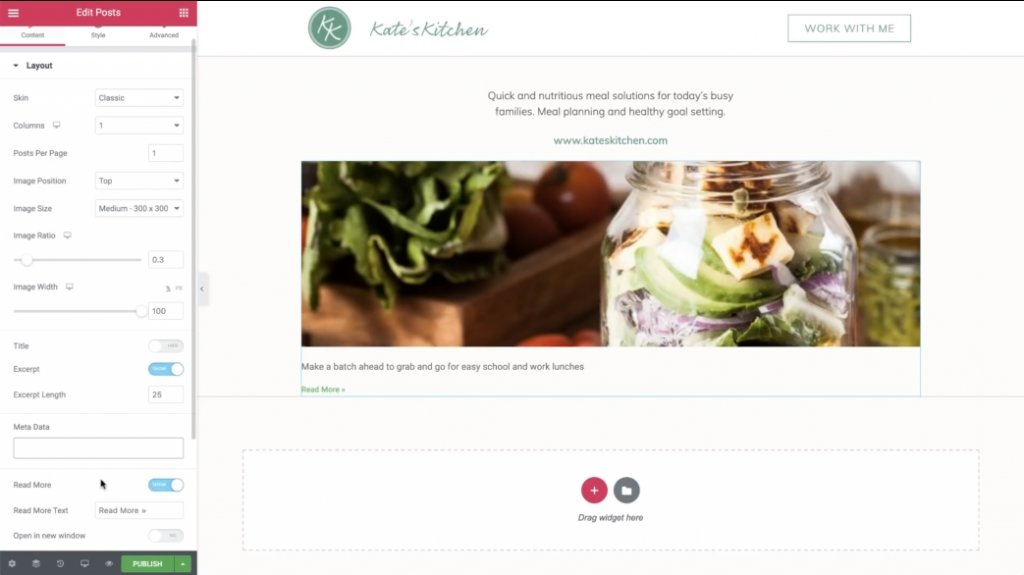
Posts widget settings:
- Set Columns value to 1
- Set Posts Per Page value to 1
- Set the Image Ratio value to 0.3
Remove the MetaData and hide the Title.
Then, use the Query setting option to manage which post to display:
- Set Include By value to Term
- Set the Term value to Linkinbio
You'll need to build a new WordPress blog post section called "Linkinbio". If you add any post to this category, it will routinely be featured on your Instagram landing page.
Then, decorate the excerpt text from the Style tab.
Finally, add a fresh Divider widget to generate a bottom border. Match the same light grey color from your first section's border.
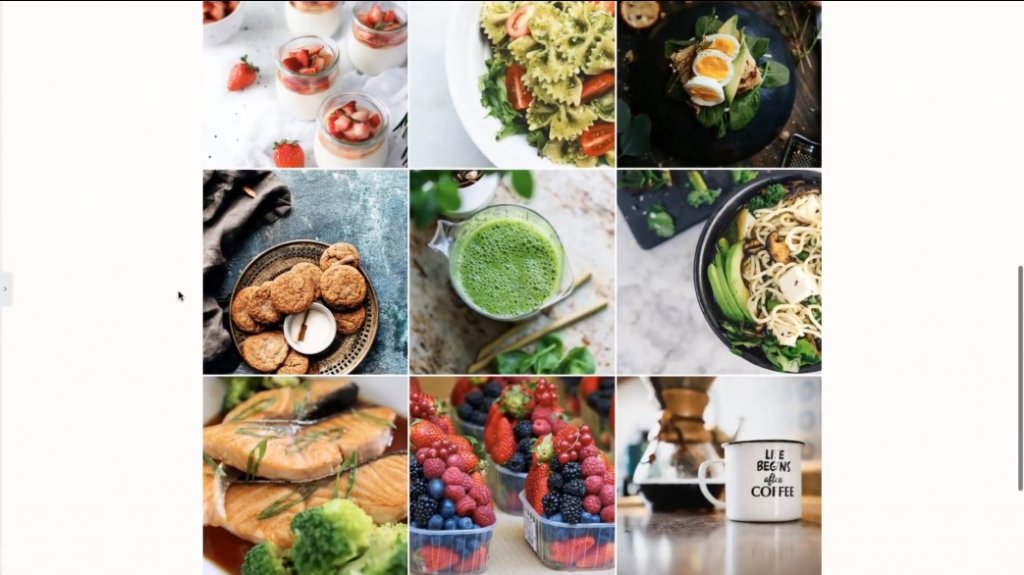
5. Create Instagram Grid
For now, the requirement is to create the Instagram grid that will appear below your featured post.
To get started, copy your existing Posts widget. Then, paste it beneath the bottom grey margin from the former section.
Now, you just need to make some modifications to your copied Posts widget:
- Change Columns to 3
- Set the Posts Per Page to a multiple of 3 So that you always have a square grid.
- Set the Image Ratio value to 1
- Hide the Excerpt
You can also utilize the Style tab to change the spacing between the images.
Then, go to the mobile view section to adjust your mobile design.
You might want to:
- Hide the large featured post image and divider
- Set the posts grid equal to 3 on mobile
And that’s all! You just built a custom Instagram landing page.
Now, Whenever you publish a new blog post with the “Linkinbio” category, it will automatically show up on this page.
To conclude things out, You just need to add the link of your landing page to your Instagram profile. Now, you needn't to bother every time about updating the link of your newly published post. Cool, right?


