
Are you interested in using Elementor to build a masonry image gallery? This post will walk you through the simplest approach to creating a masonry image gallery for your Elementor website.

A masonry picture gallery will help you a lot no matter what your website is if you want to promote your work creatively or make your website more interesting. Including a picture gallery is an excellent approach to highlighting your work. If you want to visually show your works or services to your users, images can be very useful.
If you have the correct tools, adding a masonry picture gallery is a breeze. There are solutions available, such as Elementor and Absolute Addons, that allows you to add an image gallery to your website without writing a single line of code.
Create a masonry image gallery in Elementor
To make a masonry picture gallery, install and activate the Absolute Addons plugin. Absolute Addon is a plugin that will elevate your website construction experience. With 250+ preset design blocks, you may create a website faster than ever before. The Image Grid widget provided by the plugin allows you to add a gorgeous image gallery to your website.
Create Amazing Websites
With the best free page builder Elementor
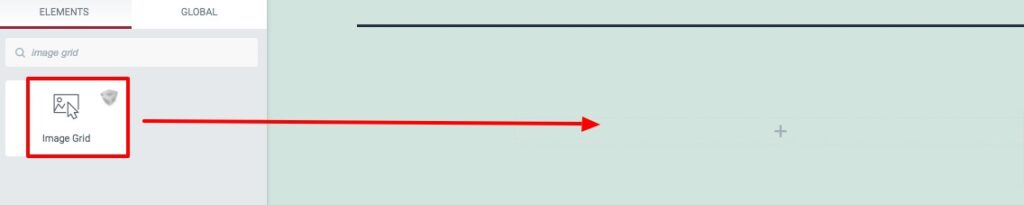
Start NowTo utilize the Image Grid widget, first, create a section in Elementor by selecting the "+" icon, and then search for Image Grid in the block section of the left bar. Drag the Image Grid block into your newly formed section.
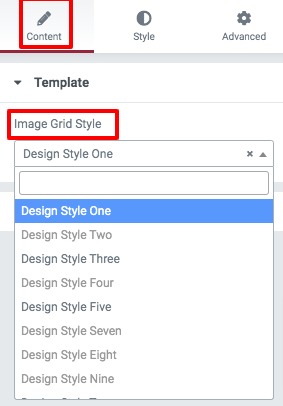
You may now select the picture grid presets from the Template menu's Content tab. There are numerous presets to choose from.
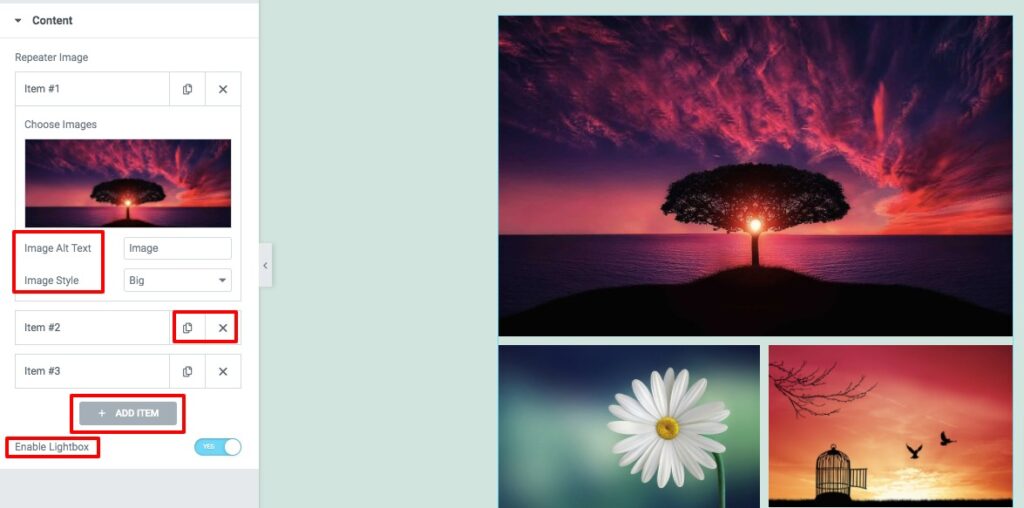
You can insert the object into your image grid section using the content option. To add a new item, click the Add Item button. You can copy any item by clicking on the Copy button, or you can delete it by clicking on the Delete icon. To select your image, click any of the things. Upload your image and then fill up the image alt text. There is a setting for image style. You can change the style of your photos as follows:
- None
- Wide
- Tall
- Big
You may also toggle the picture lightbox features on and off.
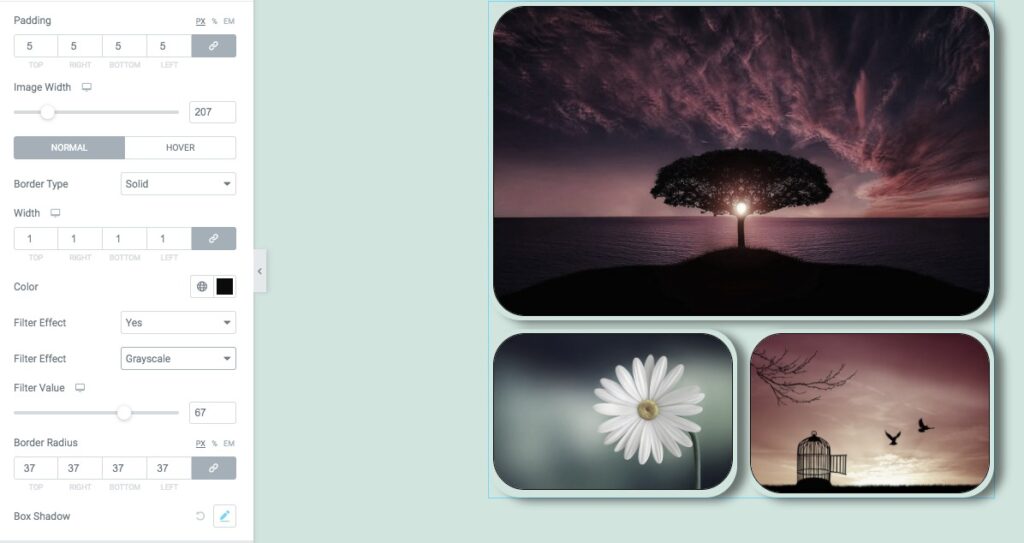
Proceed to the style tab, where you will find several options for styling your picture grid area.
Images
You may set the image width and padding from here. The images can then have border type, border color, border radius, and box-shadow applied to them. The filter value can also be enabled. There are various filter effects available, such as -
- Brightness
- Contrast
- Grayscale
- Invert
- Opacity
- Saturate
- Sepia
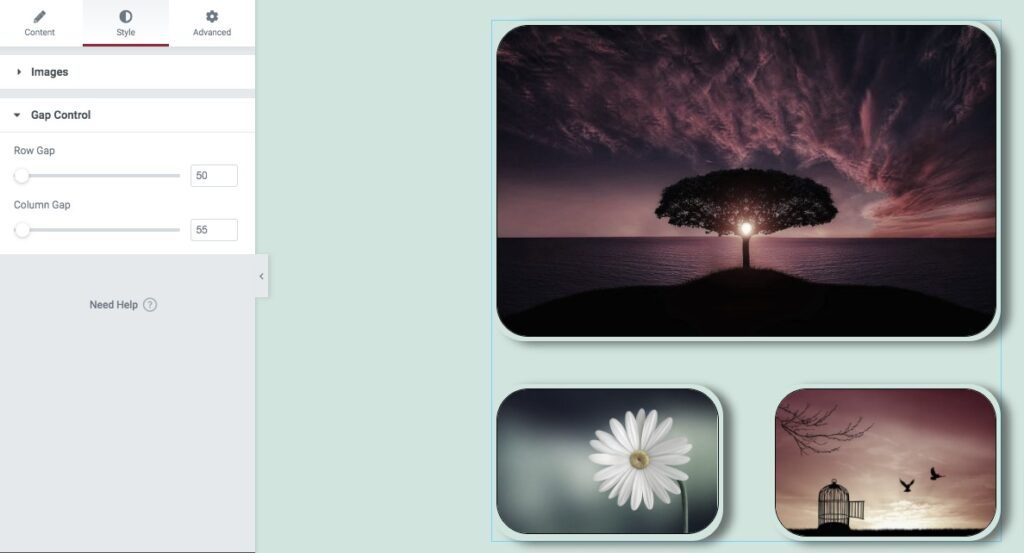
Gap Control
The row and column gaps can be set using the gap control option. That's all! Your image gallery section is now fully operational.
Wrapping Up
You will be able to create a masonry picture gallery for your Elementor website after completing the process. We hope you found this post useful. Please share this post with your friends if you enjoyed it. Check out the other Elementor tutorials on Codewatchers as well.


