
One of WordPress's features is the flexibility to use various post templates for different categories. However, they can be difficult to set up. Fortunately, the Divi Theme Builder makes this simple. Using several blog themes for different categories provides your website with some distinct styles, allowing your categories to stand out from the crowd. Using various fonts, settings, and layout options might assist the reader grasp your information better. Even using a different hue can help to set the tone for the category. You can utilize many layouts for tutorials, events, and other purposes. In this tutorial, we'll look at how to utilize Divi to create different blog post layouts for different categories.
Design Preview
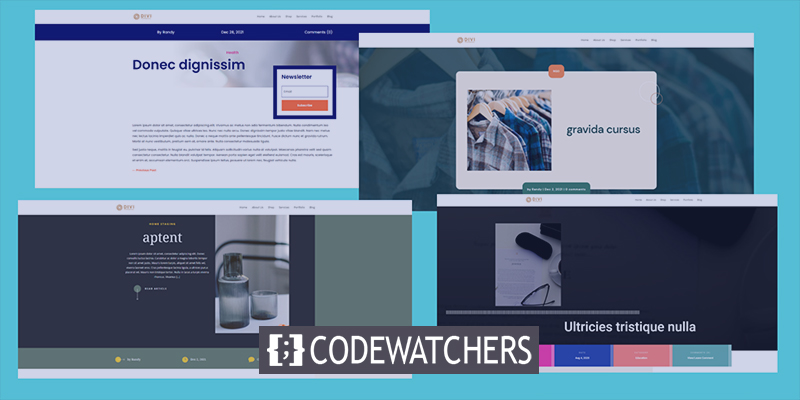
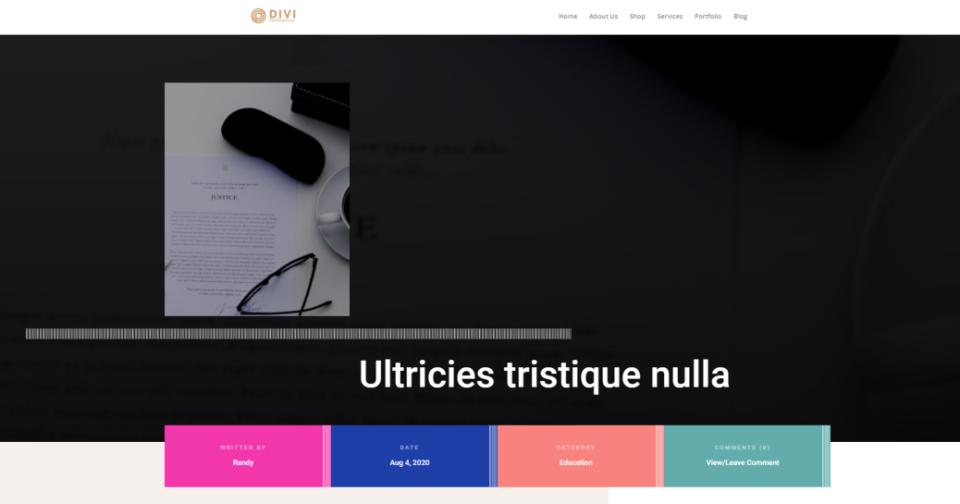
Before we begin, take a look at what various categories will look like. Each will employ a distinct design layout. The first design will be available for all posts. This design will be activated for the health category.
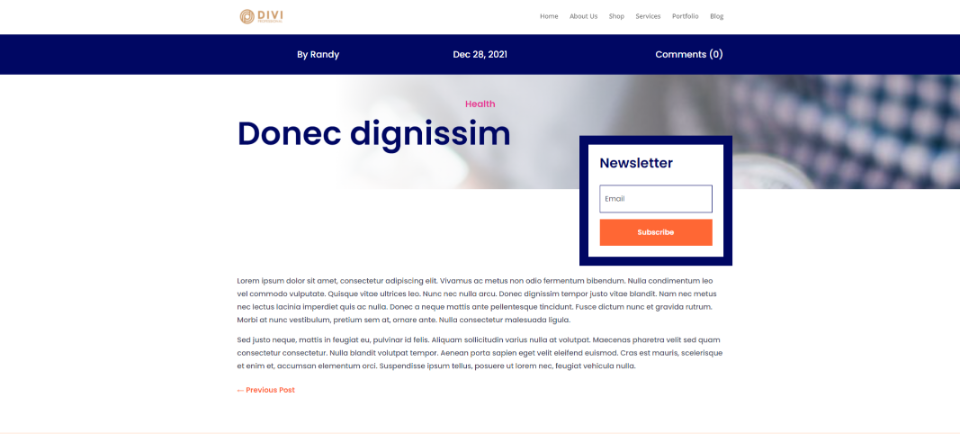
The second one will be assigned to NGO blog posts.
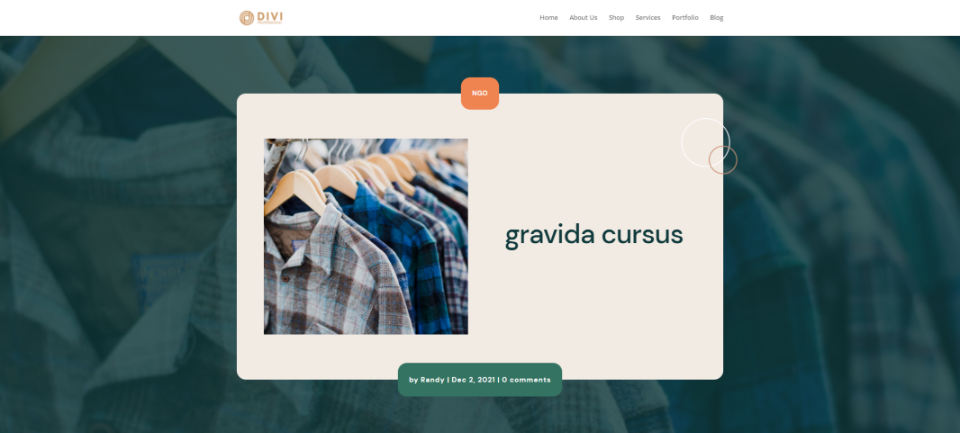
The next one will be available for the home staging category.
Create Amazing Websites
With the best free page builder Elementor
Start Now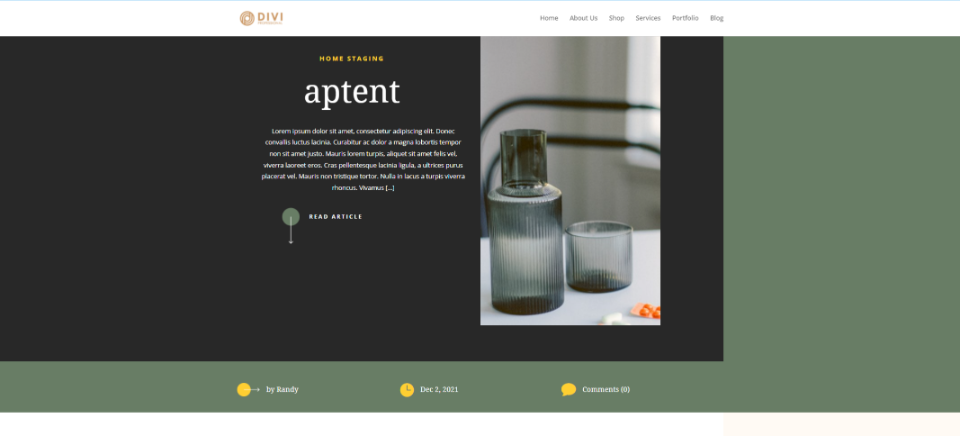
Next, this category will available for the high school blog template.
Upload The Templates
Separate free category designs from the Elegant Themes blog will be used.
You can locate them by searching for a free category template on the blog.
To use them, unzip the downloaded file. Next, in WordPress, go to Divi - Theme Builder and select Portability. Select Import from the modal that opens.
Navigate to your file and select it. From the drop-down menu, choose Import Divi Theme Builder Templates.
Allow the upload to complete before saving your preferences.
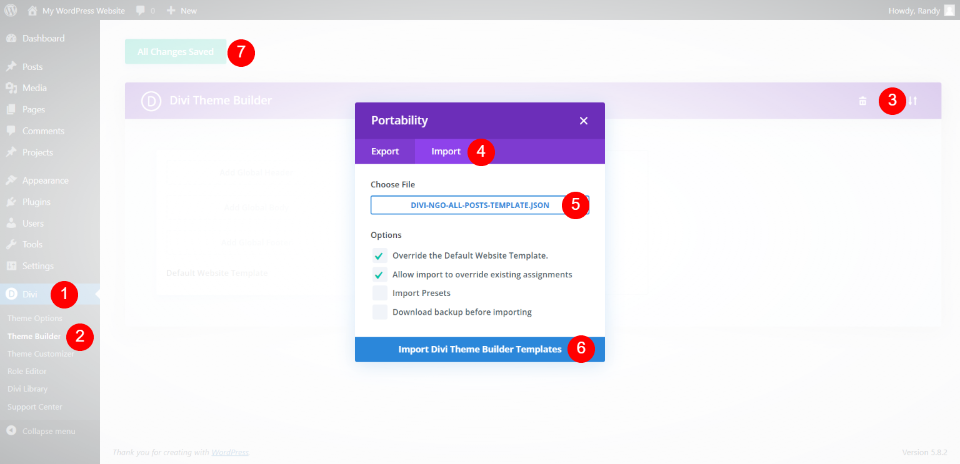
It's fine to leave these checked. The first one, however, will be set to All Posts, and any post styles you add after that will override it. Any of the templates can be readily reassigned to All Posts. We'll figure it out as we go.
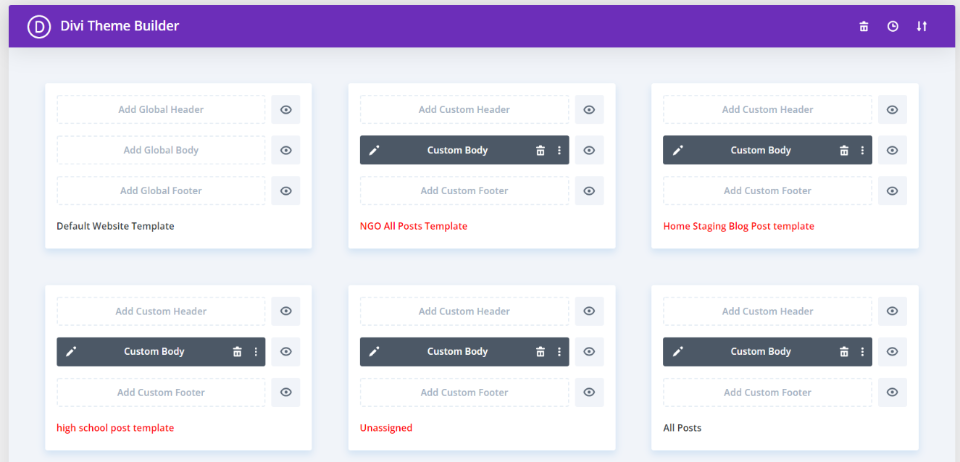
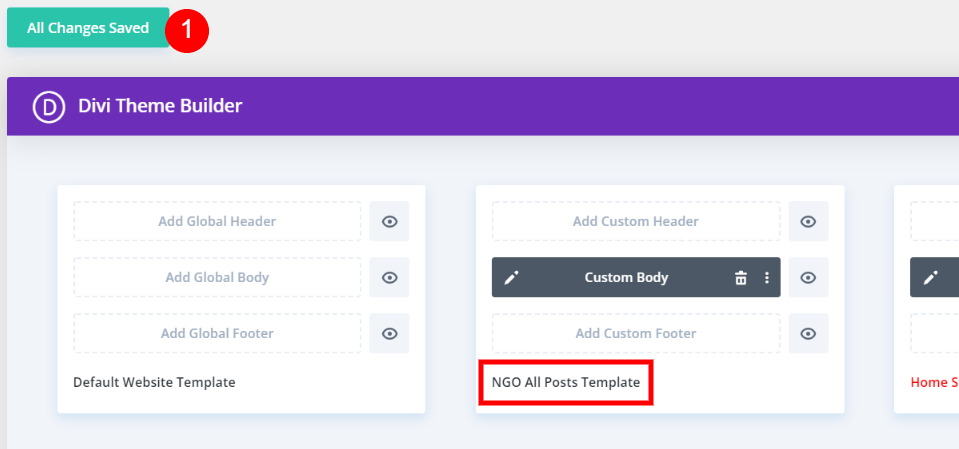
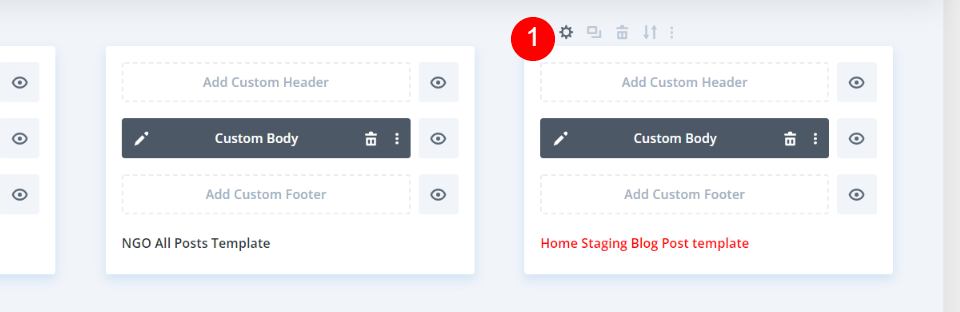
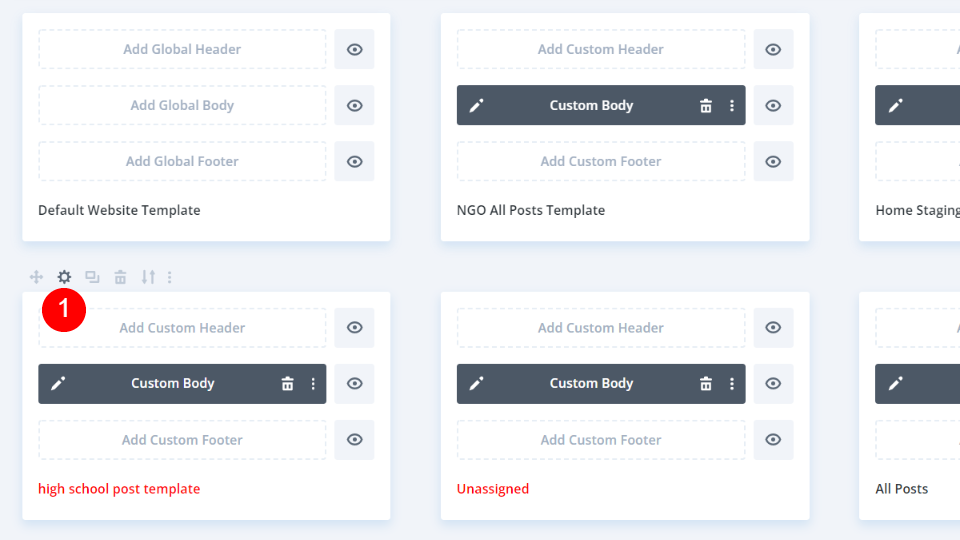
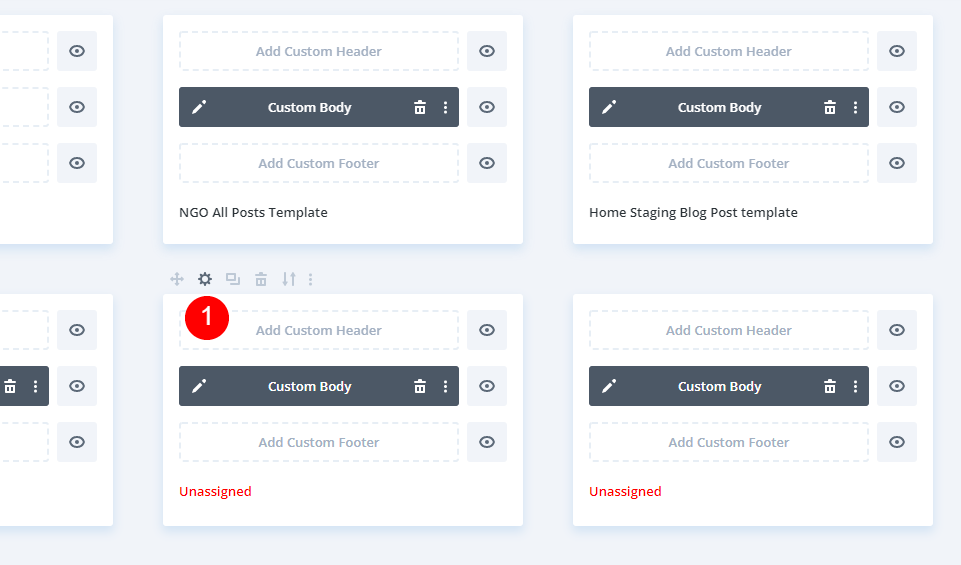
Continue uploading until you've uploaded all of your templates. You can also upload and assign them one at a time. The first one we uploaded has a black title, indicating that it has been assigned. The others are highlighted in red, showing that they are unoccupied.
Design Process
After we've submitted the templates, we'll be able to categorize them. I'll leave the last one set to All Posts so it may be used as the default template, followed by distinct templates for each category.
First Category
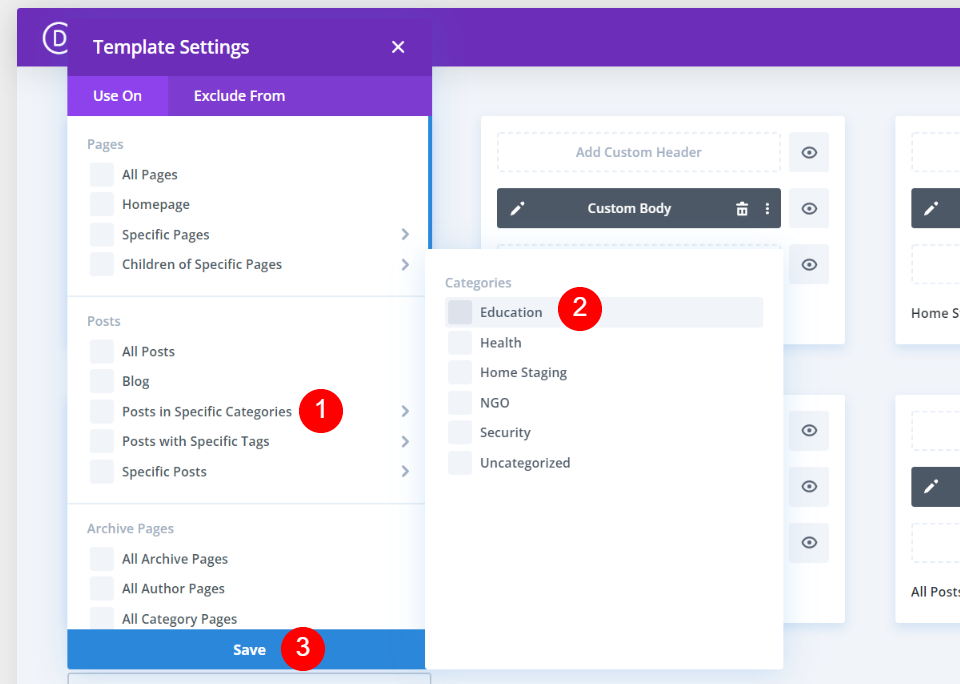
Hover over the first template and select the gear icon.
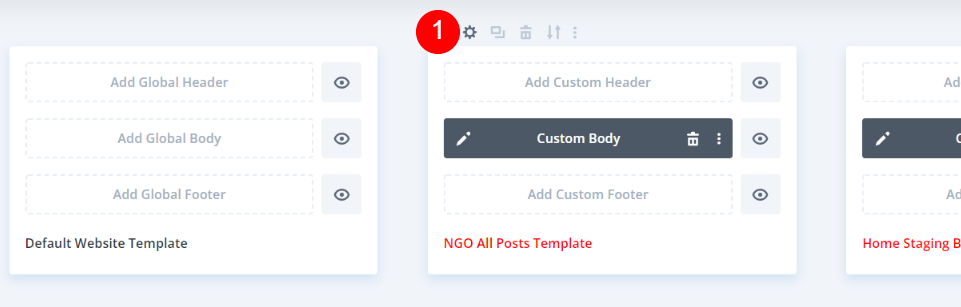
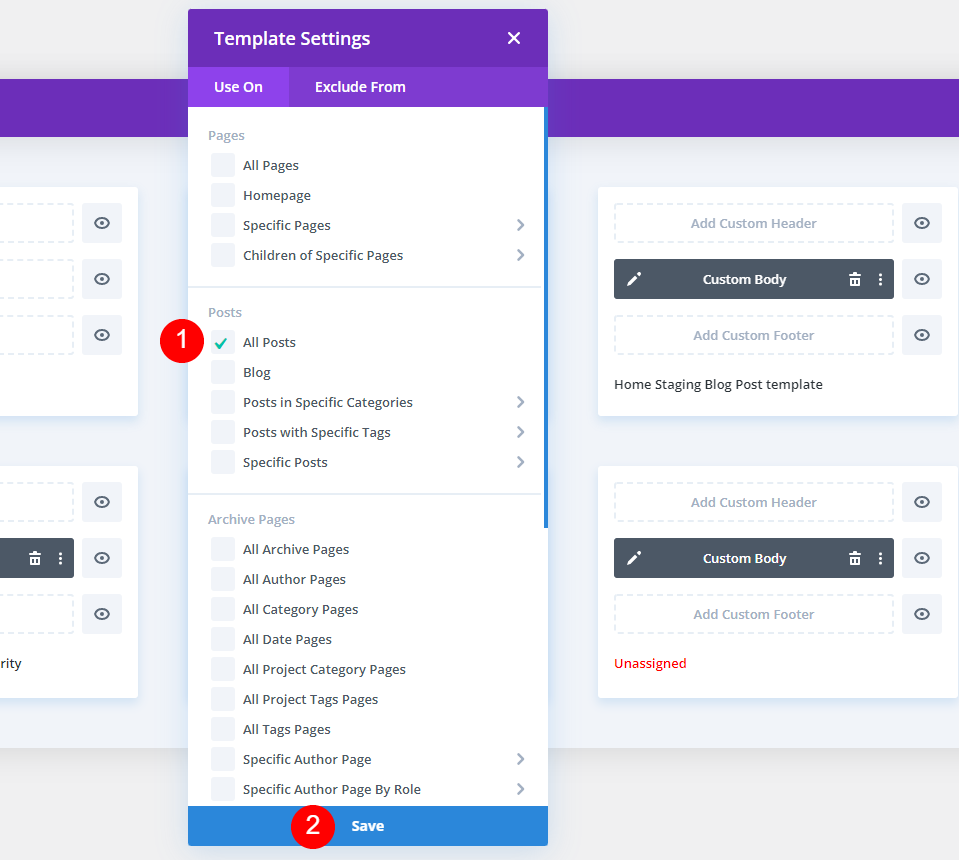
This brings up the Template Settings window. Under the Posts part of the opened tab, you'll see various options, including Posts in Specific Categories. When you hover your mouse over this option, you'll get a list of your categories. Choose the category (or categories) to which you want to assign this template and then click Save. When you choose it, you'll see the category allocated to it.
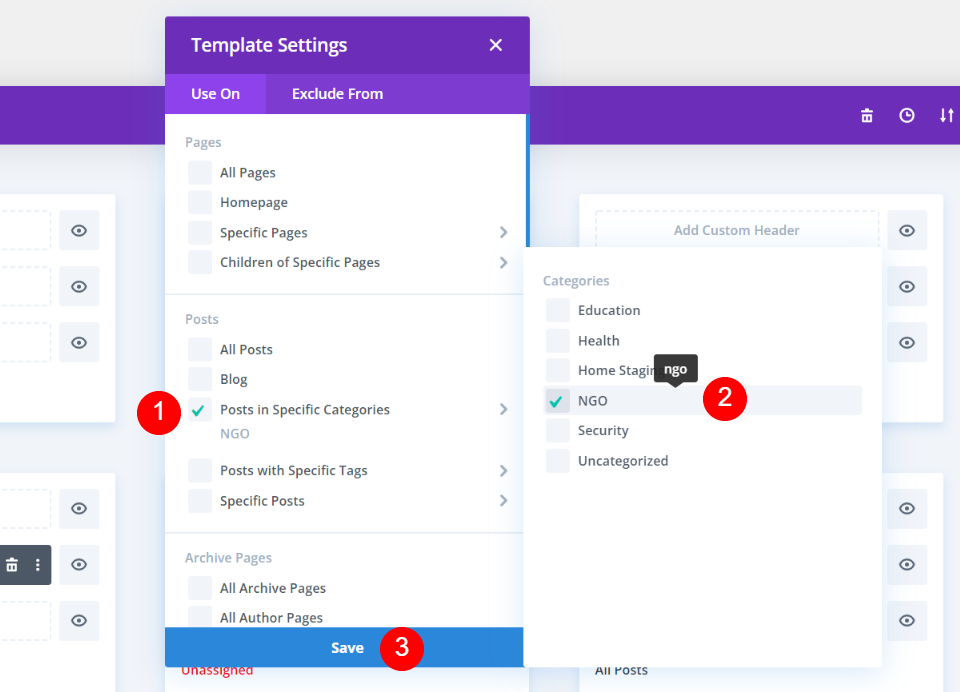
Finally, in the upper left corner of the screen, save the settings. The name of the template you chose will then appear in black on the template. This is the style that will be used for this category from now on. At this point, all others will show the default category.
Second Category
Open the gear icon from the second template.
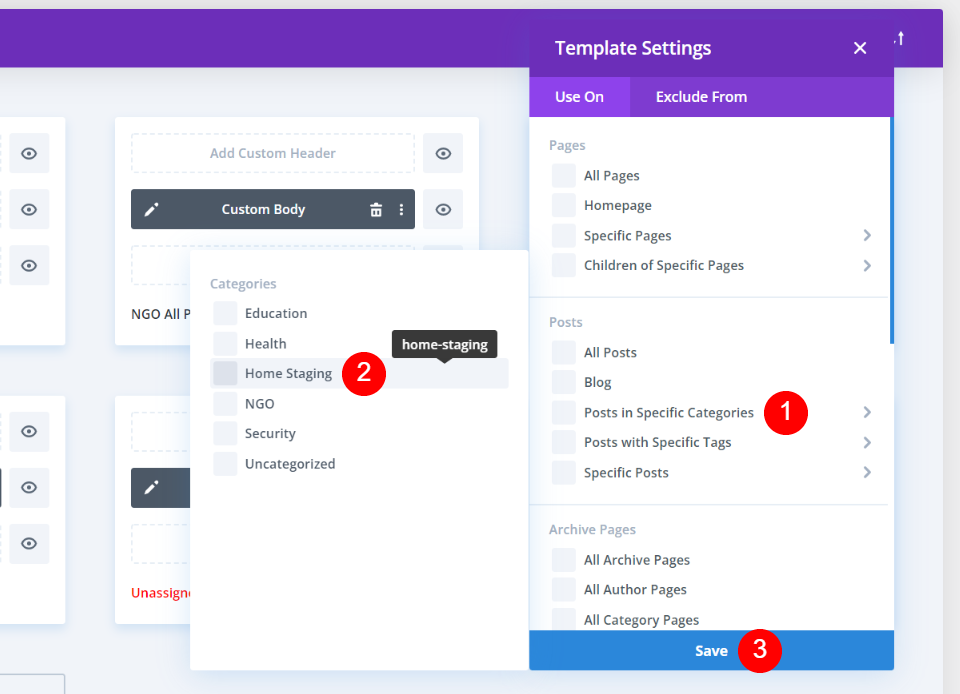
Go over Posts in Specific Categories, choose the second category, and then click Save.
Third Category
Now open the setting for the next template by clicking on its gear icon.
Now change the category for Education.
Default Blog Post Template Settings
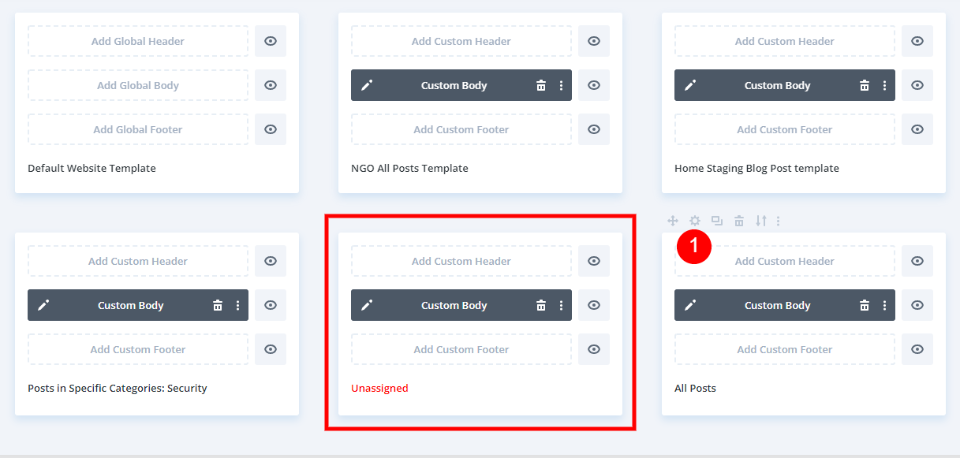
Finally, we will create a new default blog post template. I'd like to make a different template the default. To begin, we must unassign the template that is now set to All Posts. Hover your mouse over the All Posts template and click the gear icon.
Now uncheck for all categories and click save.
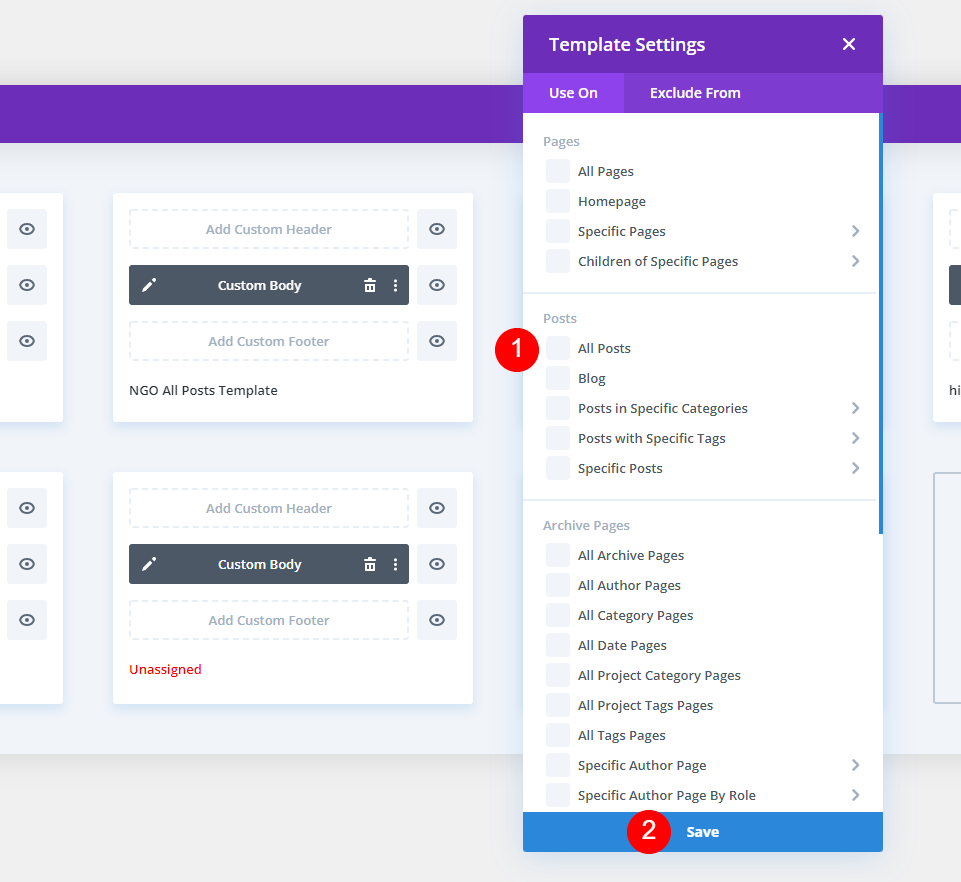
Hover your mouse over the template you wish to set to All Posts and select the gear icon.
Check the box next to All Posts and then click Save. I've set a new blog post template as the default. I currently have five different blog post templates. Four of them have been allocated to specific categories. Those categories will show the relevant templates. All other categories will use the template I've specified for All Posts. Any of these templates can be altered by reselecting the item to which they are assigned.
Excluding A Category
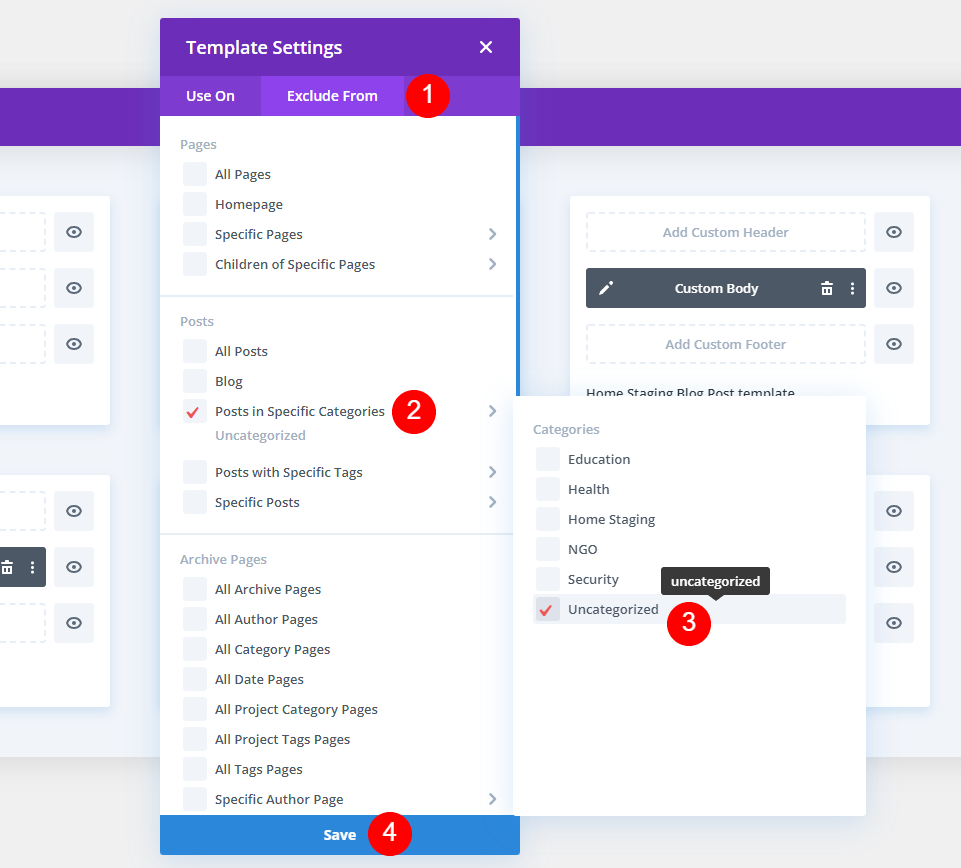
We can also disable the display of the default template for a certain category. Hover over Posts in Specific Categories on the Exclude From menu. Choose Save after selecting the category. In my example, I chose Uncategorized to avoid using the standard blog post template.
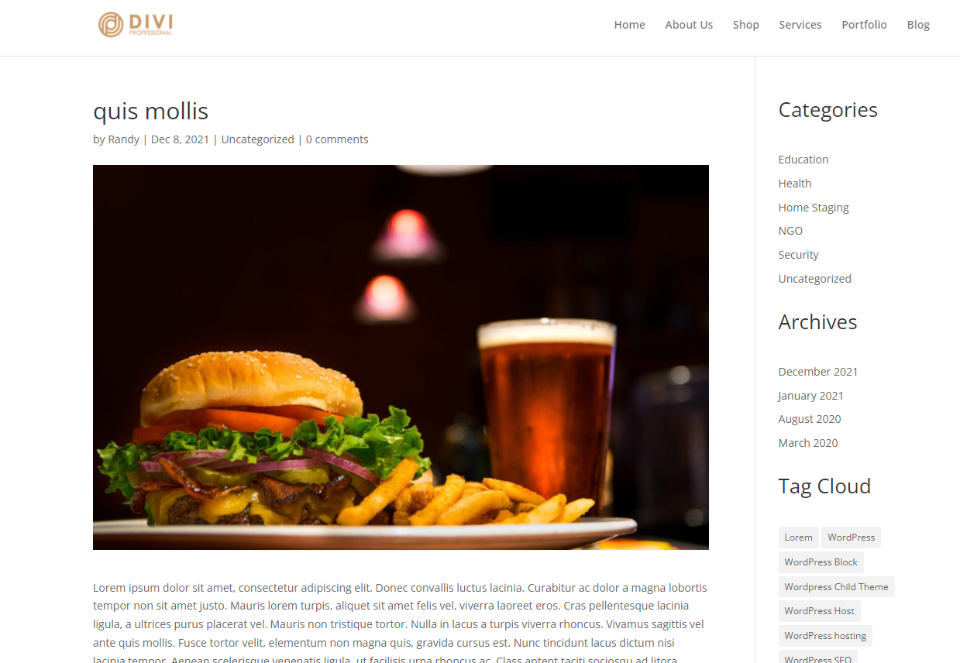
Any article with the category of Uncategorized will no longer display a design from the Divi Theme Builder.
Final Design
Because I haven't selected a blog post template for the Health category, it displays by default.
My NGO category now has the NGO blog post template. This blog post design is now visible for all posts in the NGO category.
My second blog post category layout highlights my Home Staging category.
The High School blog template is displayed in my third category.
Final Thoughts
That concludes our discussion of how to use different blog post templates for different categories in Divi. Using the Divi Theme Builder, you can easily apply a blog post template to any category. You can assign as many post templates as you want. You can even choose to exclude certain categories from the templates. If no categories are set or excluded, the default blog post layout will be displayed.


