
Not all themes allow you to add WordPress widgets to your header area. However, you might want to include content blocks in your WordPress header using widgets to achieve a much better look.

There are two methods that you use in order to use WordPress widgets in the header area. In this tutorial, we will understand how to use WordPress widgets in the header area.
Why Should You Add A WordPress Widget To Your Website Header
When someone visits your WordPress website, they'll notice the header is one of the first things. You may improve this section to help catch the reader's attention by adding a WordPress widget to your header.
A unique logo and a navigation menu are often included in website headers to assist visitors in navigating your site. You may also use a header widget to display helpful content, banner advertisements, limited-time specials, single-line forms, and more above or below this section.
Create Amazing Websites
With the best free page builder Elementor
Start NowHow To Add WordPress Widgets To The Header With WordPress Theme Options
A header widget section is included in many of the top WordPress themes, which you may edit to your preference. First, check if your existing WordPress theme consists of a widget section in the header.
To check this option, head over to Appearance and then Customize and see if it allows you to edit the header.
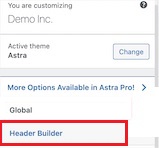
It will take you to the field where you can edit the header and add WordPress widgets. You may alter the header, as well as the spaces above and below it, at the bottom of the screen. Simply click the Plus symbol while hovering over one of the vacant areas.
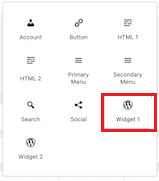
You can choose Widget 1 from a popup menu that appears. There are more possibilities available, but you'll need to select one of the Widget options to make the header widget-ready.
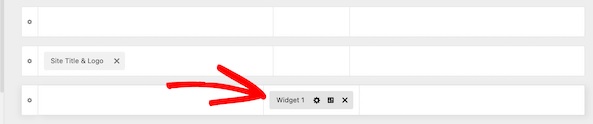
Click the Widget 1 box in the header customizer section to add a widget area to your header to be able to add the widget in the next step.
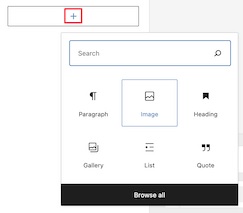
Next, you will need to add the block to the field and select the widget you want to choose.
Using the same method, you can choose to add as many widgets as you want. Once you are done with all the settings, make sure to publish and save all the changes.
How To Add WordPress Widgets To Your Website Header With Coding
It is not a problem if your WordPress theme does not support adding WordPress widgets to your website's header because you can achieve the same task with a bit of coding.
To use the code snippet, there are three options. It can be placed in your functions.php file, a site-specific plugin, or you can also use a code-snippet plugin.
Now paste the following code using either of the three options given above.
function wpb_widgets_init() {

    register_sidebar( array(
        'name'          => 'Custom Header Widget Area',
        'id'            => 'custom-header-widget',
        'before_widget' => '<div class="chw-widget">',
        'after_widget'  => '</div>',
        'before_title'  => '<h2 class="chw-title">',
        'after_title'   => '</h2>',
    ) );

}
add_action( 'widgets_init', 'wpb_widgets_init' );
This code creates a new sidebar or widget ready space for your theme. You can go to the Widgets option from Appearance, and there, you will see Custom Header Widget Area.
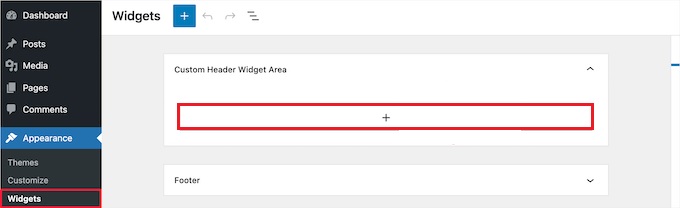
Now you can add the widgets in this area and move ahead to displaying the changes live on your website.
You'll need to update the header.php file in your theme to do this. Then, paste the following code wherever you want the widget to appear.
<?php

if ( is_active_sidebar( 'custom-header-widget' ) ) : ?>
    <div id="header-widget-area" class="chw-widget-area widget-area" role="complementary">
    <?php dynamic_sidebar( 'custom-header-widget' ); ?>
    </div>

<?php endif; ?>
This code will place the widget area you built before in the header region of your website.
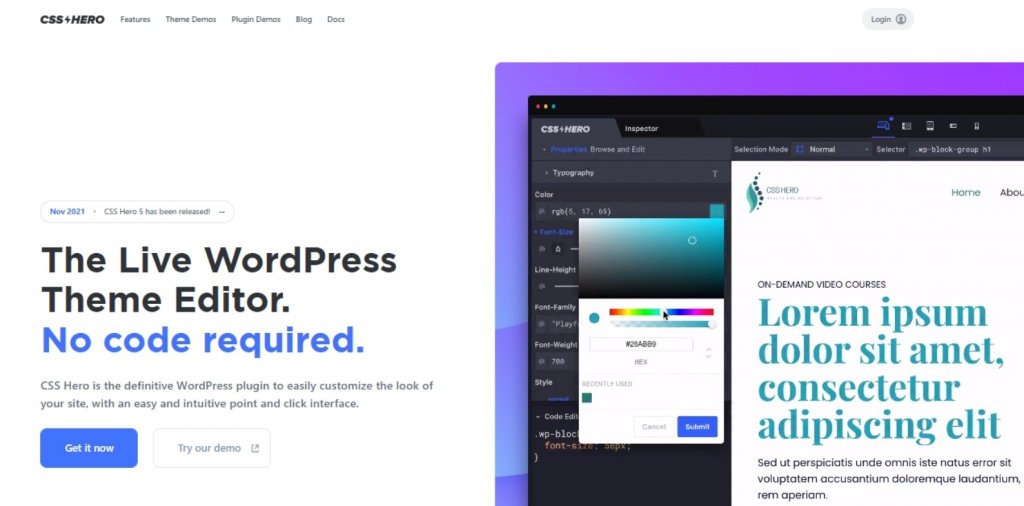
You may also need to add CSS to WordPress to customize the header widget area, and each widget inside it are displayed, depending on your theme. You may use a plugin like CSS Hero instead if you don't know CSS.
Head over to Customize from Appearance, where the Additional CSS option will be found.
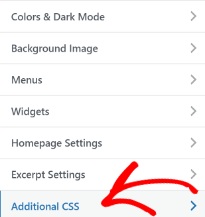
This allows you to immediately add new CSS to your theme and view the results in real-time. You can use the following codes as a sample to start with.
div#header-widget-area {
    width: 100%;
    background-color: #f7f7f7;
border-bottom:1px solid #eeeeee;
    text-align: center;
        padding: 20px;
}
h2.chw-title {
    margin-top: 0px;
    text-align: left;
    text-transform: uppercase;
    font-size: small;
    background-color: #feffce;
    width: 130px;
    padding: 5px;
    }
To save your changes, click the Publish button once you've completed adding your CSS.
You can follow these two methods to add WordPress widgets to your website header. That's all from us for this tutorial. Make sure to join us on our Facebook and Twitter to stay updated about our posts.


