
We all know how limitless customization gets with Elementor Website Builder. With that customization, we can enhance the user experience and be creative in what we create.
Logo Swap on Hover effect is when the user places their cursor on the logo placed on your website, it automatically changes its details i.e. color, shape, or outline. In this tutorial, we are going to understand how to create a logo swap on hover effect with Elementor.
How To Create Logo Swap On Hover Effect Using Elementor
You already know what the effect is and have ideas in your mind about what you want to create, let's move ahead and see how.
To start off, add an inner section for the widgets.
Create Amazing Websites
With the best free page builder Elementor
Start Now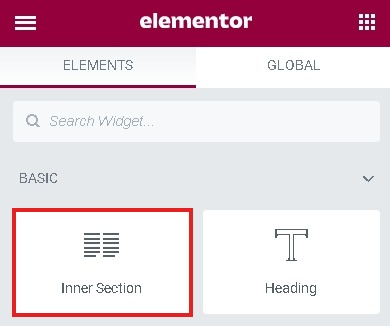
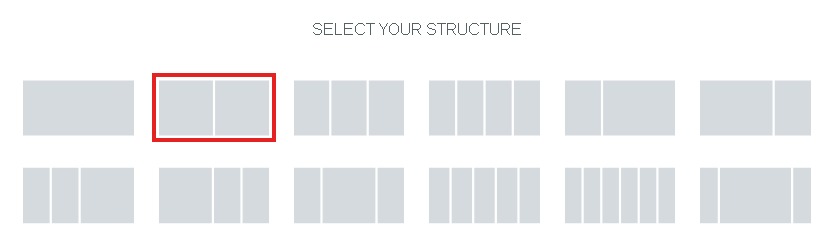
Next, you need to add a column in your initially created section. For this tutorial, we will be going with the two-column structure.
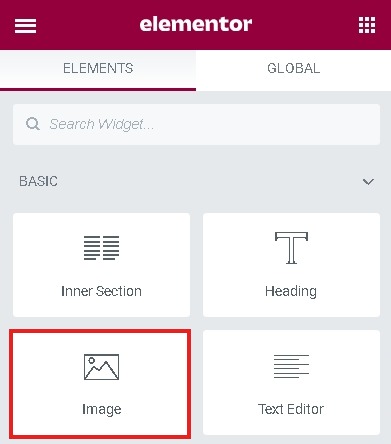
Then drag and drop the image widget to the column you created.
For the effect to work, you will be needed two pictures. One to be shown normally, while the other one to be displayed when the user places their cursor.
You can use two variations of the same logo or use two entirely different pictures, the possibilities are limitless.
After the image selection, in the custom CSS field paste the following CSS code to make the logo swap on hover effect work.
selector img:hover{
    content: url('https://wpbuilt.co/wp-content/uploads/2020/04/invision-logo-hover-new.png');
  opacity: .50;
  transition-duration: 3s;
 }
And done! Publish your page to preview and see how the effect looks on your website. Come back to make any changes if you want.
This is how you can create the Logo Swap On Hover effect with Elementor. Make sure to join us on our Facebook and Twitter to stay updated about our posts.


