
As a professional web developer, it is important to consider the inclusion of a map for businesses with a physical location, such as a photo studio rental or restaurant, to enhance the user experience for potential customers. The majority of WordPress page builder plugins, including Divi Builder, offer the capability to integrate Google Maps into a website through the use of the Map module. This module is equipped to handle multiple location pins in the event that the business has multiple branches. To utilize the Map module in Divi Builder, integration with Google Maps via an API key is necessary. The following steps outline the process of adding Google Maps to a website through Divi Builder.

Add Google Maps In Divi Builder
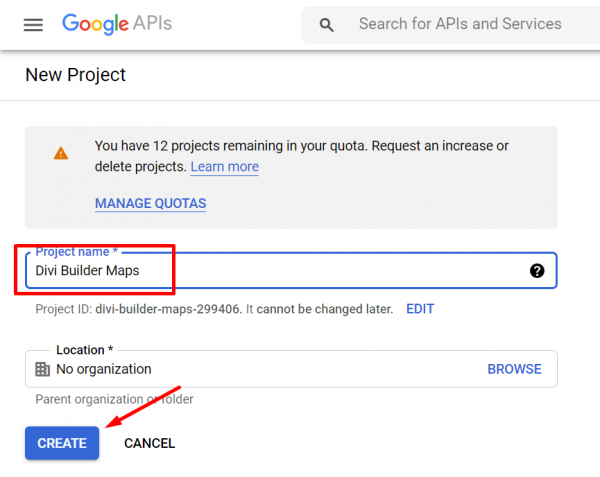
It has been previously mentioned that integrating the Divi Builder with Google Maps is a necessity to utilize the Map module. This integration can be achieved by obtaining a Google Maps API key. To obtain this key, you must log into the Google API Console website using your Google account. If you do not already have a project established, you can create one by selecting the dropdown menu on the top bar and selecting the "NEW PROJECT" option located in the top-right corner of the window that appears.
Now assign a name to your project and click the CREATE button.
To use Google Maps in your project, first, create the project and select it from the dropdown menu on the top bar.
Create Amazing Websites
With the best free page builder Elementor
Start Now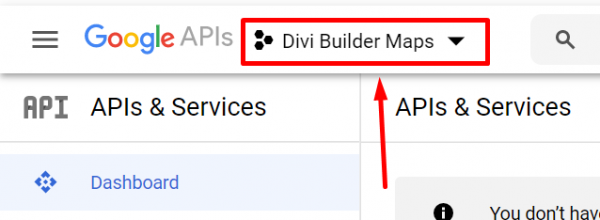
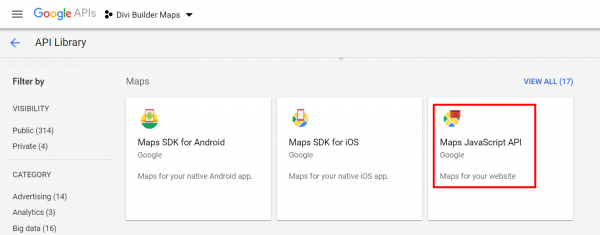
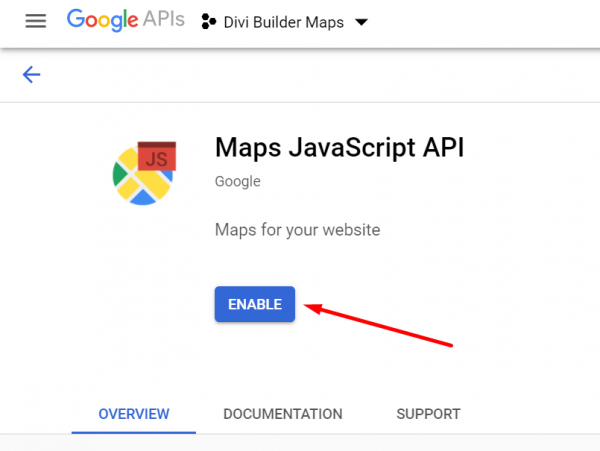
On the API Library page, choose the Google Maps API type you want to use under the Maps section.
For the Divi Builder, you can use the Maps JavaScript API.
Click the ENABLE button to activate the API.
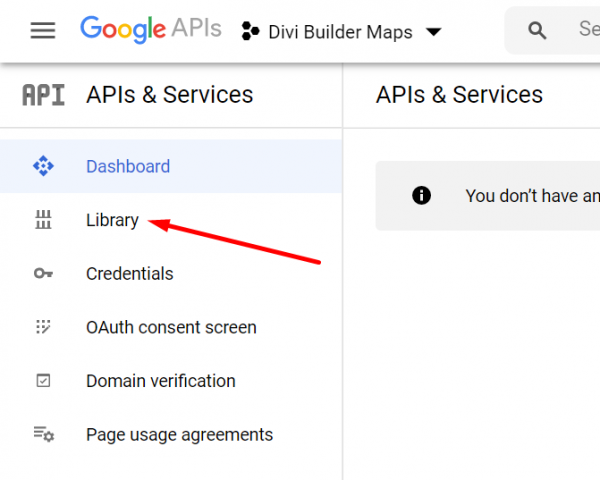
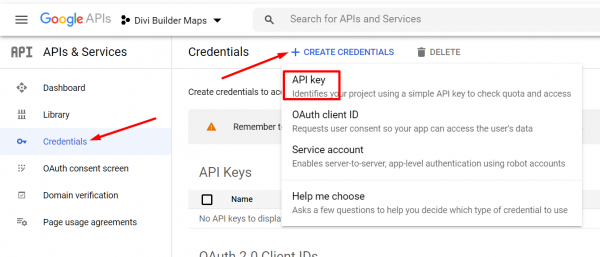
Then, go back to the main dashboard of the Google API Console by clicking the Google API Console logo on the top bar and select the Credentials menu on the left panel. Click the CREATE CREDENTIALS button and choose API key.
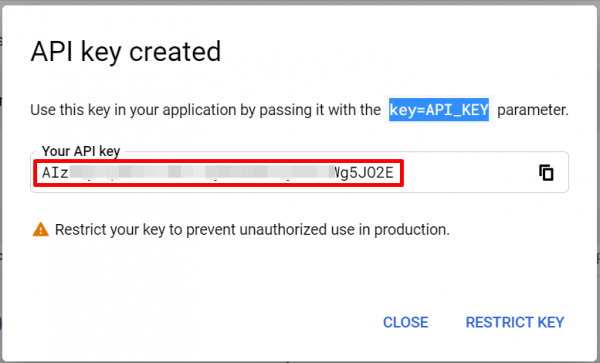
Copy the generated API key that appears on the window.
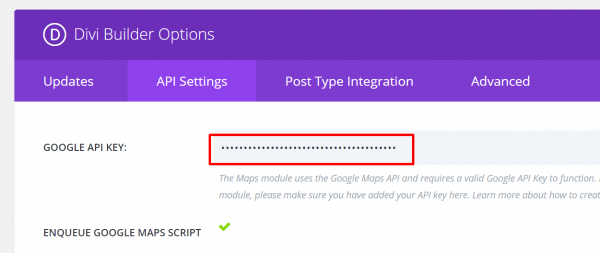
To add the key to your WordPress dashboard, login and go to Divi -> Theme Options (or Divi -> Plugin Options if you are using a different theme other than Divi). If you use the Divi theme, paste the API key in the Google API Key field under the General tab. If you use Divi Builder on another theme, paste the API key in the GOOGLE API KEY field under the API Settings tab. Remember to save the changes by clicking the Save button.
Start Adding The Map
To use Google Maps with your Divi Builder, you first need to connect the two. Once they are linked, you can add a map to your page or template. This can be done by clicking the grey plus button on the canvas area and selecting the Map module.
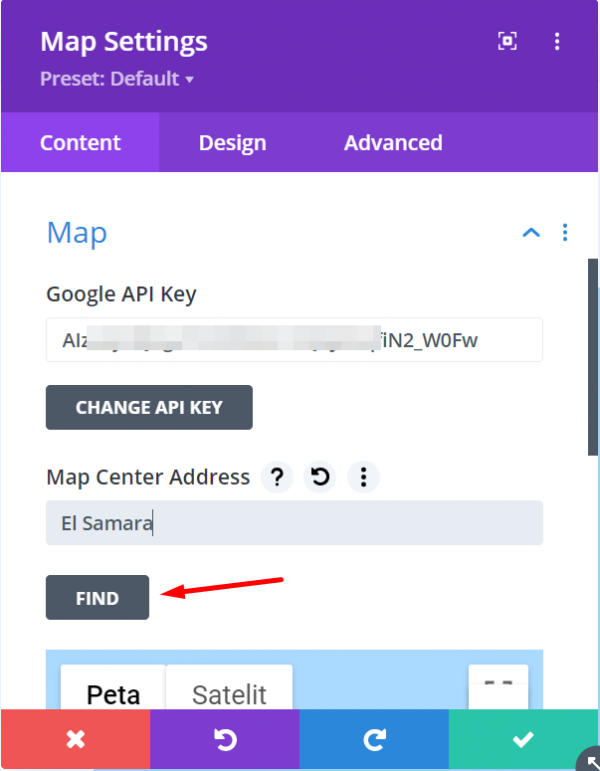
Before adding a pin to the map, you can set the center of the map to your business location. This will help Google Maps display the area around your business. For example, if your business is in London, you can set the center in London. Alternatively, you can set the center to the exact location of your business. To do this, go to the Content tab in the settings panel and find the Map block. Then, click the FIND button.
Adding Pins
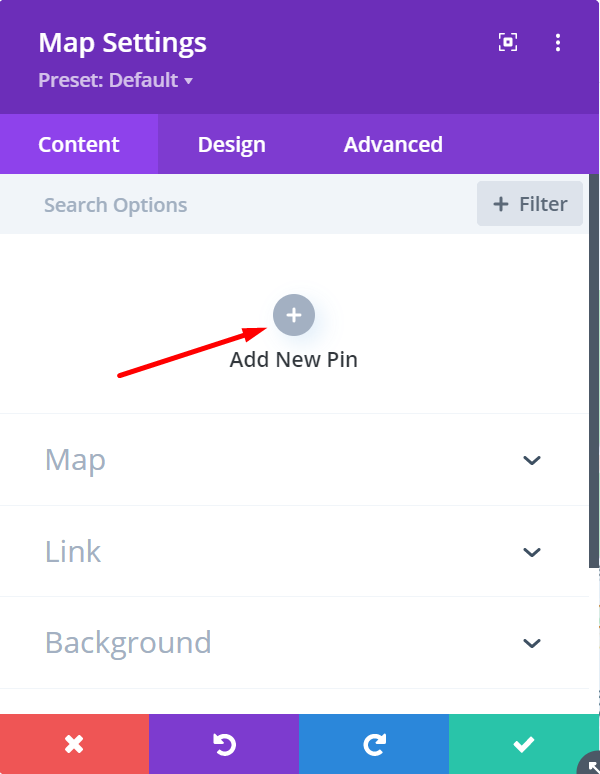
To put a pin on the map, all you need to do is click the "Add New Pin" button located in the Content section of the settings panel.
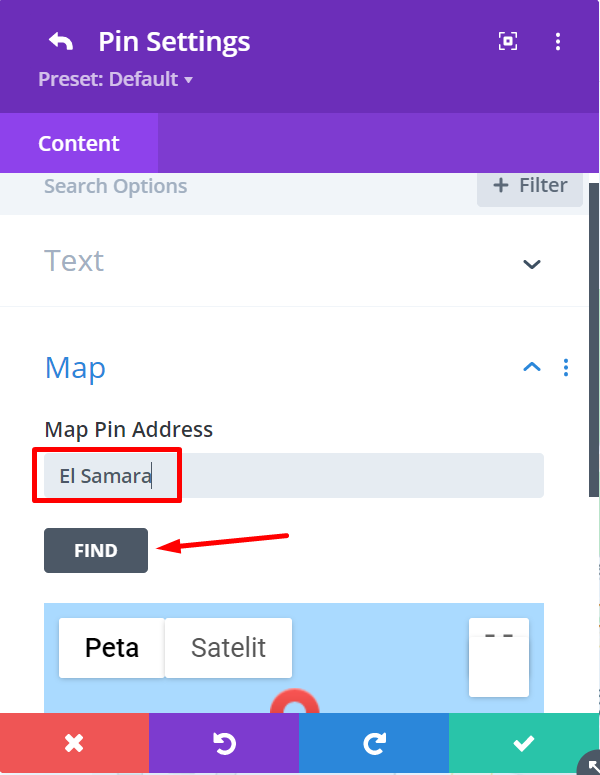
To pin a location on the map, first, open the Map block and type in the address you want to pin in the Map Pin Address field. Then, hit the FIND button. If you want to add text, just open the Text block.
To add more pins, simply follow the steps mentioned earlier.
Styling The Map
To make your map look nice, you can go to the Design section in the settings. Before you look at any other options in that section, you can start by opening the Controls option and turning on or off the ability to zoom in and out with your mouse wheel.

To customize your map in the Divi Builder, you can open different blocks to change the margins and padding, add filters, and choose an entrance animation, just like with other modules.
Remember that - if you see the message "For Development Purposes Only" when trying to add the map, remember to turn on your Google Cloud billing. This is a new requirement from Google, but don't worry - as long as you don't go over the free monthly credit of $200, you can still use Google Maps API for free.
Bottom Line
In conclusion, adding a Google Map to your website is crucial in helping your customers easily locate your physical business location. By using the Map module in Divi Builder, you can easily integrate Google Maps and create an interactive and user-friendly map for your website. Not only does this provide a more efficient way for customers to find your business, but it also adds a professional touch to your website. So if you're looking to enhance the functionality and user experience of your website, incorporating a Google Map is definitely worth considering.


