
Customizing your WordPress website with unique typography sets you apart from the rest. Many page builders, including Elementor, feature Google Fonts as a basic list of alternatives that may be applied to the website. Because they're so simple to use, Google Fonts are commonly found on websites. If you're a regular web surfer, you'll quickly notice which sites are using Google Fonts and which are using their own.

As a result, we take pride in ensuring that both our own and our client's websites stand out among the crowd. Custom fonts in WordPress and Elementor are the means by which we accomplish this.
To access the font definition files, most custom fonts are distributed as zip files that must be extracted. Fonts are available in a variety of file formats, from woff to otf. In order to ensure that your uploaded files work with as many browsers as possible, we suggest using as many distinct file types as you can. It's best to create a .TTF and .woff2 from your existing font file, especially if you only have one font. These are the files you'll upload to your website so you can use them to create unique fonts for your content.
Add Custom Fonts To Elementor
Elementor has a built-in feature that allows you to add your own fonts. There are a few ways to accomplish this, each with its own advantages and disadvantages. Adding custom font files can be accomplished in a variety of methods, and we'll go over them all in this article.
Create Amazing Websites
With the best free page builder Elementor
Start NowNative Interface
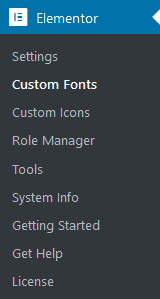
When you install Elementor, you get access to a custom fonts integration page. To get started, go to Elementor >> Custom Fonts, then select the font you'd like to use.
On that page, click the Add New button. Custom fonts can be uploaded via an interface that you will be shown.
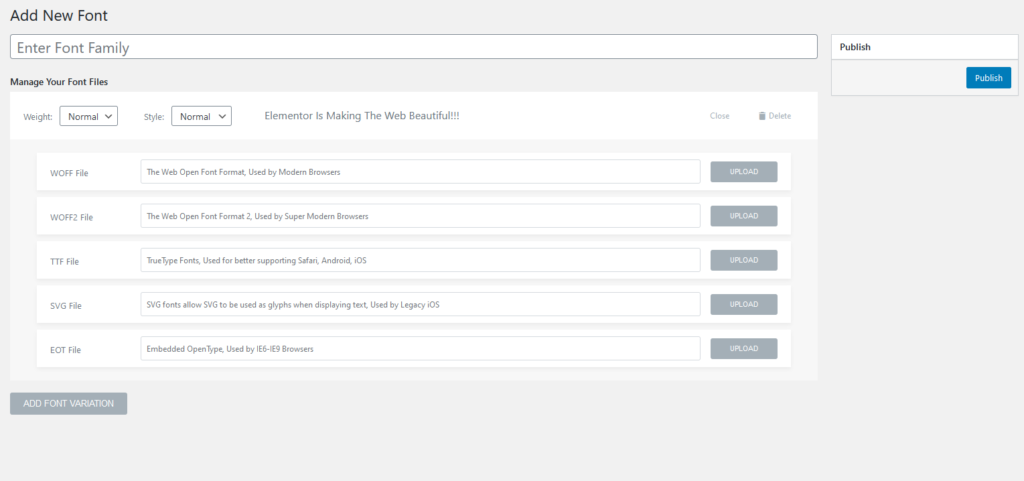
The first step is to name your font family. Choose font size, weight, and style, then click OK. Then you may upload your fonts. There are a variety of options available to you, however, we strongly advise you to use .TTF and .WOFF2 as your primary file type. You can upload a different weight of a font by clicking the "add font variation" option when you have many font variations.
The new typeface will be available in the Elementor editor after all the files have been submitted and published.
When it comes to custom typefaces, this method is the quickest and easiest to utilize in Elementor. If you want to use it, you'll need to keep Elementor installed on your website. Use the second method described here if you're concerned about any of these issues.
Custom Font Plugin
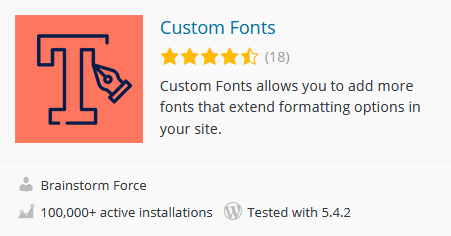
A plugin called Custom Fonts makes it simple to incorporate your own fonts into Elementor.
Despite the fact that this plugin is officially compatible with Elementor, it is also compatible with WordPress. Even if you remove Elementor from your website, your custom fonts will remain in place because it isn't a part of Elementor.
Custom CSS can also be used to apply the typeface in this manner.
element {
Font-family: “your-custom-font”
}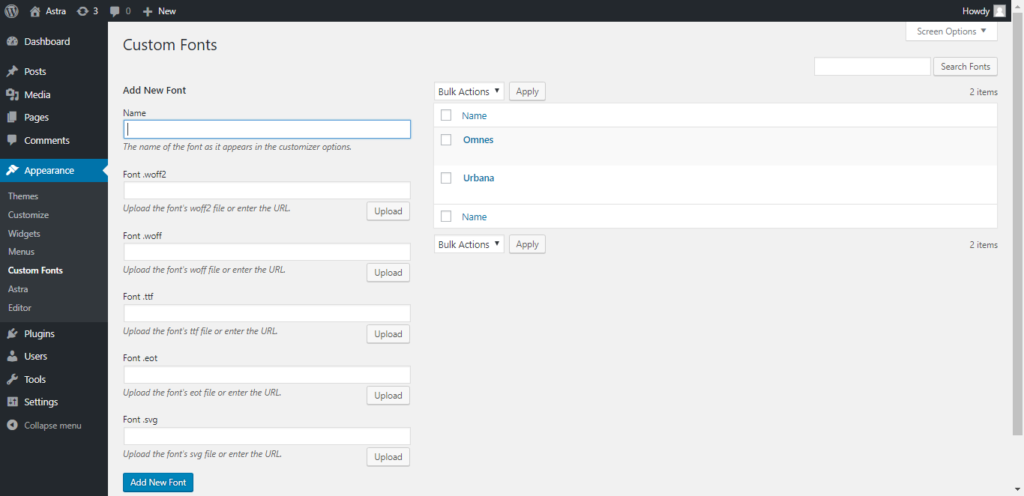
Adding a font is a basic and straightforward process. Simply click the Add New Font button, enter a name for the font, then upload the font files. Finally, the @font-face rule for your WordPress website is generated by this plugin and applied to the Elementor typography settings.
Using this plugin to add custom fonts to WordPress is our preferred method. Because of the way it works with Elementor, we prefer it to the native interface most of the time. This plugin has one major drawback: it doesn't allow many font weights at once. Instead, use the following format to identify different styles of the font:
- Font Normal
- Font Bold
As we only use three fonts, this doesn't affect us much, but it could be a deal killer for you. Methods one and three can be used if this is the case.
Font Face
It's possible to add a custom font to a WordPress site without requiring any plugins, using Font face. In fact, this is exactly what the other two approaches do, but they simply provide you with an aesthetically pleasing GUI.
WordPress requires that you first produce a font pack, then install it on your server, and then use CSS to apply it to your site. This is the simplest and least bloated way, however, it doesn't work with Elementor. You'll need to utilize CSS to style the font if you're going to use it this way with Elementor
Using CSS, you may add a typeface to a website and have it appear on particular elements.
@font-face {
  font-family: your-custom-font;
  src: url(your-custom-font.ttf);
}
Add your desired font-family name in the "your-custom-font" area and add the link on the next line.
Uploading the font to your server is as simple as copying the URL location from the typeface's media library entry. Also, you can upload it through FTP to the WP content folder or the uploads folder.
The font is then applied using CSS:
element {
Font-family: “your-custom-font”
}
In Elementor, this can be done in the advanced options area of the custom CSS. Doing this at the page level is the way to go. Customizing Elementor's appearance (Appearance -> Customize) is a great way to apply global fonts to your site.
Ending Thouhgts
You should now have a better understanding of how to use a custom font in Elementor after reading this article. Having a unique typeface for your website is critical for making it stand out from the crowd. As always, feel free to ask any further questions in the comments area below.


