
If you want to add a stunning and interactive content switcher to your website for free, this post is for you. We will walk you through the process of creating and adding a content switcher to your WordPress website using the free Elementor page builder plugin.
At the moment, you must make your website material readable, distinctive, well-planned, and engaging. If your website is more engaging, it will easily attract visitors and lead to increased traffic. It also aids in increasing audience engagement.
Nowadays, most consumers want to acquire the right information, and when they come to you, they get it and leave. Users do not want to waste time surfing your website after they have obtained their information. However, if you provide your content in an interactive manner, you will be able to capture their interest. You must present your substantial material in an interactive manner so that readers are enticed to read it.
To increase traffic and interaction, you must design a unique website and display your content. You can design a separate version of the information with a different, distinct look, but you don't want it to be displayed by default.
Create Amazing Websites
With the best free page builder Elementor
Start NowTo transition between the two versions of the content, utilize a Content Switcher widget. You provide your users with the option of switching the content view with a single click.
Add Content Switcher Using Elementor
Install the Essential Addons for Elementor, a free WordPress plugin, to add the content switcher widget using Elementor free. You can use this plugin to add a content switcher to your web pages.
Install and activate the plugin first, then open an Elementor editor page where you wish to add the content switcher.
Now, to add a section, click the "+" icon and select the column. Then, look for the Content Switcher widget and drag it into your newly created column.

The content switcher will be added to the section. You can now select the skin from the skin option under the Content tab. The content switcher is available in three different skin styles. You can add the item after selecting the skin.
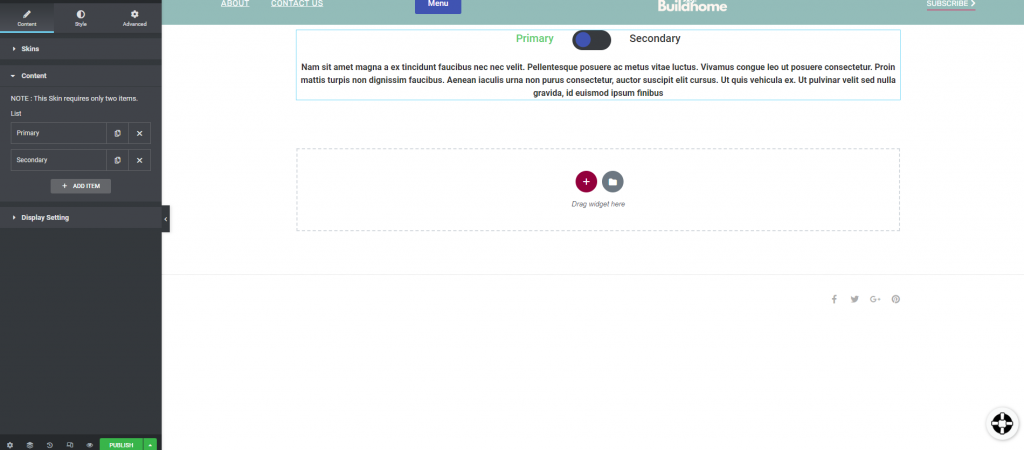
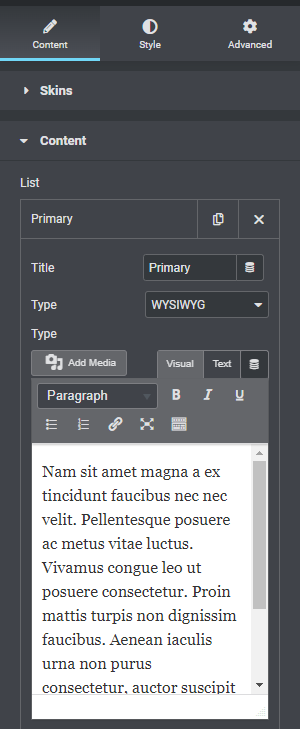
Simply click any of the items to change the title and description. You can include the item's title, kind, and description.
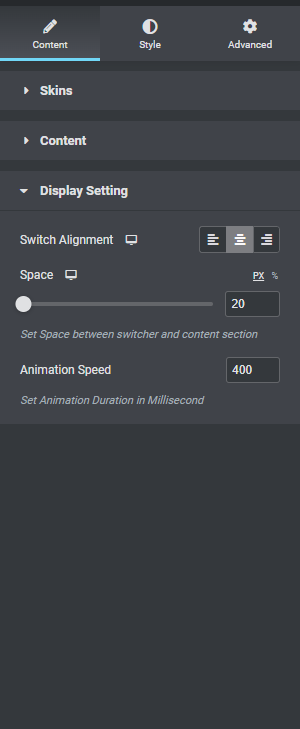
You may now adjust the switch orientation from the display settings. You can also customize the space and motion.
Proceed to the style tab to style the section. First, you can customize the switcher's typeface. Color, backdrop color, icon color, border type, and border-radius can all be customized now.

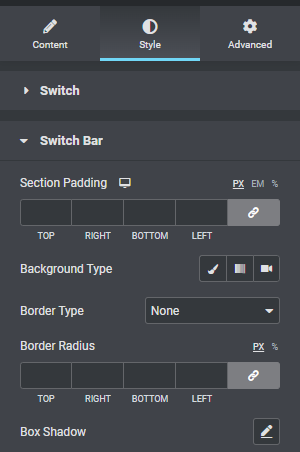
Section padding, background, and other options are available in the switch bar.
You can now customize your content section under the content tab.

And this is how the content switch section is complete.
Final Words
Following that, you will be able to add a content switch to your website for free using Elementor. You can view our other tutorials to learn how to beautify your website using elementor in a variety of ways. Hopefully, you will find this content useful, and if so, please share it with your friends.


