
Background masks can be added to any Divi element. This is an excellent opportunity to improve the design of your website's footer using Divi. We'll teach you how to apply a background mask to your footer template using the Divi Theme Builder in this tutorial. Once completed, you will have a completely new footer design that you can easily modify for your own website.
Design Preview
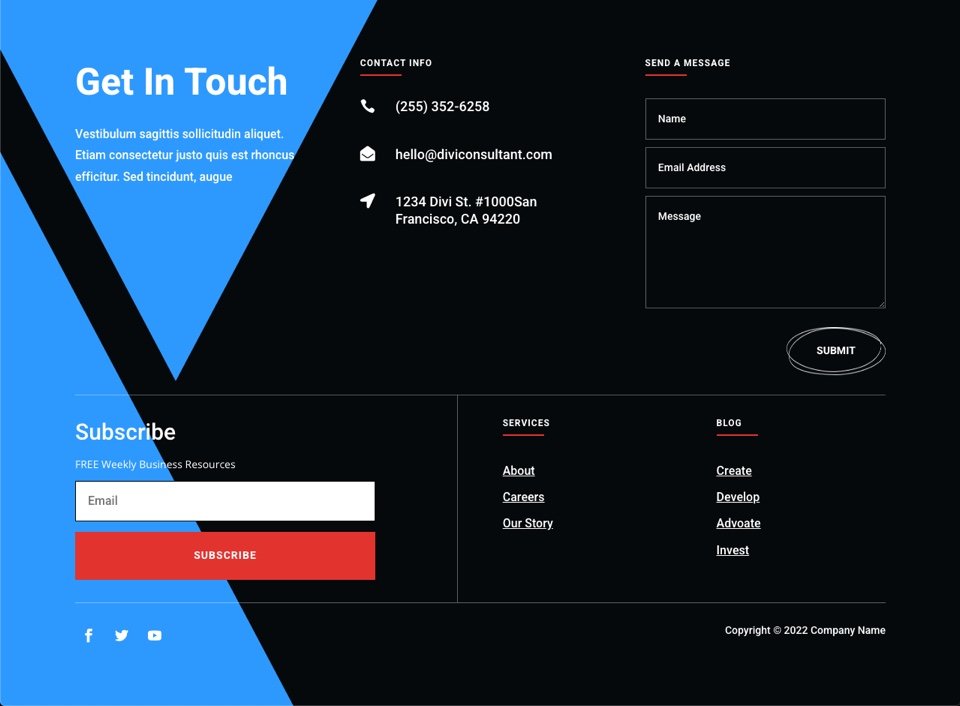
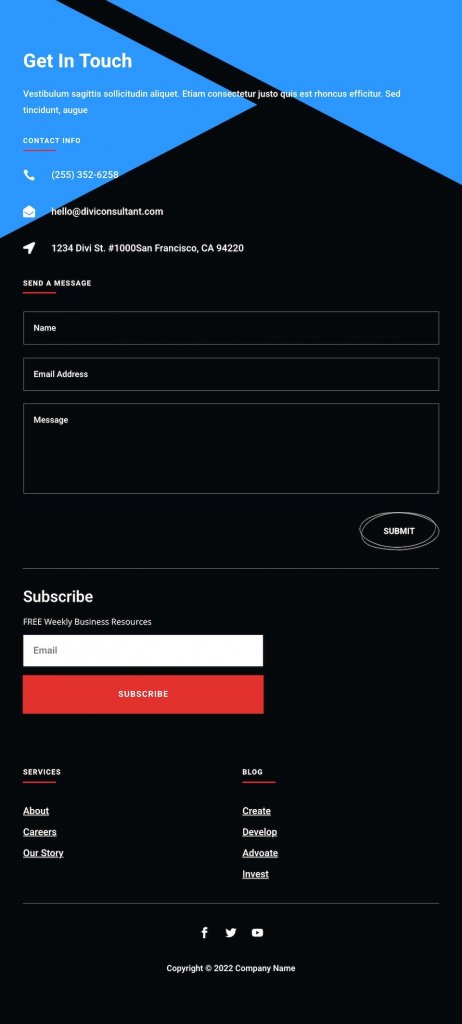
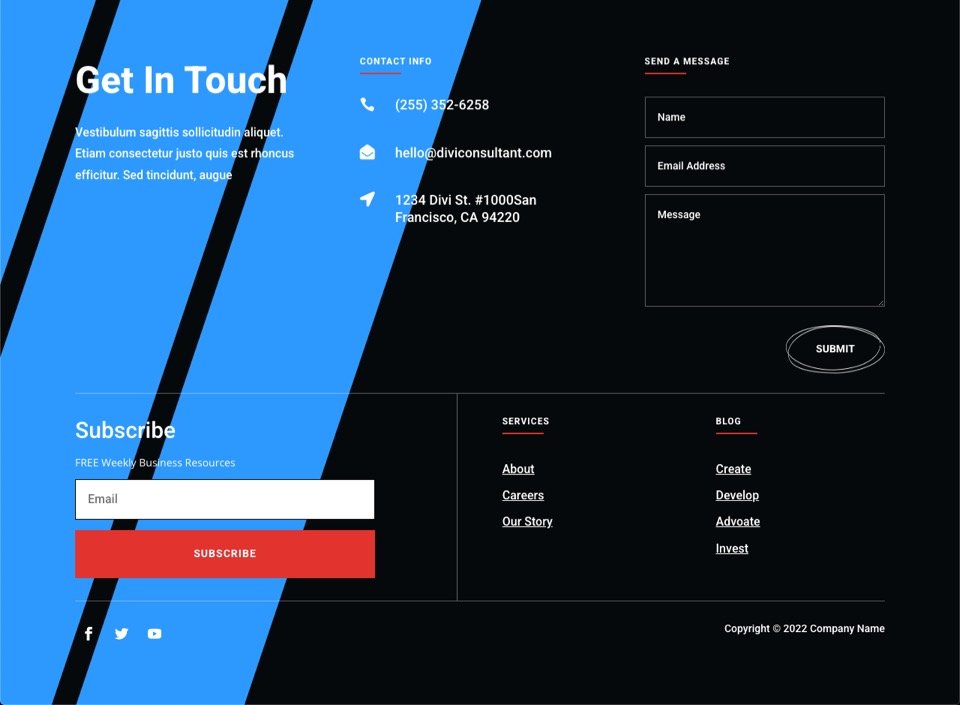
Here's a quick preview of the footer designs with background masks that we'll create in this tutorial.
Get Started With Design
Feel free to skip this step and begin editing your footer template if you want to utilize your own existing footer for this guide. A background mask can be added to any existing footer design.
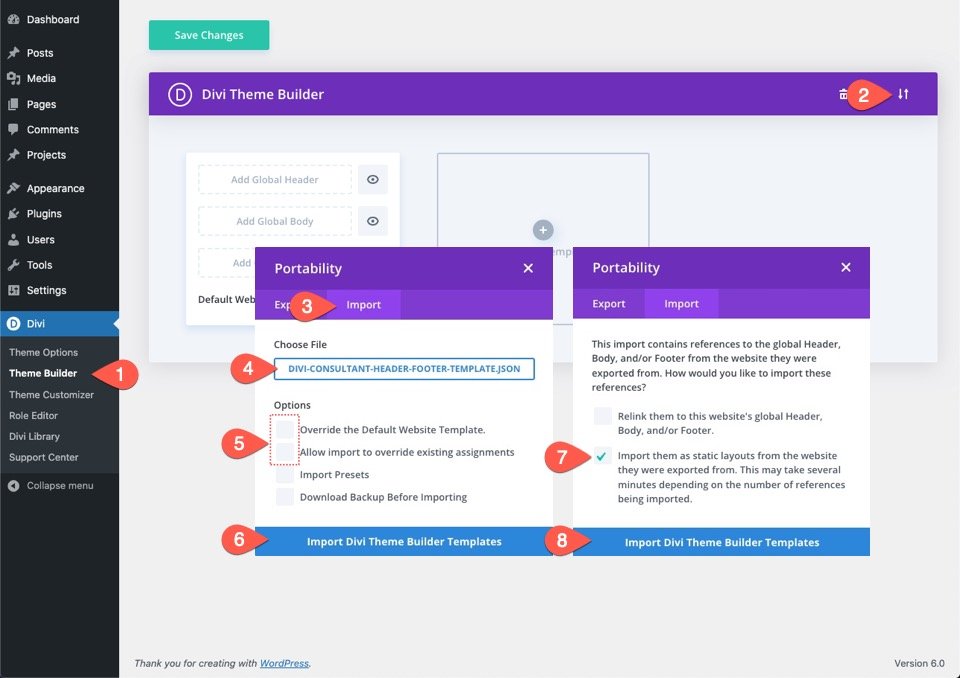
For this article, we'll be using the Consultant Layout Pack's free header and footer templates. Once you download the package, unzip it. Then go to your WordPress dashboard and navigate to the theme builder.
Create Amazing Websites
With the best free page builder Elementor
Start Now- Click the Import button at the top right of the page.
- In the portability popup, select the import tab
- Choose the download file from your computer (make sure to unzip the file first and use the JSON file).
- Un-check the options that will override your current templates.
- Then click the import button.
- Select the option “Import them as static layouts…”.
- Then click the import button again.
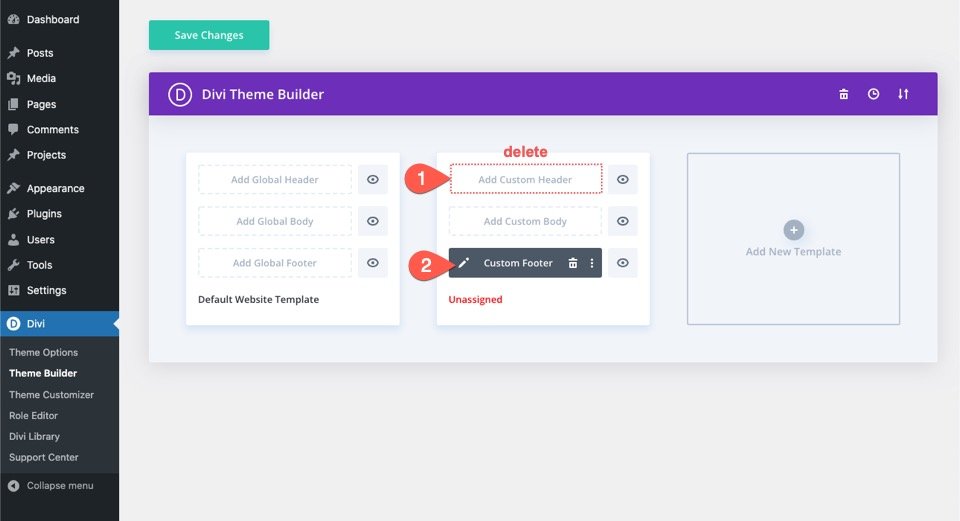
Once the template has been loaded into Theme Builder, delete the template's header (we won't need it for this) and click to alter the template's footer.
Add Background Mask To Your Divi Footer
This footer is constructed from a single section. We can apply the background mask design to the part that includes the footer content because we are going to add it to the full footer background.
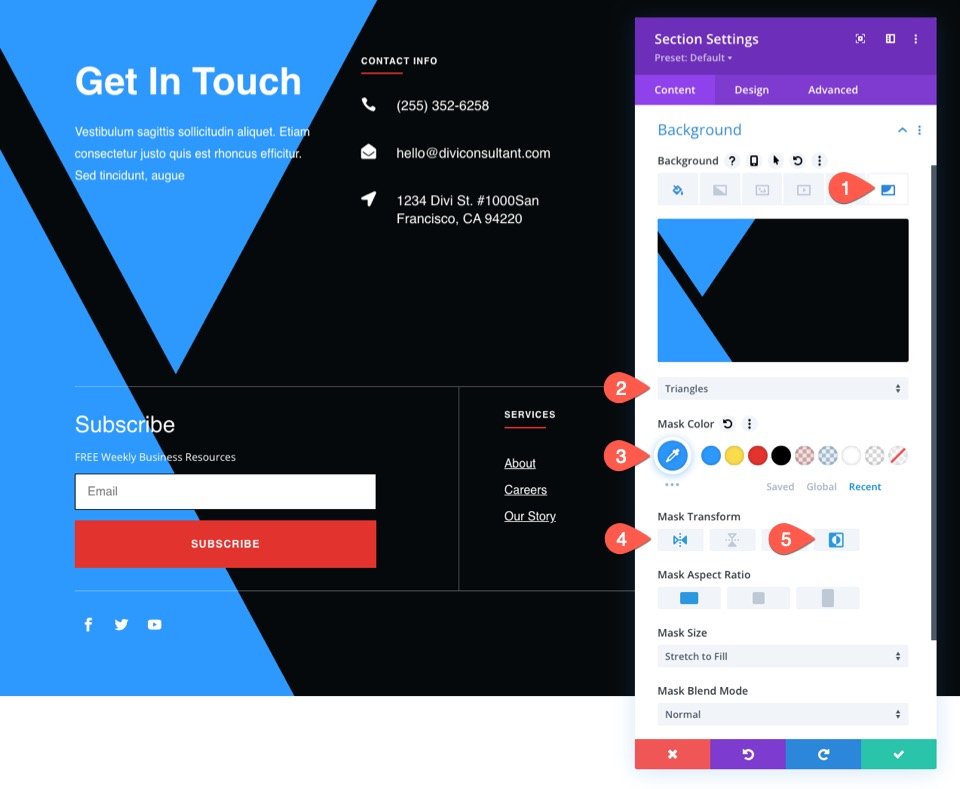
To do so, go to the section's settings. Select the Mask tab from the backdrop settings and apply a background mask to the section as follows:
- Mask: Triangles
- Mask Color: #2c98ff
- Mask Transform: Horizontal Flip, Invert
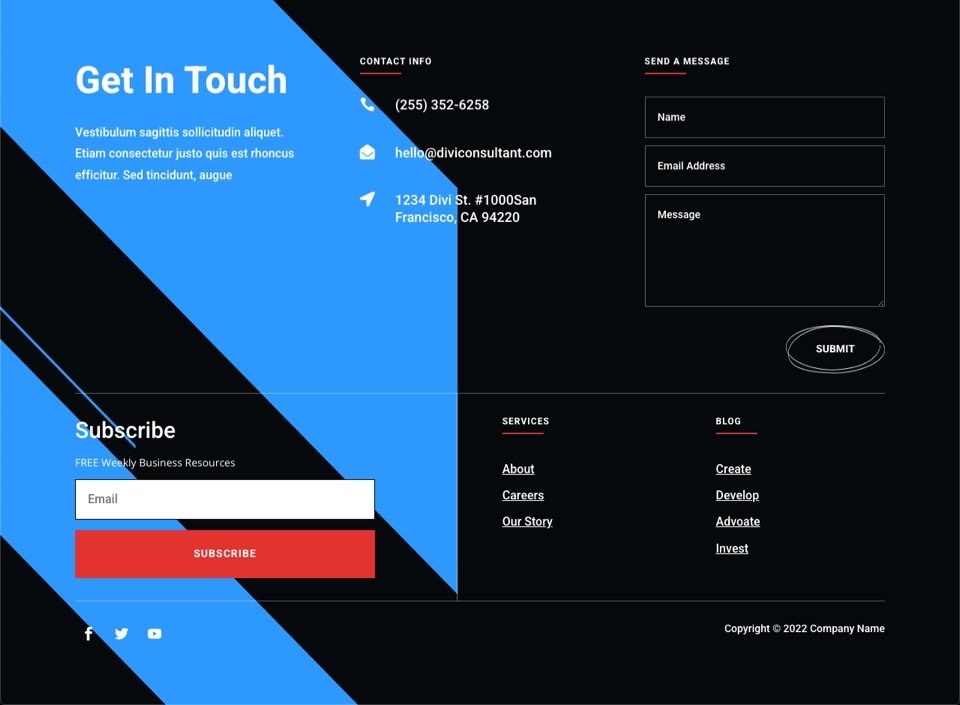
This is how it looks on the desktop.

Mobile Responsiveness
We'll need to make a few changes to the backdrop mask design so that it looks well on mobile devices as well. Each mask may require various tweaks, but in general, the following should work for the majority.
Select the tablet tab after activating the responsive settings/tabs for the background options. Then, edit the Mask settings as follows:
- Mask Transform: Rotate
- Mask Size: Fit
- Mask Position: Top Right
Once the original mask design is finished, we may experiment with other masks and mask colors to create additional footer background design alternatives. We might as well check what a couple of others will look like since we can change masks with a single click.
For example, for the Blade Mask, you need to select Blades from the Background section.
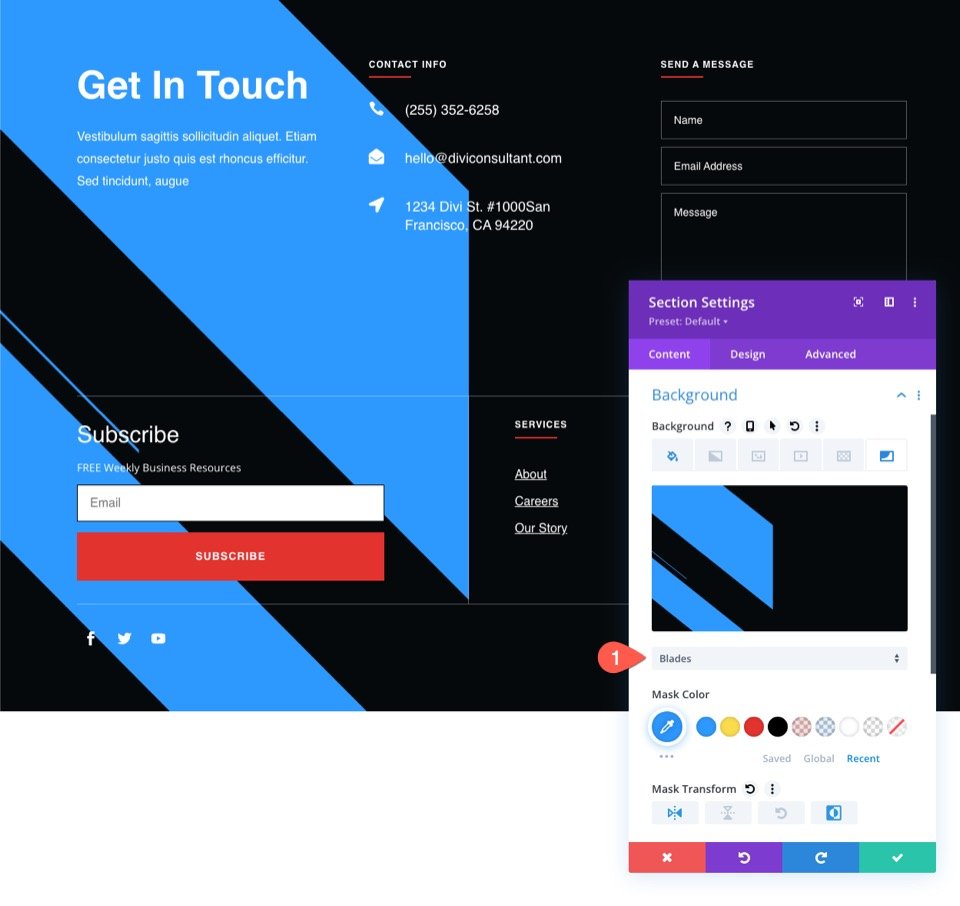
And the design will look like this.
Again, if you select Diagonal lines, the design will look like this.
To create a more subtle (and darker) background mask with Honeycomb, apply the following changes:
- Mask: Honeycomb
- Mask Color: rgba(44,152,255,0.18)
- Mask Transform: Invert
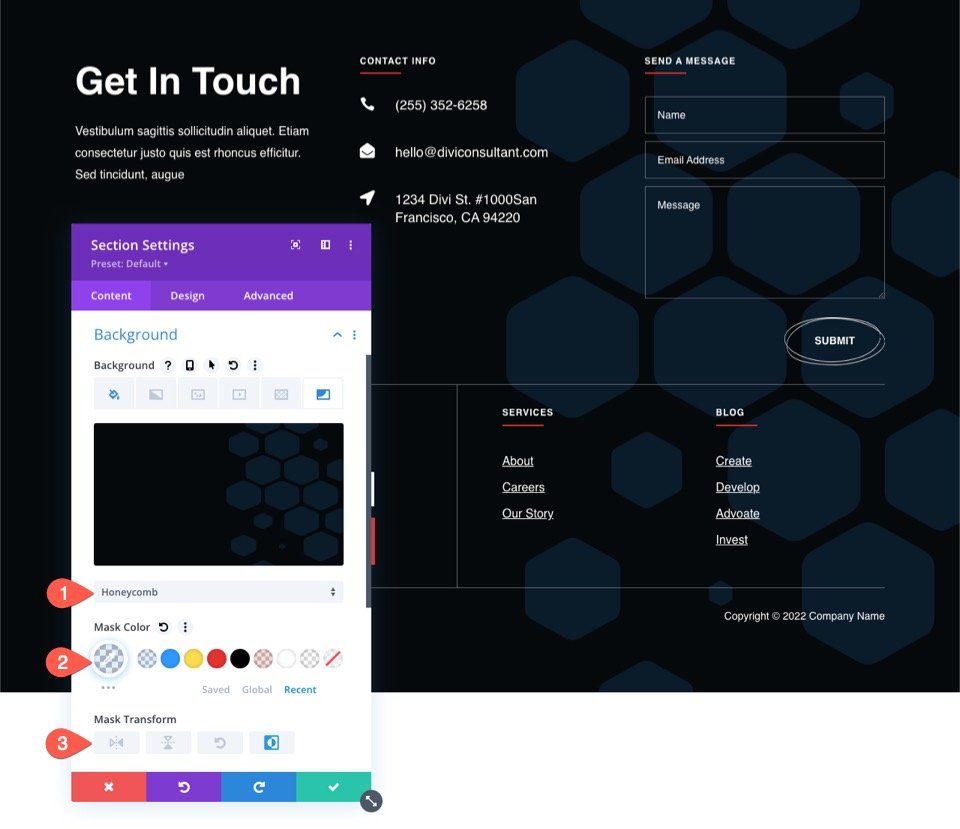
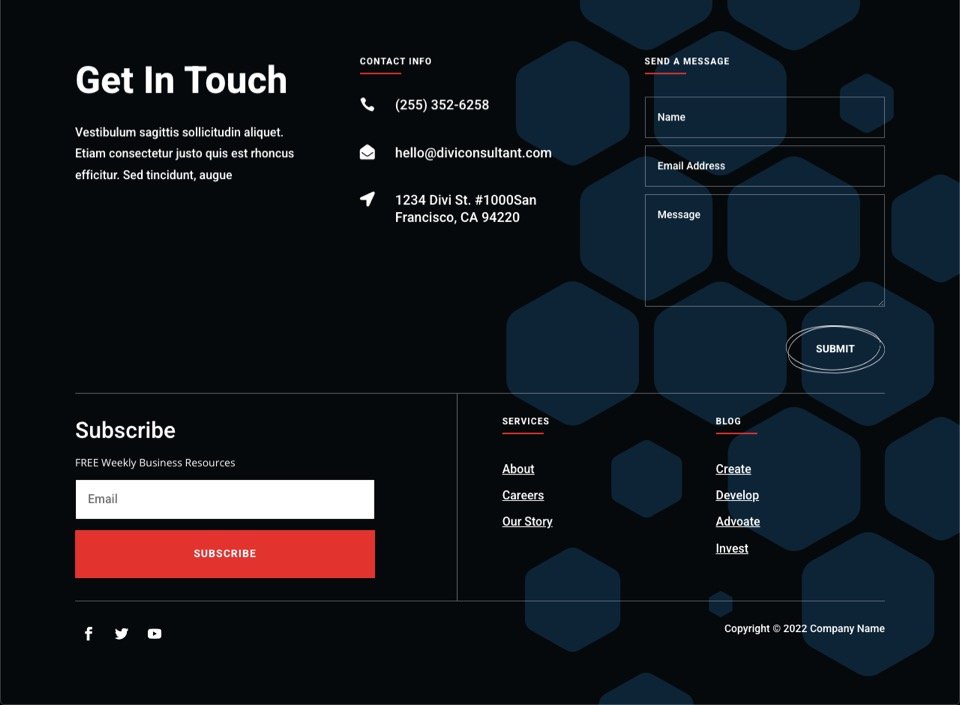
And here is the result.
The Corner Blob mask can be used to create a modest frame design around the contact form in the footer. Simply make the following changes:
- Mask: Corner Blob
- Mask Color: rgba(44,152,255,0.18)
- Mask Transform: Rotate, Invert
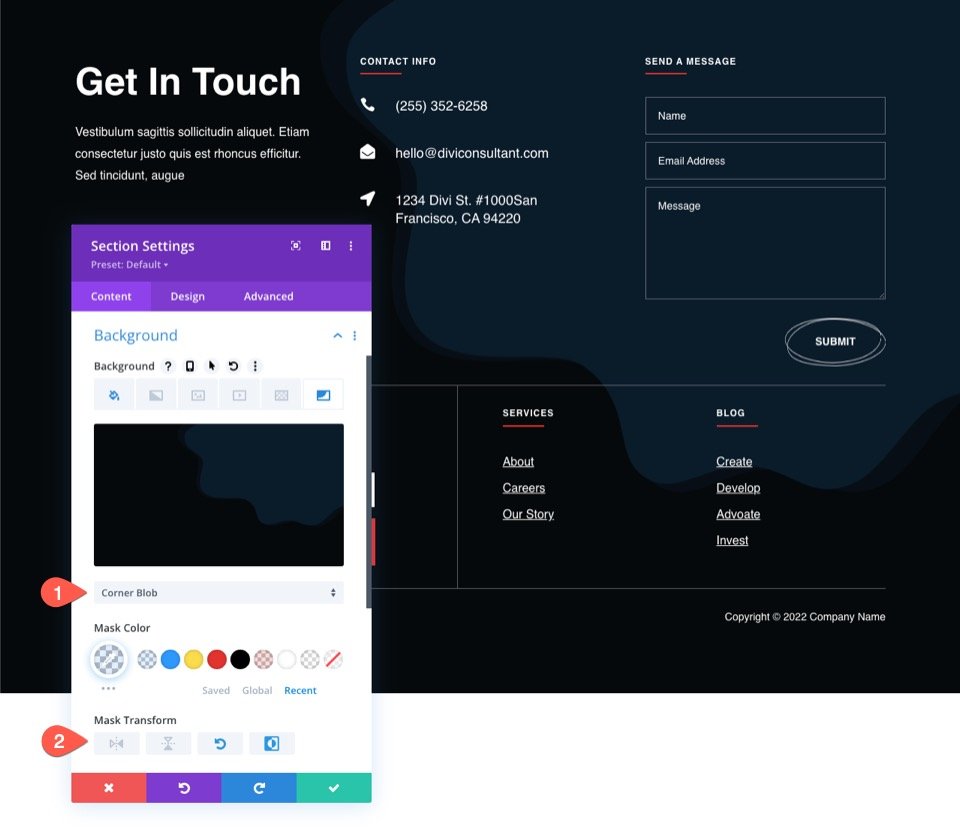
And here is the Final output.

Ending Thoughts
Using the Theme Builder and Divi's built-in background options, you can easily create a backdrop mask design for your footer. Simply play with the various masks and transform choices to discover the best one for your footer. Don't forget to make the appropriate mobile changes. Hopefully, this will come in handy for your own website or your future job. Dont forget to check out other Divi tutorials and share this tutorial with your friends.


