
Using Elementor Popup Builder, you can design your own back-to-top buttons. In our comprehensive guide, you'll find all the information you need. Creating a popup container, configuring the triggers, and adding a scrolling effect are all steps we'll take you through step by step.

Set Up A Back to Top Button In Elementor
To begin, use Elementor to build a new popup and add a back-to-top button to it. Elementor Templates -> Elementor Templates in the WordPress dashboard Popups.

Clicking on Add New Popup will take you to the Elementor Popups window, where you may make changes to any existing popups or create a brand new one.
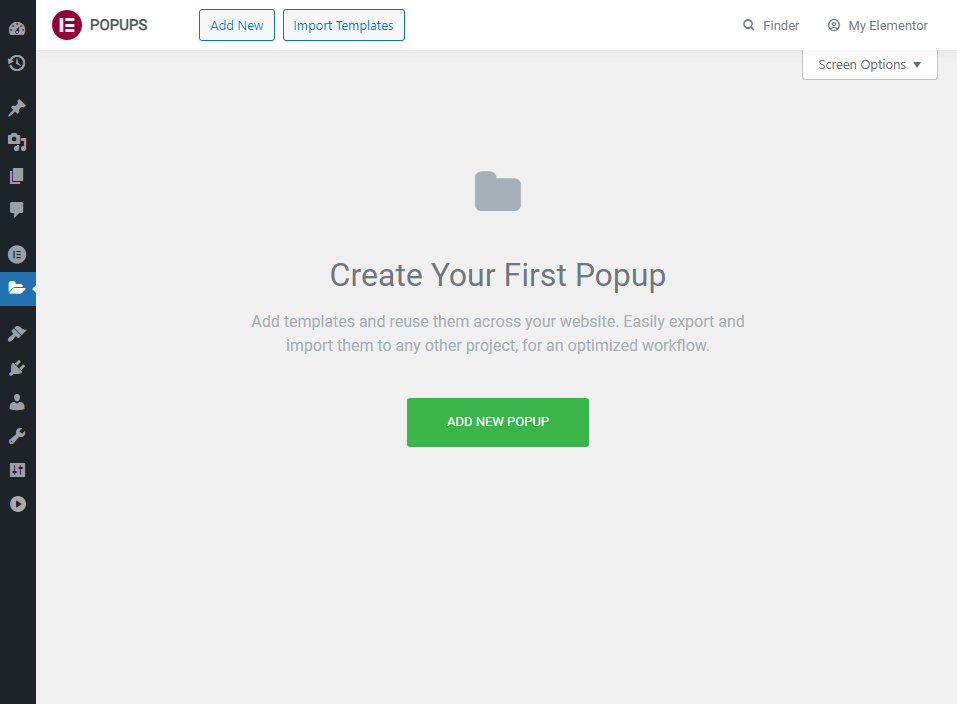
Add a new popup by clicking on the Add New Popup button. In the new box, you will be able to select a template type and a name for your new design. Create a new popup and the template type will be pre-selected for you. If you choose, you can name the template whatever you want. A simple Back to the top button was favored by us. Click the Create Template button after making these two adjustments.
Create Amazing Websites
With the best free page builder Elementor
Start Now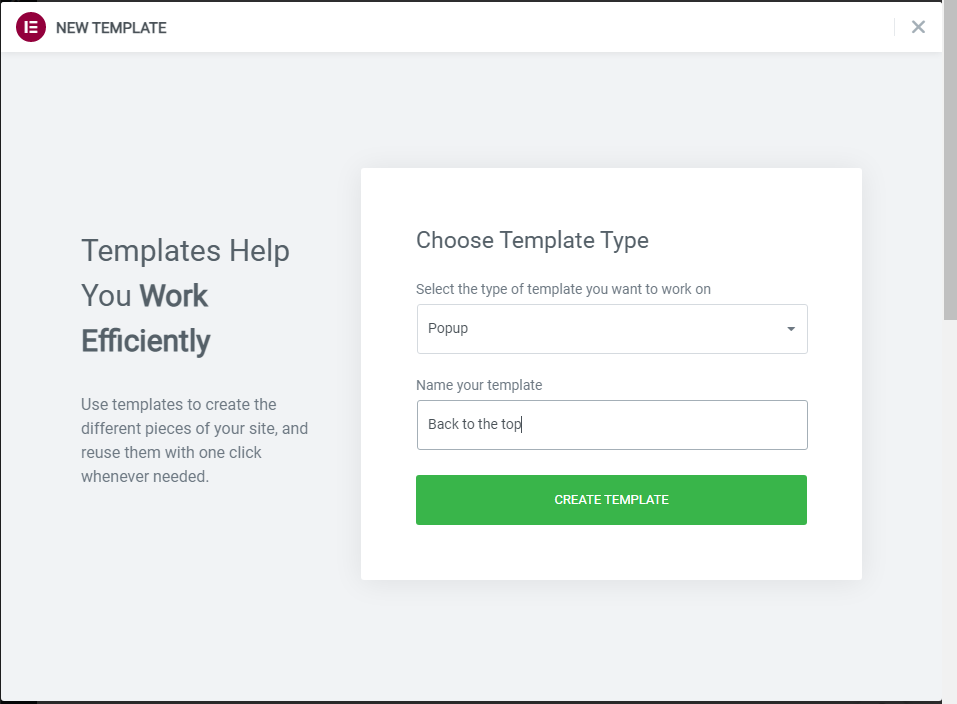
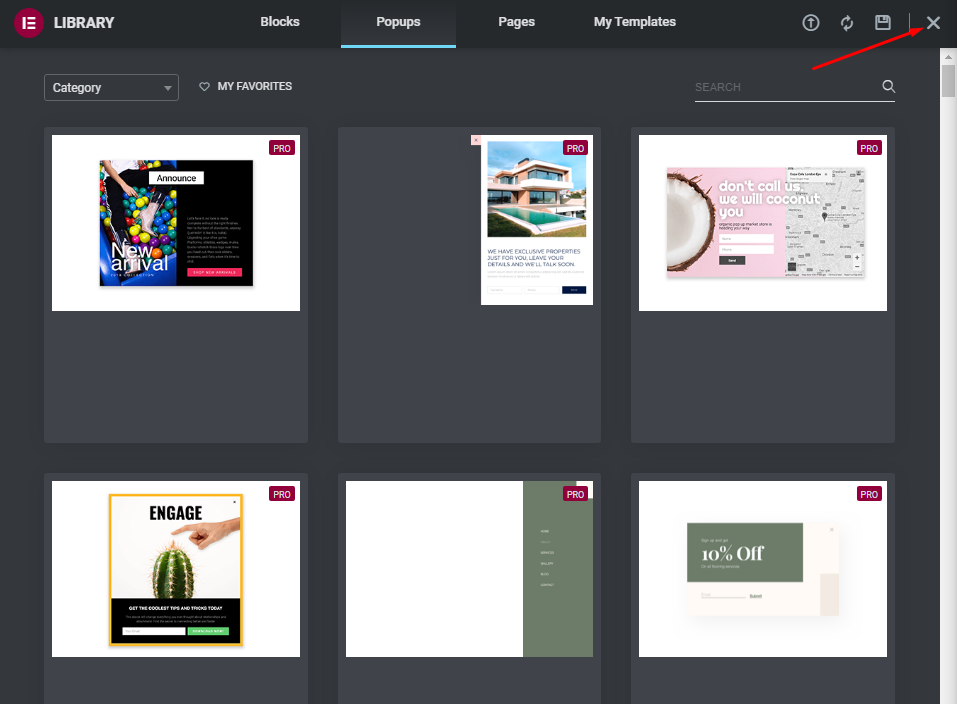
As soon as you open the Elementor Editor, you'll be presented with a library of pre-made popups. You can use these preset popups, however, they're mostly for cases where you need a subscription form, cookie policy notification or any other typical popup. Take advantage of the X button to close out of this window until our back-to-top button is complete.
Pop Up Container Setup
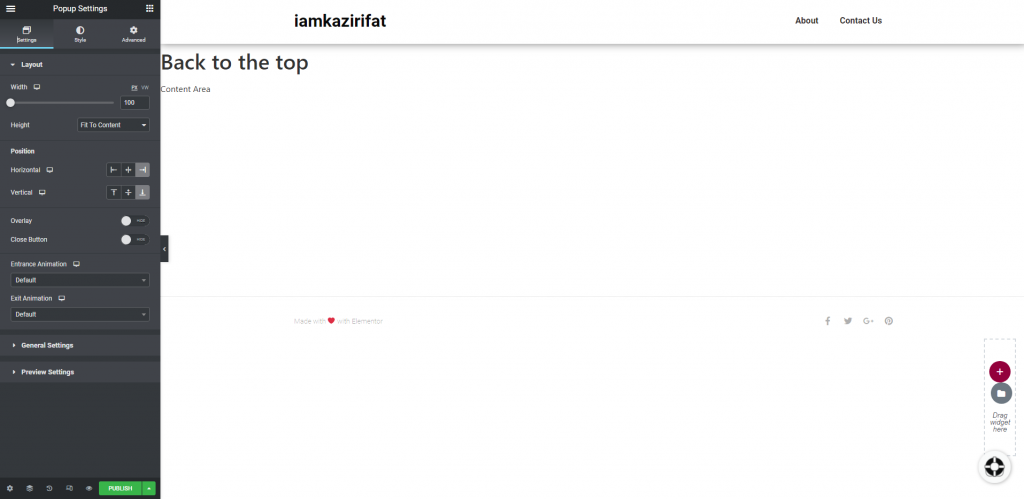
When you exit the Elementor Library window, you will be returned to the Elementor Editor and the beginning point for popups with default settings. Now click on the gear icon to show the pop-up settings.
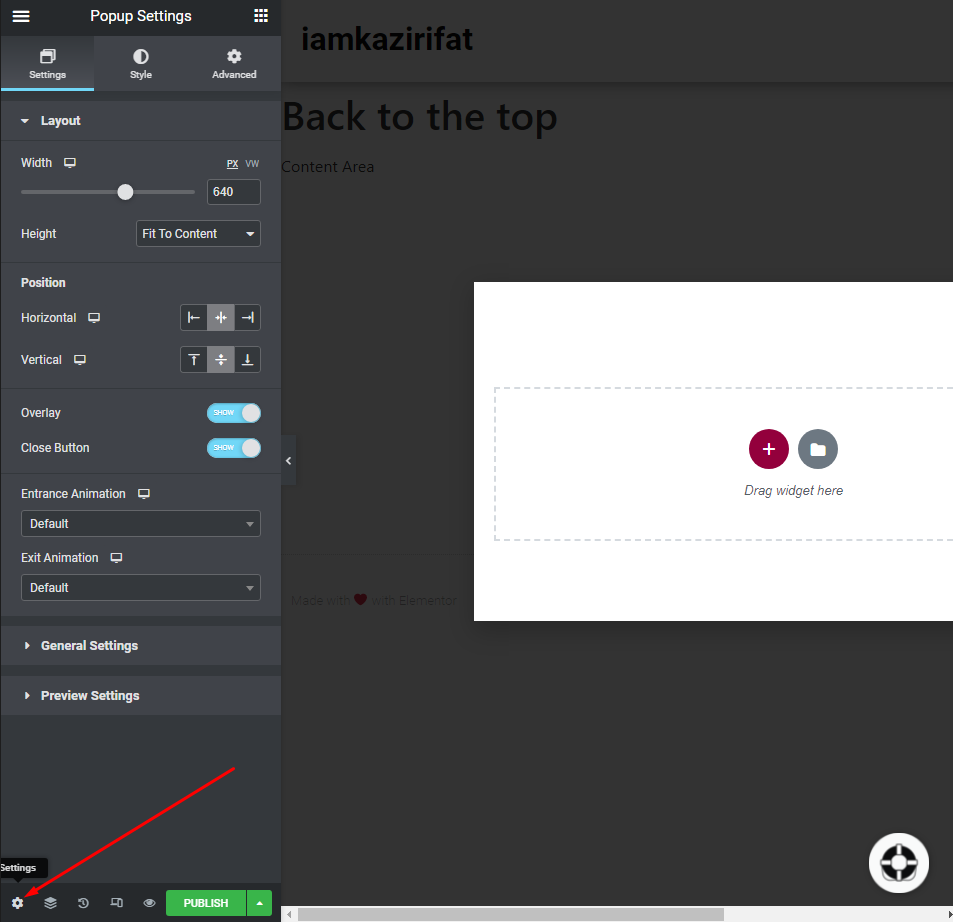
Now make these changes in the Layout tab.
- Width : 100px.
- Height : Fit to Content.
- Position Horizontal : Right.
- Position Vertical : Bottom.
- Hide Overlay and Exit Button.
Now change the following in the Style tab.
- Background colour : transparent.
- Box Shadow : Back to Default.
Simply toggle "Prevent Closing on ESC Key" to ON in the Advanced tab settings. This is only in case the visitor inadvertently touches the ESC button while scrolling down the page. If this occurs, we want to prevent the button from vanishing.
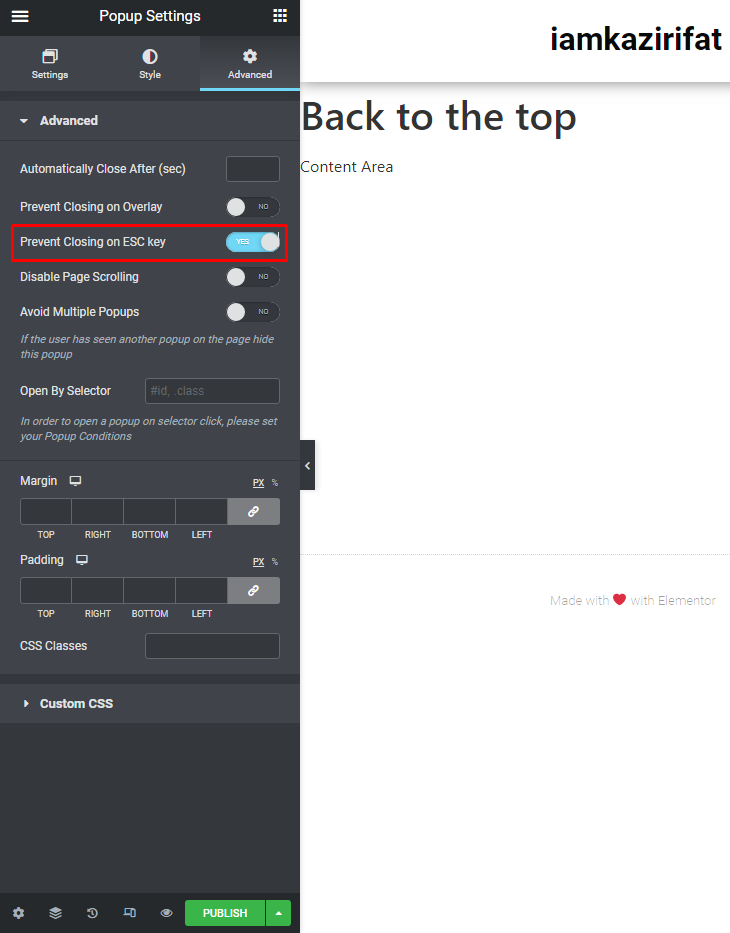
Our popup container for the back to top button is now in the bottom right corner, which is its most usual location.
Adding back to top button
Here, we will be using an icon widget to set as a button. You can use the button widget too if you want.
Drag the icon widget and drop it into the designated place.
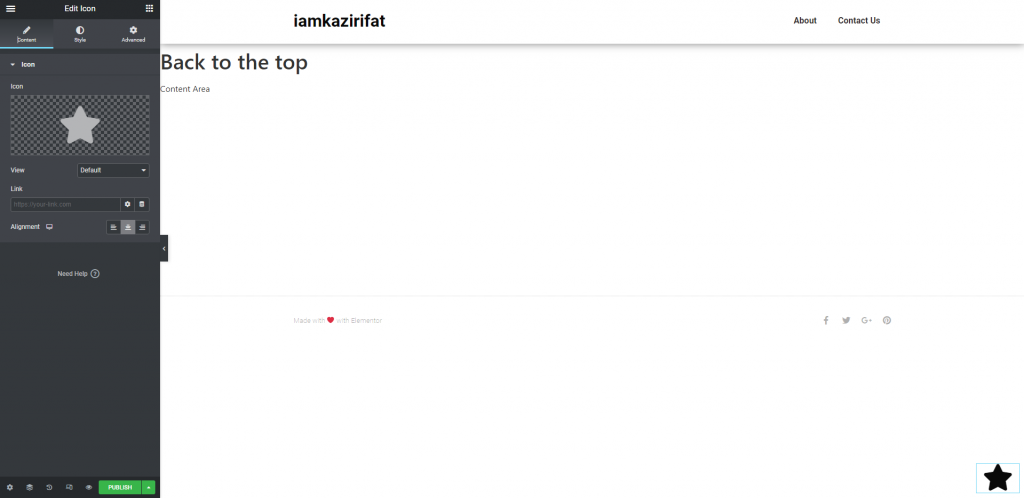
Now you have a huge collection of icons to choose from. Pick the desired one and add an anchor link. The ID of the area at the top of your page that will be utilized as an anchor link for the back to top button click action must be specified. simply add a Menu Anchor widget to the top of your pages and posts with the proper ID.
Now add an entrance animation for our back-to-top icon.
And now you can publish this page.
Conditions And Triggers
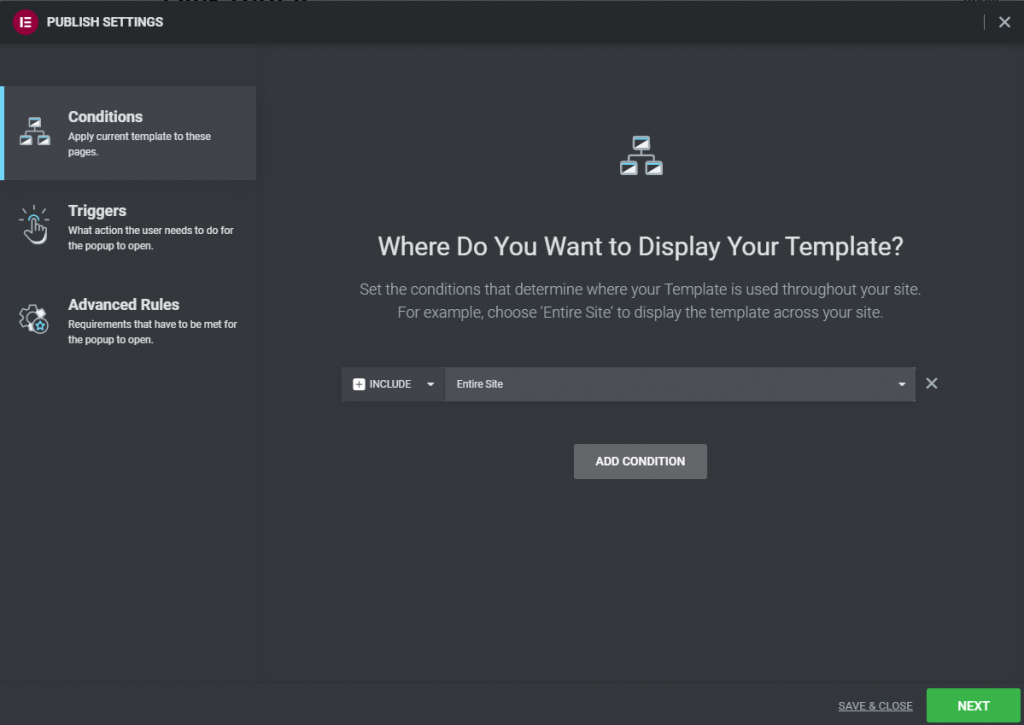
Now that we've completed the design and development stages, we need to decide where and when to display our back-to-top button. Conditions or where to show the popup will be the first settings window that appears after pressing the Publish button. There are various alternatives available to you:
- The Entire site - popup will appear on all of your website's post kinds, including archives. This is our preferred configuration.
- Archives - The popup will appear exclusively on archive pages, and you can control it further by post content type.
- Singular page – display a popup on all single pages, posts, or other post types, including authors and 404 pages, or only on a selected post type. For example, if you just want the back to top button to appear on your blog entries.
- WooCommerce — If your website is a shop and runs on WooCommerce, Elementor will provide you a separate option to regulate popup visibility for an entire shop or by 10 different options.
Set your condition, or many conditions if you require more advanced control over popup visibility, and then click Next. Triggers are the next item you need to configure, which is what action or activities your visitors must take in order for the popup to appear. There are various alternatives available, which you may mix with Advanced Rules to create the optimum situation for your site. However, in our instance, we want to keep things as simple as possible, and the only trigger we require is the On Scroll trigger.
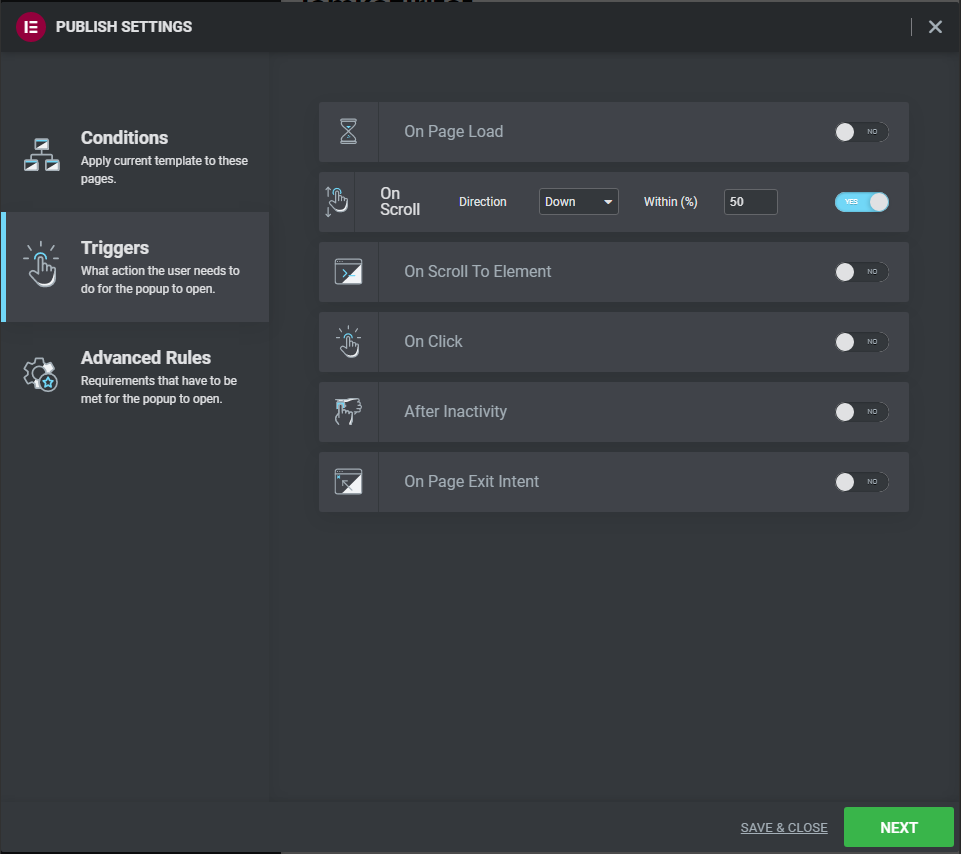
Our configuration – 50 percent with direction down – implies that the popup will appear when users scroll down to 50 percent of the page length. That's all we need for the time being. You can skip Advanced Rules and simply click Save & Close from this window. Allow Elementor a few seconds to publish your new popup, which will serve as a back-to-top button.
No changes need to advance rules.
Adding Scrolling Effect
While this is a functional solution that performs what it is designed to do, we can improve it by adding a scrolling effect. Insert the CSS code below into your preferred custom code editor.
html {
  scroll-behavior: smooth !important;
}
Final Word
While the majority of popular WordPress themes feature back-to-top functionality, there may be situations when you want to utilize something else. As we did above, we built a website for our customers using a plain vanilla theme and Elementor Pro Page Builder. In that scenario, you can use this solution to improve the UX of your website by adding a pleasant back-to-top button over which you have complete control. This button can be added to the entire site or to certain sections of it. You can customize it and reuse it on any website you create using Elementor Pro Page Builder.
We hope you like this essay and the answer we provided. Please let us know how this worked out for you in the comments!


