
Do you want to make your WordPress forms easier to fill out and save time when building them? Auto-populating fields is the answer! With WPForms, you can easily create dynamic field choices that automatically use information like post types or products to populate the options in your form fields. This makes forms more user-friendly and efficient, and it can also help you collect more accurate data.

If you're looking for a way to make your WordPress forms easier to fill out and save time, auto-populating fields is the way to go. WPForms makes it easy to set up this feature, and we'll show you how in this article.
In this article, we'll show you how to set up auto-populating fields in WPForms. We'll also provide some tips for using this feature to improve your forms.
What Is a Dynamic Field Choice?
A dynamic field choice is a form response that is automatically filled in for your website visitors. Instead of having them manually type each answer, you can configure WPForms to pull in options automatically.
Create Amazing Websites
With the best free page builder Elementor
Start NowDynamic fields can help reduce form abandonment by pre-filling commonly selected options. This also improves accuracy since visitors don't have to manually enter information. The form stays up-to-date as WPForms pulls the latest items.
You can add dynamic choices to dropdowns, multiple choice, and checkbox fields in WPForms using the easy drag-and-drop builder. They are perfect for:
- WooCommerce products on a support form,
- Real estate listings on an inquiry form,
- Job openings on an application,
- Pet breeds at a vet clinic,
- Service options on a contact form.
The key benefit is it makes forms smarter and more customized to your business needs. Dynamic choices auto-populate with relevant options to make filling out forms easier for visitors.
How to Auto-Populate Fields in WordPress Forms
Adding auto-populated WooCommerce products to a contact form with WPForms is easy. Follow these steps:
- Install the WPForms plugin
- Add a dynamic field to your form and select WooCommerce products as the choice source
- Publish your WPForms contact form
Now the products will automatically populate in the form field. This tutorial will walk through the process step-by-step.
Install the WPForms Plugin
First, we need to install and activate the WPForms plugin. After installation, we need to add a new form.
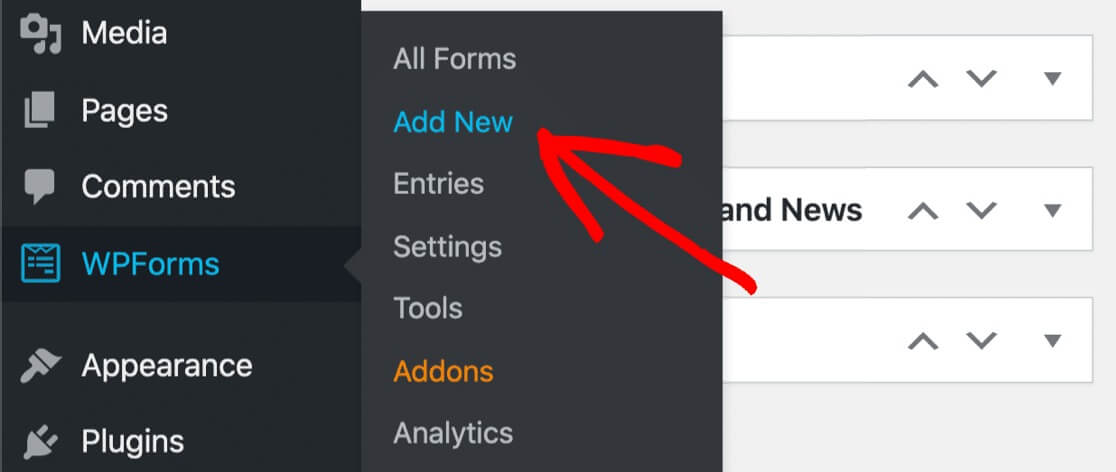
First, go to WPForms » Add New.
Enter a name for your form at the top of WPForms when it opens.

Next, let's begin by clicking the Simple contact form template.

The form builder will appear as a fullscreen window when you click it. The basic contact form already has the following fields:
- Name
- A message or comment
Drag a drop-down field, then add automatically generated answer options.
Drag the drop-down field to the right-hand form preview by clicking on it and dragging it there.
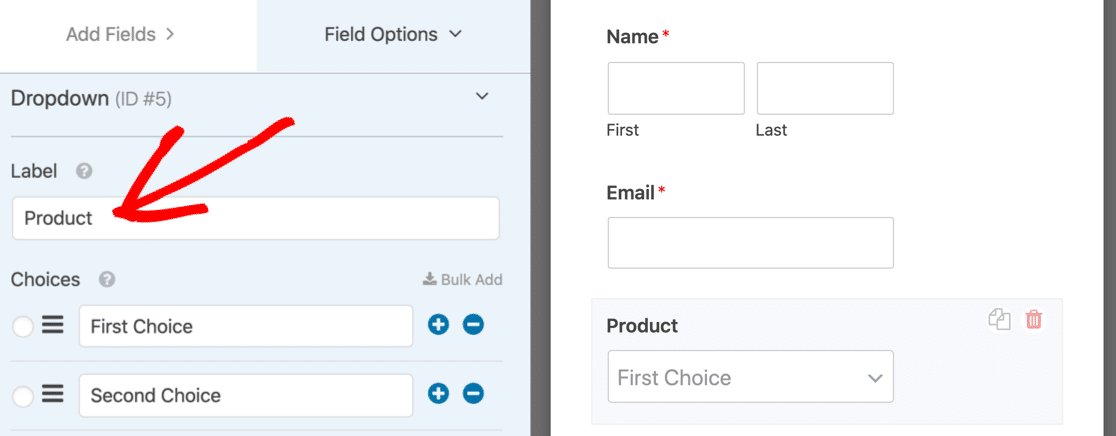
Next, click once to reveal the settings on the left after opening your dropdown. Let's change this label to more accurately reflect what is in the dropdown.
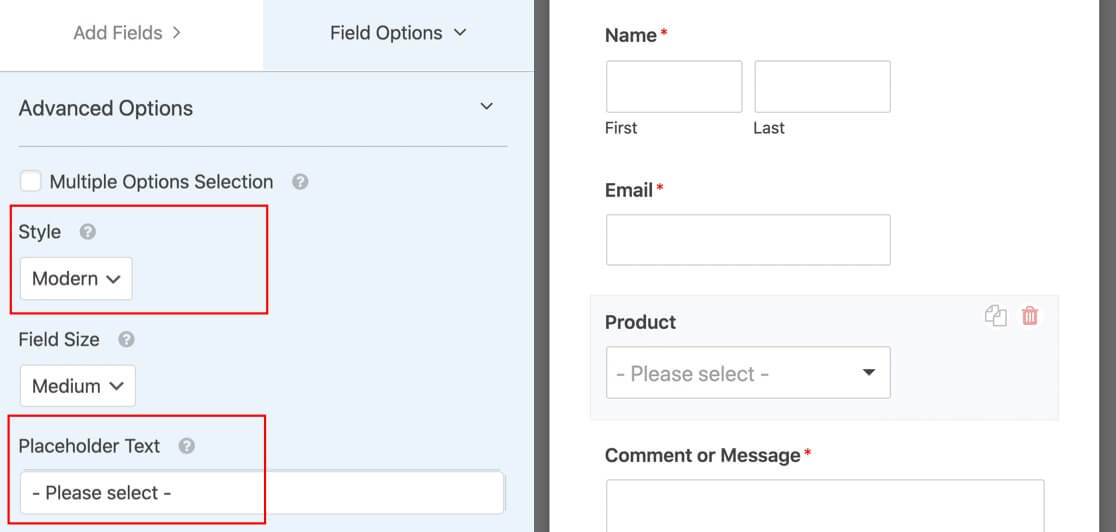
Expand Advanced Options by a little while now as you scroll down. To make this form easier to complete, we're going to select the following two options:
Style - Since it enables users to search the list, we'll choose the Modern choice. This is a fantastic method to greatly simplify the use of a very lengthy dropdown. To allow your visitors to choose from multiple options, you can easily construct a multi select dropdown.
Placeholder - Setting a placeholder for a field is always a smart move. Although a placeholder appears to be the default option, the visitor cannot choose it. This is a wonderful technique to make sure that the first response on the list isn't automatically selected.
We are now prepared to add dynamic field choices.
Add Your Auto-Populated Field
The options that will show up in the dropdown list will now be configured.
You don't have to bother about filling in all the answers when using dynamic field options. WPForms will select each choice on your behalf.
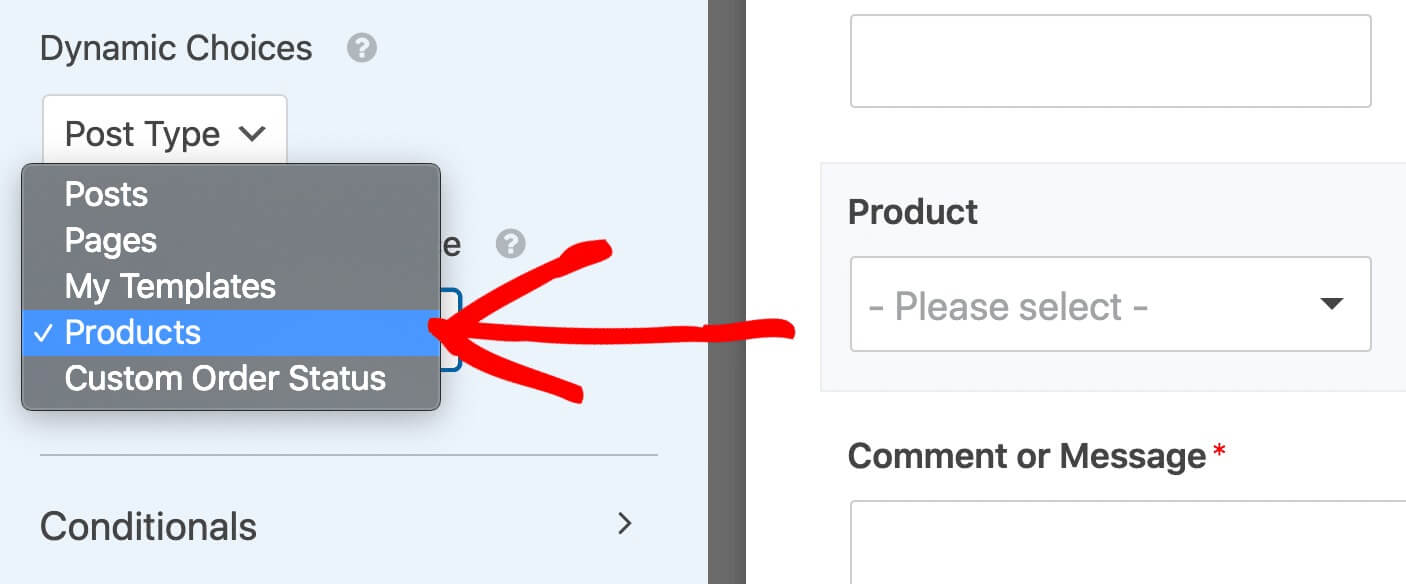
There are two options available when you expand Advanced Options in your dropdown: Post Type and Taxonomy.

Post Type enables you to use a Dynamic Post Type Source to automatically populate the field. The options in the second dropdown above may resemble these on a WooCommerce store:
- Post – A list of all of the blog posts on your site.
- Page – Lists all of the pages on your site.
- Products - A list of every item available in your shop.
All of these are post kinds. If you have any set up custom post kinds, you can use them. Due to the fact that we have two more custom post types set up, we have a few additional alternatives to pick from, for instance:
Let's examine the alternative method you can use to automatically fill your form fields.
You'll see a second dropdown called Dynamic Taxonomy Source if you choose the second option in the dropdown, Taxonomies.
Options like these can be selected from the second dropdown list:
- Blog Post Tags - Pull in all the tag names used on your blog posts.
- Blog Categories - Select from categories you've created for your blog content.
- Product Categories - Populate a field with your eCommerce product categories.
- Product Tags - Use product tags you've added to populate options.
- Product Types - Show product variants or types as choices.
We also have a Brands taxonomy we can utilize to auto-populate our field in this case because the store owner implemented a plugin to group products by brand.

In this tutorial, we'll choose Post Type, followed by Products. This will include a list of every item we sell.
Auto-populated fields occasionally have a lot of options. Check out our tutorial to exclude things from auto-populated fields if you wish to remove items from the menu.
Publish Your Form
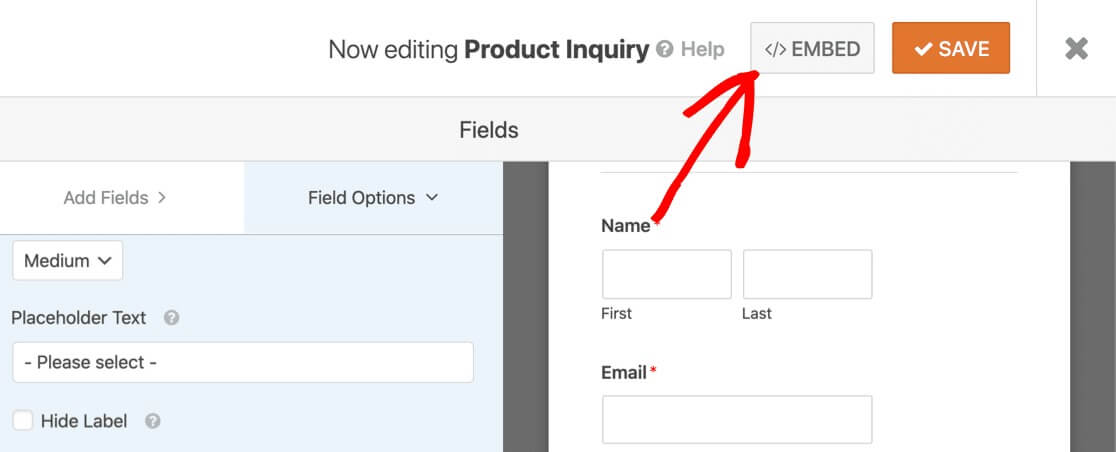
Your form can be published in a post, a page, or the sidebar, among other places. While a shortcode can be used for this, we advise using the embed option.
Start by selecting Embed from the form builder's top menu.
click Create New Page after that.
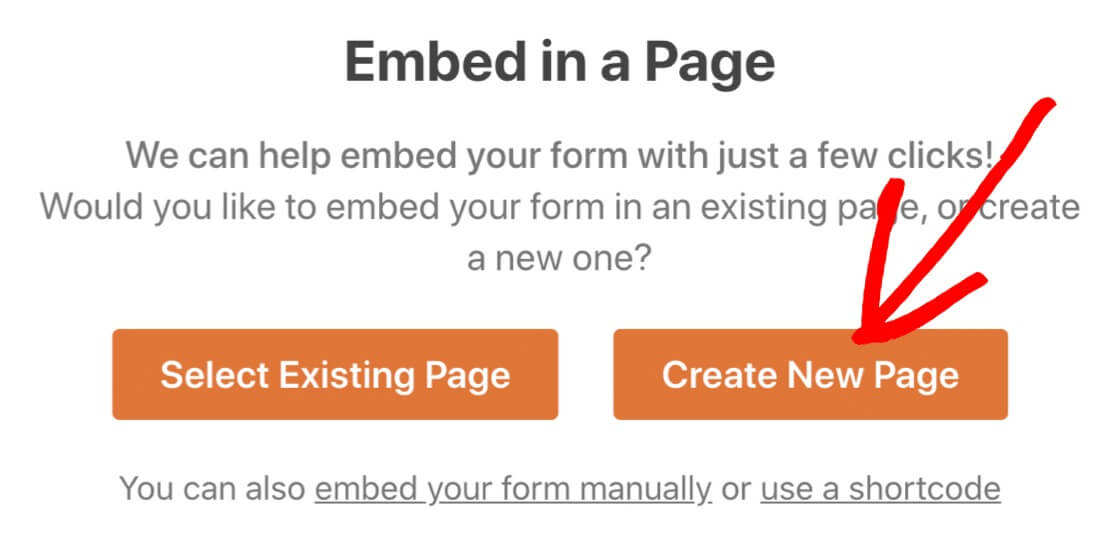
Give your page a name, then click Let's Go.
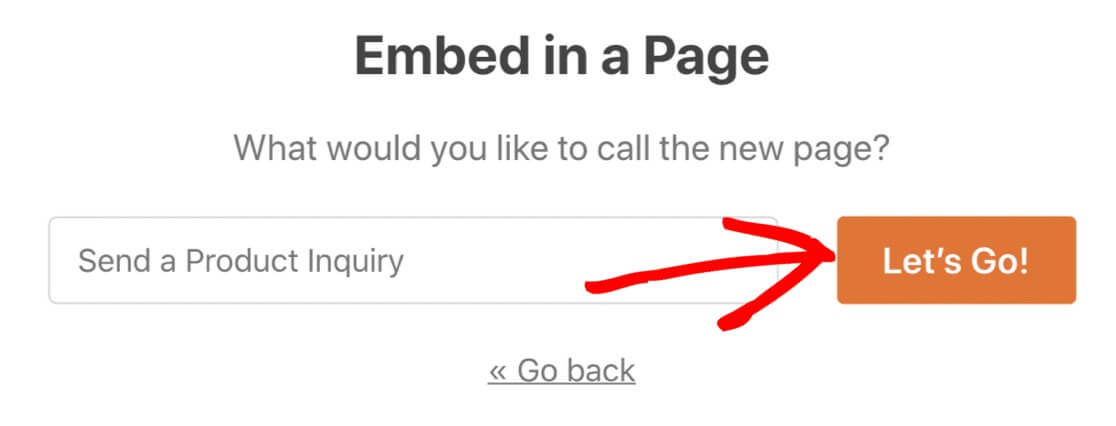
Simply click Publish to go live if everything appears to be in order.

I'm done now! It is now possible to submit your form.
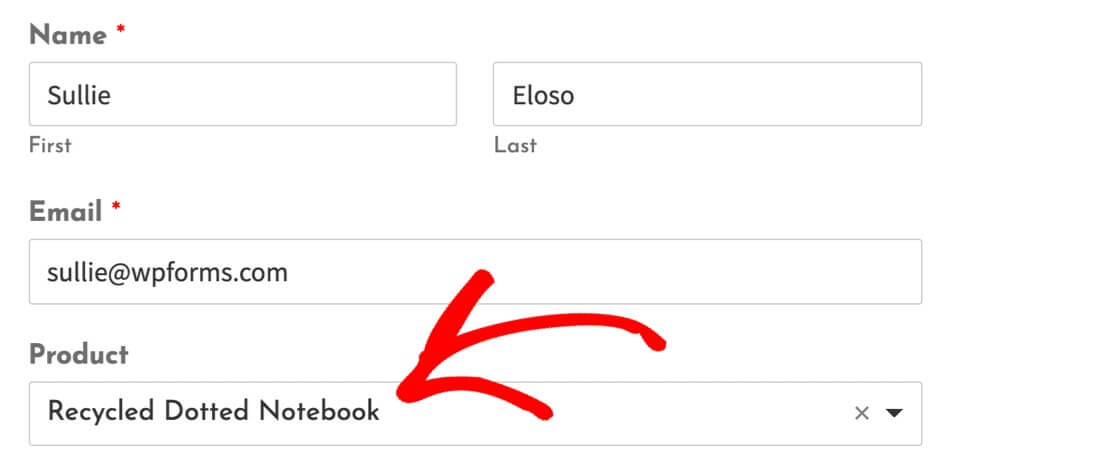
Test out your dynamic field right now so that you may start receiving queries.
Wrapping Up
Using auto-populated fields in your WordPress forms with WPForms is a great way to create smarter, more user-friendly forms. By pulling options dynamically from various sources like tags, categories, products, and more, you can customize forms to your content and reduce abandoned forms. Visitors will appreciate not having to manually enter repetitive info. WPForms makes it easy to add these dynamic fields with just a few clicks. Forms that are pre-filled with relevant options can boost conversions, accuracy, and the user experience on your WordPress site.


