
Do you want to learn how to use Elementor's progress bar widget? We'll talk about the progress bar widget and show you how it works in this article. The progress bar widget can be used to show milestones, projects, campaigns, and other things on your website.

The progress bar widget in Elementor is very easy to use. Both Elementor free and Elementor pro users can use the progress bar widget. So, without further wasting time, let's check how to configure the Elementor progress bar.
Progress Bar Widget in Elementor
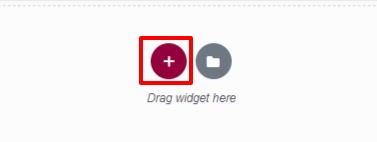
First, go to a page or post where you want the progress bar widget to show up. Open the page in the Elementor editor, and then click on the "+" sign to make a new section.
Now you have to pick a column. We're using the three-column section for our progress bar here to make the section look better.
Create Amazing Websites
With the best free page builder Elementor
Start Now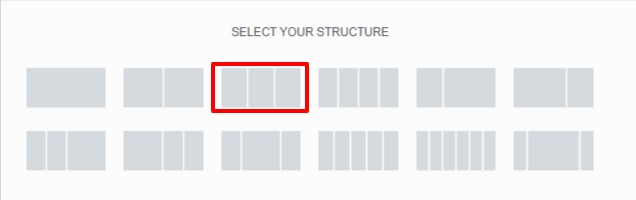
Now, look for the progress bar on the left widget panel, drag it, and drop it in the column you just made.

You may now customize the progress bar's title and type from the content tab. Finally, you can adjust the percentage displayed in the progress bar.
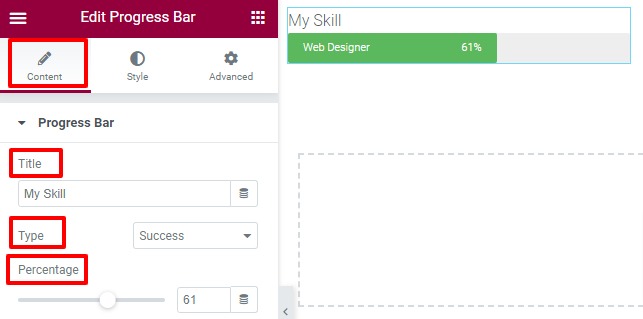
If you want to show or hide the progress bar's percentage, you can do so. Finally, you're ready to add the content within.

In order to style the progress bar, you'll now need to click on the style tab. To customize the progress bar's color, background, and height, you can select from a variety of options in the progress bar's menu.
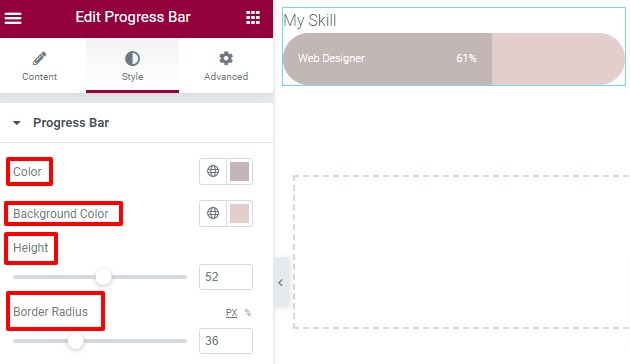
It is possible to set the inner text color, as well as the font, from the inner text option. Font family, size, weight, and letter spacing are just a few of the options available when it comes to typography.
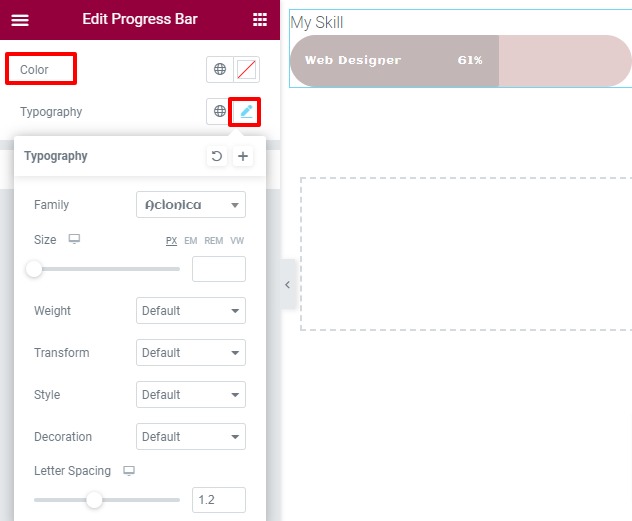
Title color and font can also be set from the title style option.
The next step is to switch to the advanced tab. There are a variety of styles to choose from here.
Advance
Padding and margin can be added from the advanced menu to realign the section to the desired location. You have the option of adding all four values together, or you may uncheck that option and add them one at a time.

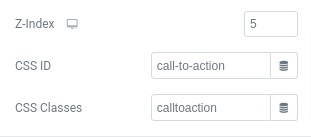
To edit specific sections, you can also add Z-index, CSS id, and class.
Motion Effects
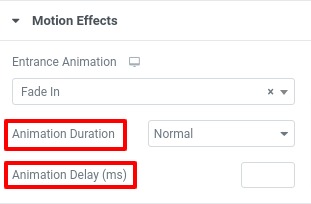
An entrance animation effect can be added via the motion effect option. There are a variety of effects that can be applied to a certain section, and you can select any of them.

The animation delay time and duration can also be set.
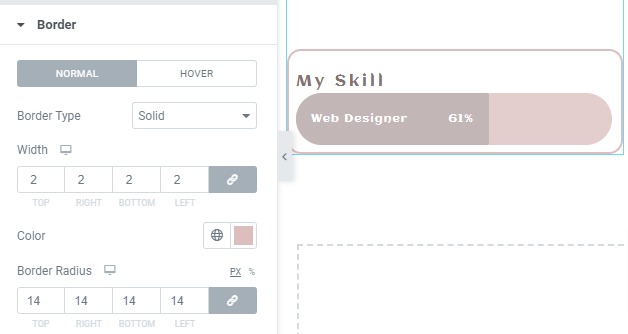
Border
From here, you may change the border type, color, and radius.
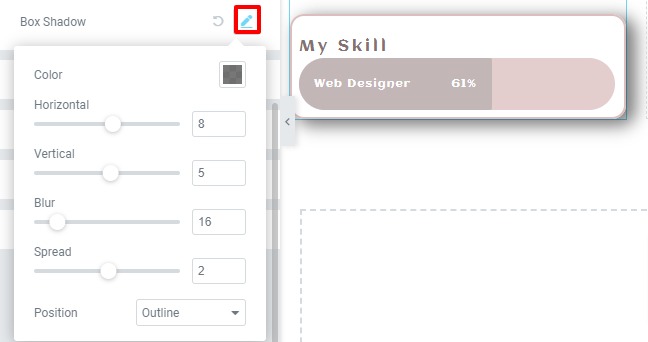
Using the box-shadow edit option, you may also create a box-shadow effect for your design.
Background
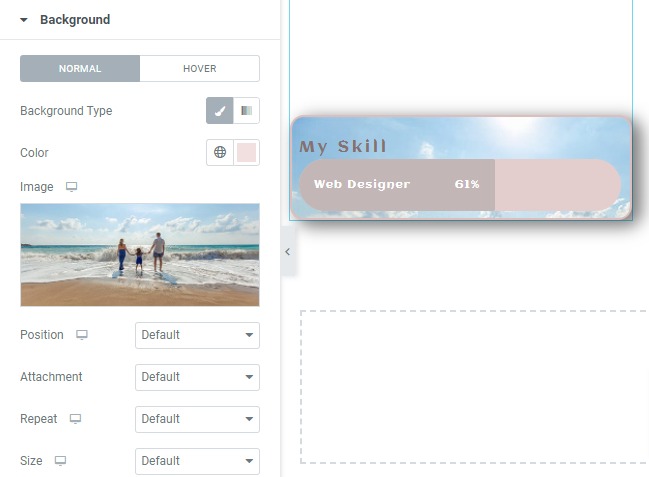
Adding a background for normal and hover situations can be done through the background option. Classic or gradient backgrounds are both options for the background style you choose. You can use an image as a background if you use the traditional method. In addition, you can choose the image's location, attachment, and size.
Responsive
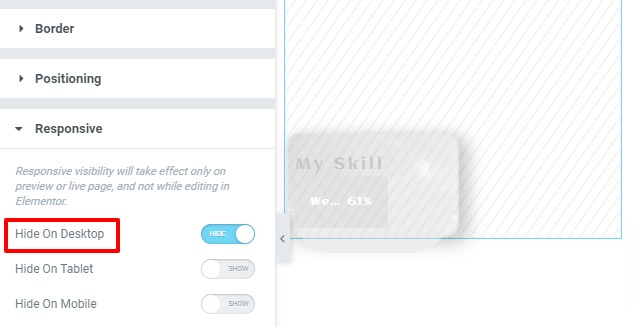
The responsive setting allows you to customize responsiveness across all screen sizes. Each gadget has its own set of styling options. Sections can be hidden for desktop, tablet, and mobile devices. Consequently, hiding the part will not be visible on that device. The part can be easily copied, redesigned for mobile devices in a different way, and hidden for desktop computers. Automatically, the mobile style will appear just on mobile devices, and only on desktop computers.
And your progress bar is ready!

Wrapping Up
Elementor makes it simple and enjoyable to work with progress bars. Adding attributes and custom CSS to Elementor is not possible with the free version. To make use of this feature, you'll need to upgrade to the pro version.
That's all there is to it. You'll be able to display a lovely progress bar on your website after completing the steps outlined above. If you find this information useful, please share it with your friends. Also, be sure to check out CodeWatchers elementor tutorials.


