
It has never been easier to add a button to your Divi header. You may control placement, design, and specific page assignment by utilizing the Divi Theme Builder. On specialized landing pages, perhaps a button in your header is required, but not on individual blogs. We'll walk you through the steps of adding a button to your Divi header using the theme builder. After that, you may utilize these abilities to add buttons to your theme builder templates wherever you like. Let's get this party started.

How to Add a Button to your Divi Header
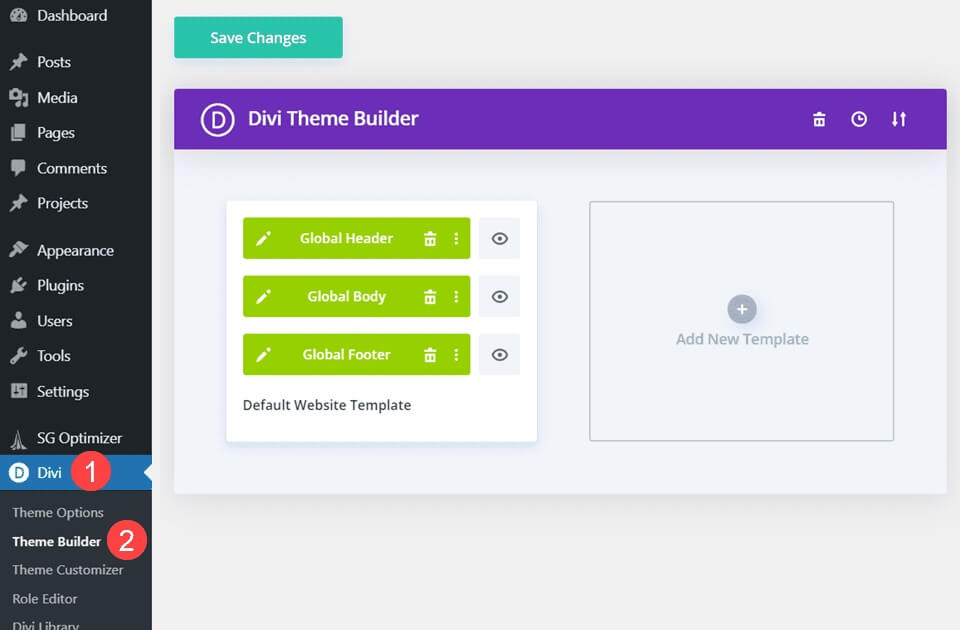
We are going to be using the Divi Builder to accomplish this addition, so be sure to load it up in your WordPress dashboard. You will find it under Divi – Theme Builder in your admin panel, and the main page will look something similar to this.
Add A Header
Once you're in the Divi theme builder, you'll need to create, add, or edit the header where you'll add the button.
If you have an existing header that you want to add a button to, go to the builder to get started.
Create Amazing Websites
With the best free page builder Elementor
Start NowFor the rest, use the Freebie header from the Security Services layout package.
If you want to use this (or any other header you've downloaded), you'll need to open the theme builder's portability options by clicking the double arrow icon in the theme builder.
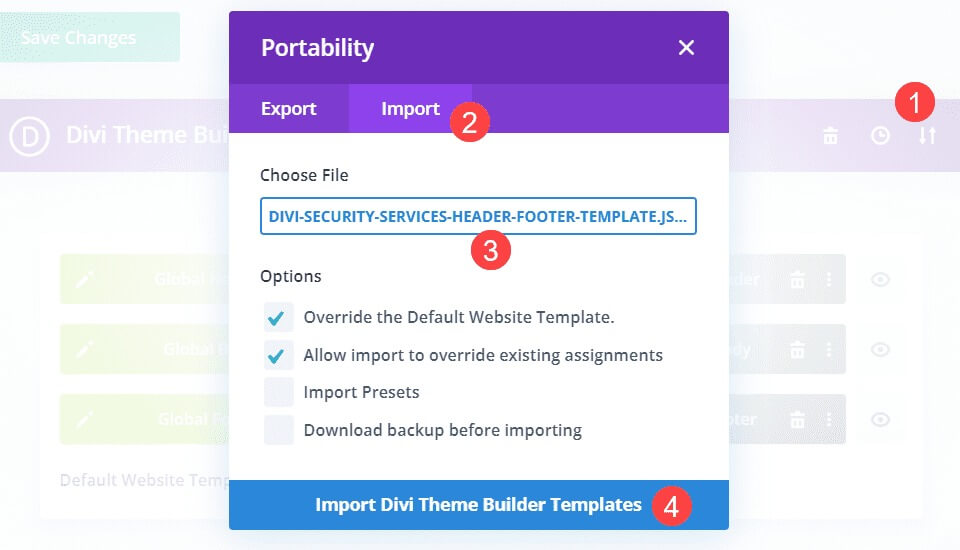
If you downloaded the headers from a link or elsewhere (or you may have exported your own headers as a backup), find the header JSON file you want to upload and click Import Divi Theme Builder Templates.
Once the import is complete, a new header will be installed on your website and you will be able to insert buttons.
Divi Builder
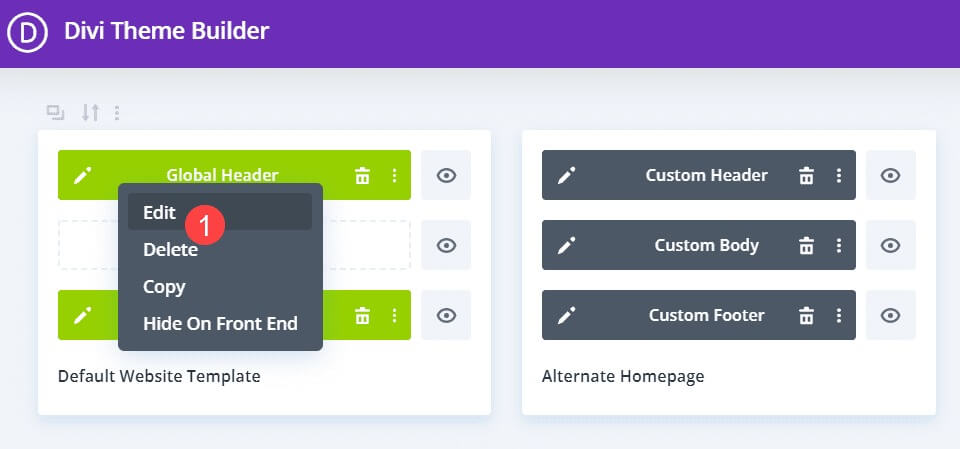
To access the builder, simply double-click the header or use the Edit option in the context menu.
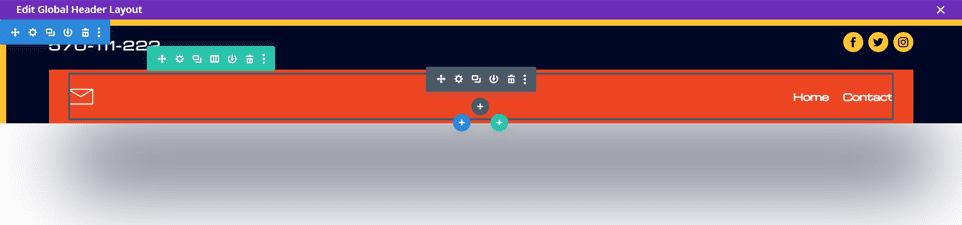
The header is loaded into the builder, showing all the areas where Divi can place the module.
Button Placement
The most important thing to consider when editing your website header is spacing.
Not only is this an element that all visitors see, but it's also an element that changes dramatically between desktop and mobile.
So if you want to add buttons to an existing layout, you need to make sure you don't break anything.
This particular header adds a "Subscribe" button to the main header.
To do this, you need to adjust the column structure of the included rows from 1 to 3 columns.
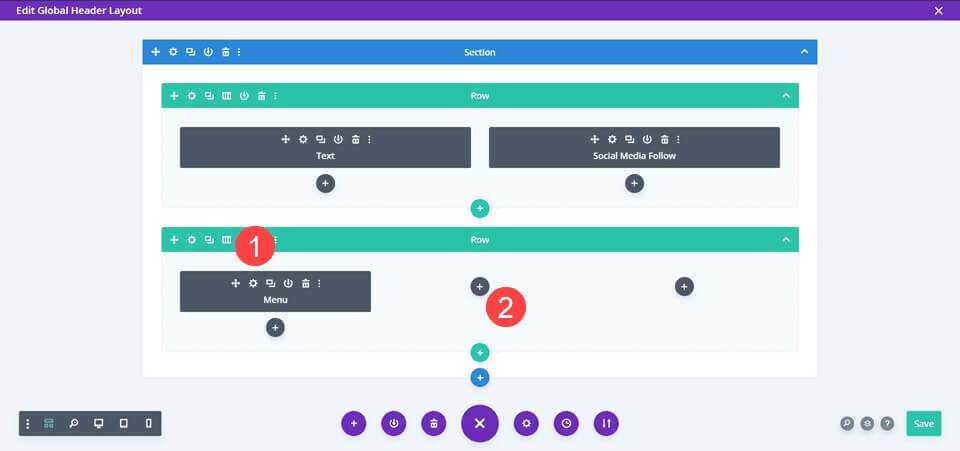
Edit the Menu Module
Use this to move the menu module to the far right column and go to Settings.
In the Content tab, go to Logo options and remove the logo.
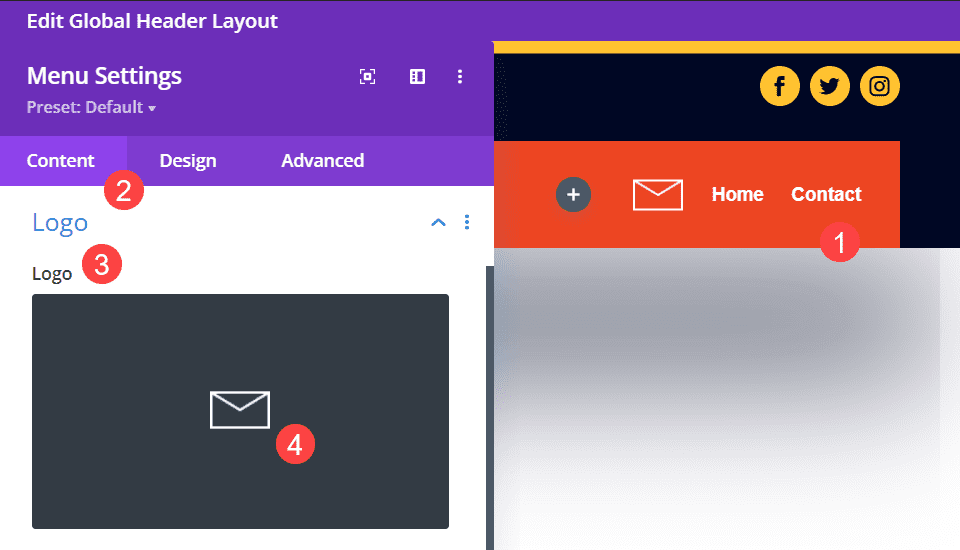
The logo on the cover does not fit this design.
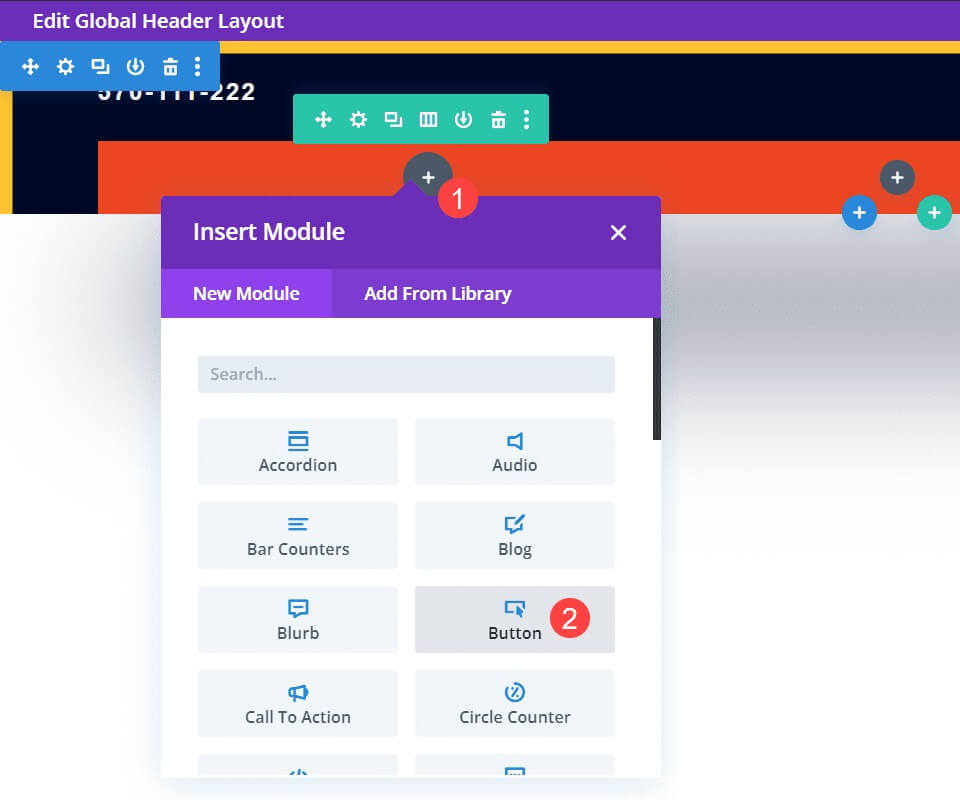
Adding Button
Once you have moved the menu module, you can add a button module to the leftmost column.
Click the black + circle and find the button module in the list that appears.
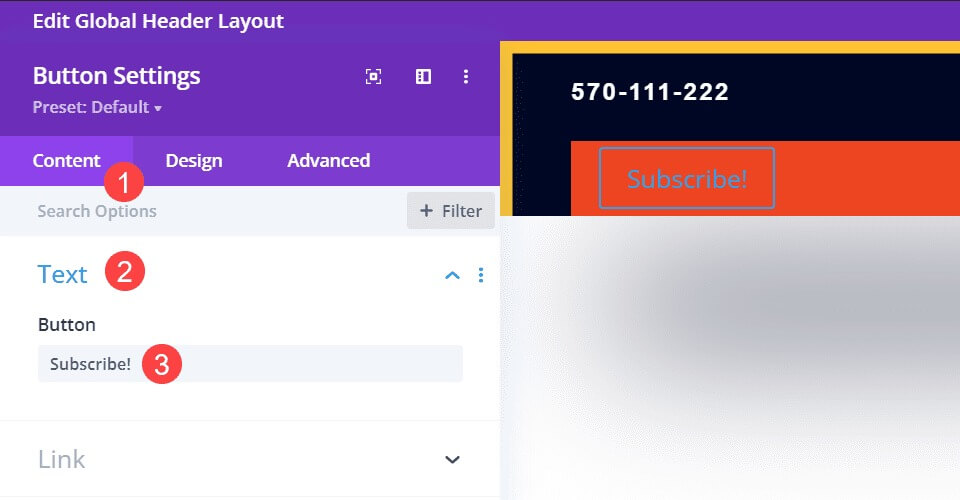
Button Text
Next, go to the module settings, find the Text section on the Content tab, and add the text you want to display to the user in the Button field.
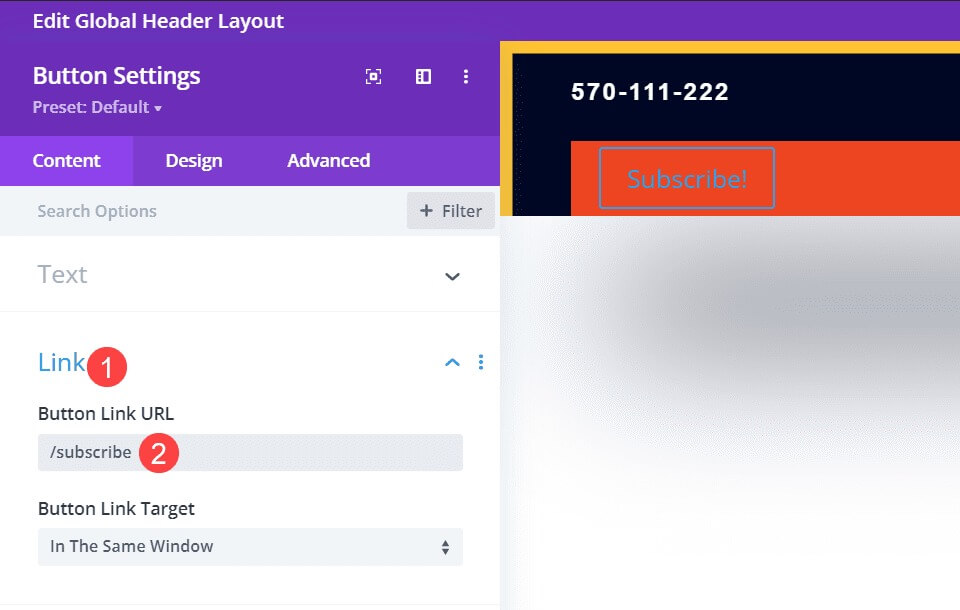
Button Link
Under the Content tab, go to the link option and set the button to the URL you want to send new subscribers to.
Some email providers may provide a specific URL for the form, while others may only offer embedding on their own page.
Find the best fit for your conversion funnel here.
Style The Button
The Divi button module is great, but the default styling does not match the header in which we're placing it.
So we want to have a button that users the same fonts, colors, and styles as the rest of the site.
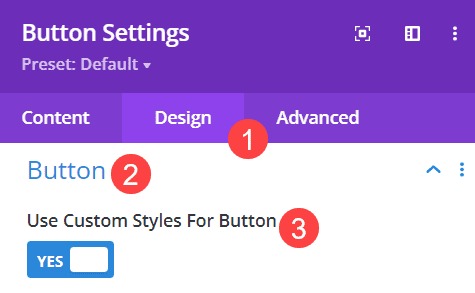
First, go into the Button module settings and into the Design tab.
Then, find the area labeled Button and enable the toggle for Use Custom Styles for Button.
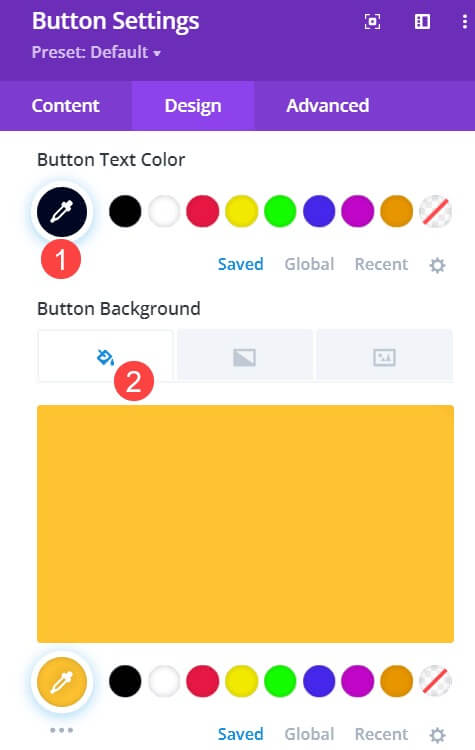
Next, choose the color's from your site's palette that works best.
This header uses the same background and icon colors as the social icons: #ffc230 for the background and #000724 for the text color.
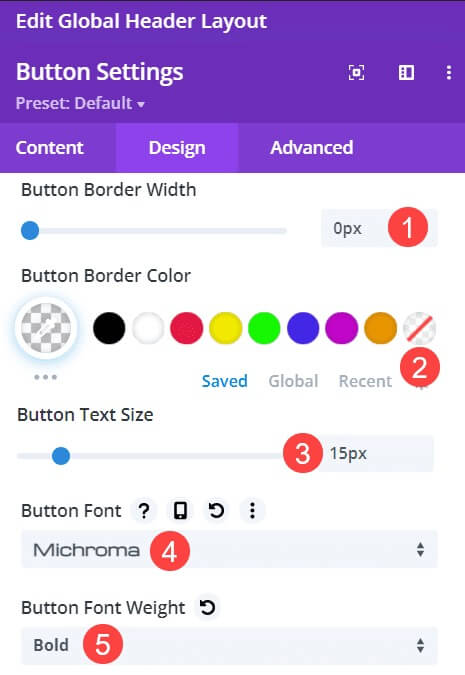
Then you need to make sure the font and other text styles match.
You could make the button text bigger to make it stand out, but for this particular header, I want the button text to match and complement the menu that shares the header.
In this case, that means setting the button border width to 0 pixels and setting the button border color to transparent, removing the border completely.
Next, set the button's text size to 15px to match the header menu, and use Michroma as the font for the button and Bold as the font weight.
With all that done, you should now have a button in your Divi header that matches the rest of the site's design spot on.
Final Output
Once all adjustments are complete, the final result will look like this:

Wrapping Up
If you're a Divi user, familiarizing yourself with the theme builder can greatly expand your skills and design possibilities.
Even something as simple as changing the column structure and adding buttons can turn a good design into a great design.
Make sure the style is consistent and that the button actually directs the user to content that is worth centering.


