
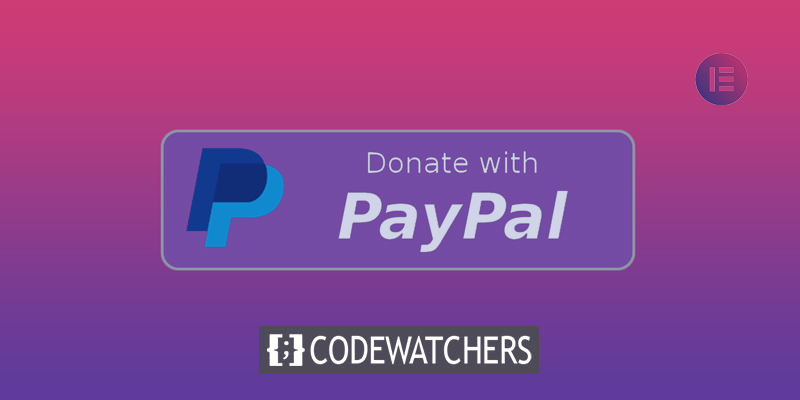
The most recent pro version of Elementor includes three new features. One of these is the PayPal Button widget, which allows you to add a PayPal button to a page without having to install an additional WordPress plugin. If you frequently use Elementor to develop landing pages for your campaigns, this widget will come in handy. You may now include a PayPal button on your landing pages to receive donations or payments.
PayPal is the most extensively used payment provider, with e-commerce companies all around the world using it. Without the need to download another WordPress plugin, adding a PayPal button to your website puts Elementor ahead of the competition.
Add A Paypal Button In Elementor
First and foremost, make sure you've upgraded to the pro edition of Elementor if you haven't already, as the PayPal Button widget is only accessible on the premium version. If you have previously used Elementor Pro, you must update to version 3.2 in order to utilize the PayPal Button widget. The widget accepts three sorts of transactions- Checkout, Donation, & Subscription.
One interesting feature is the ability to configure a redirect URL after your visitors have successfully completed the payment. This allows you to sell things without having to install WooCommerce or other e-commerce plugins.
Create Amazing Websites
With the best free page builder Elementor
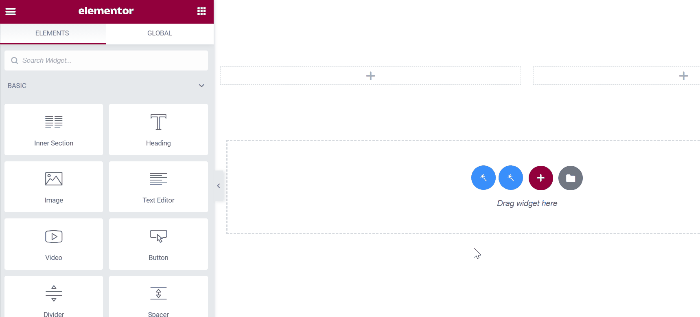
Start NowTo begin adding a PayPal button in Elementor, first, update the page to which you want to add the PayPal button. The PayPal Button widget should be added to the canvas area in the Elementor editor.
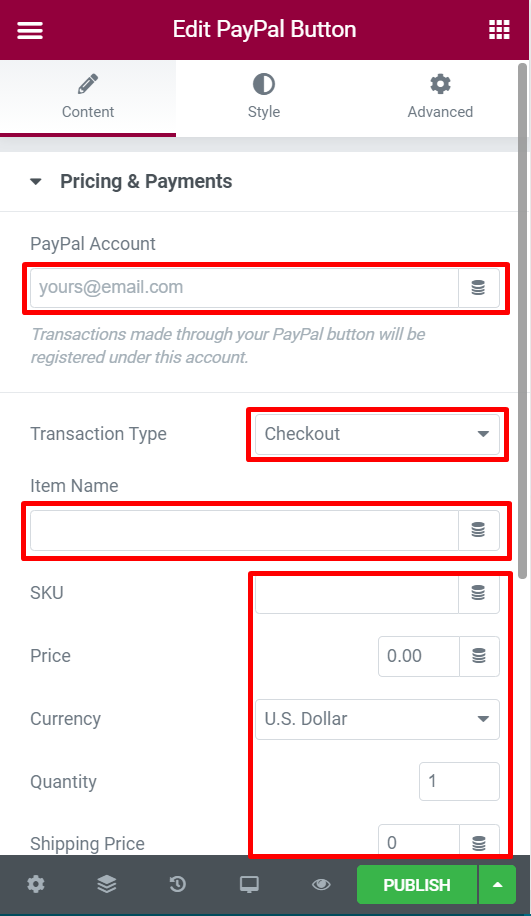
After you've added the widget, you may make changes in the settings panel. To begin, navigate to the Pricing & Payments section of the Content tab. You can enter your PayPal account's email address in the PayPal Account area. Select the transaction type you want to accept from the Transaction Type drop-down menu. You can include the item you want to sell in the Item Name (e.g., charity donation). Fill out the remaining fields as needed (SKU, price, currency, quantity, shipping price, and tax).
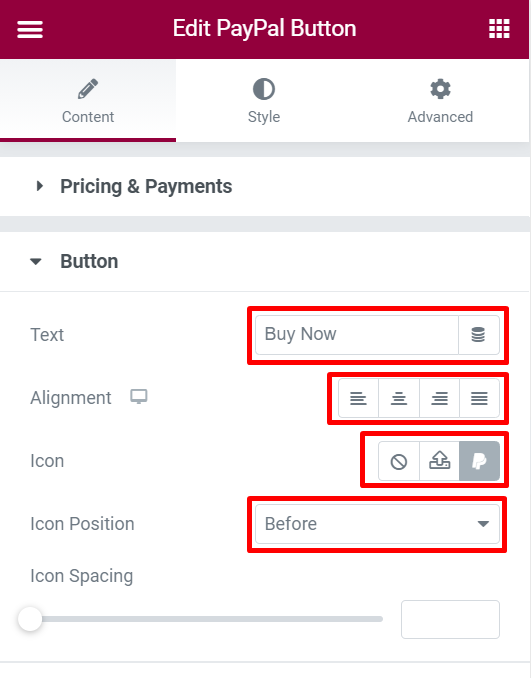
After you've completed the appropriate settings, open the Button block to configure the button's basic parameters. You can enter the button text in the text field, choose the alignment in the Alignment option, the icon (if you want to use a custom icon), and the icon position in the Icon Position option.
After that, you can access the Additional Options section. You can set a custom message, enable the sandbox, and add a redirect URL from this block.

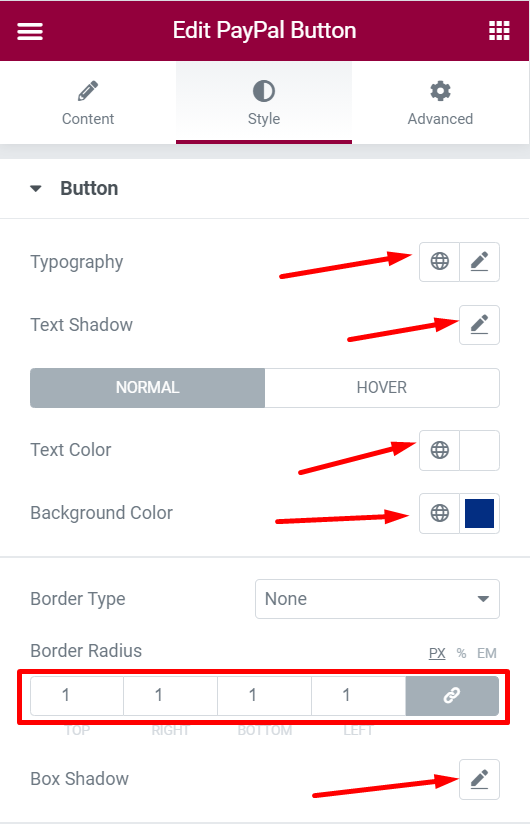
PayPal Button Styling
Once you've completed the appropriate settings on the Content tab, you can go on to the Style tab to customize your PayPal button. You can access two different settings blocks here-
Button
You can use this block to change the font (font family, font size, font style, and so on) of the button text, the color of the button text, the color of the button background, the radius of the button border, and the box shadow.
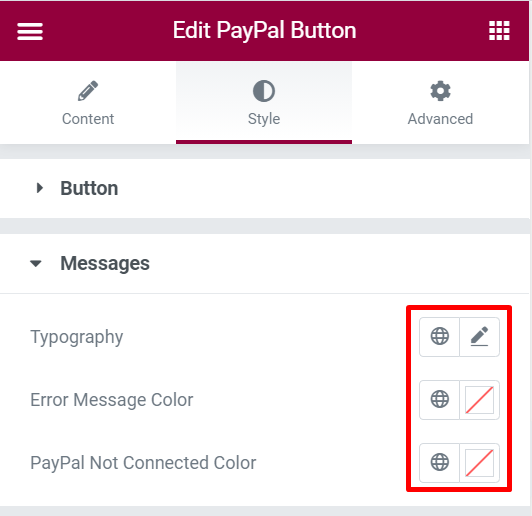
Messages
You can use this block to customize the typeface and text color of the messages.
Once you are down with editing, update or publish the page.
Wrapping Up
PayPal is a global payment service that many e-commerce companies use. The decision by Elementor to include the PayPal Button widget, which lets you take PayPal payments more easily, is fantastic. If you frequently develop landing pages using Elementor, the widget will be quite useful because you can now add a PayPal button to accept payment without having to do the necessary settings.


