
A navigation menu is a crucial website component that helps visitors navigate to different pages easily. Developers place links on navigation menus to pages they want users to access, like contacts, products, about, and services.
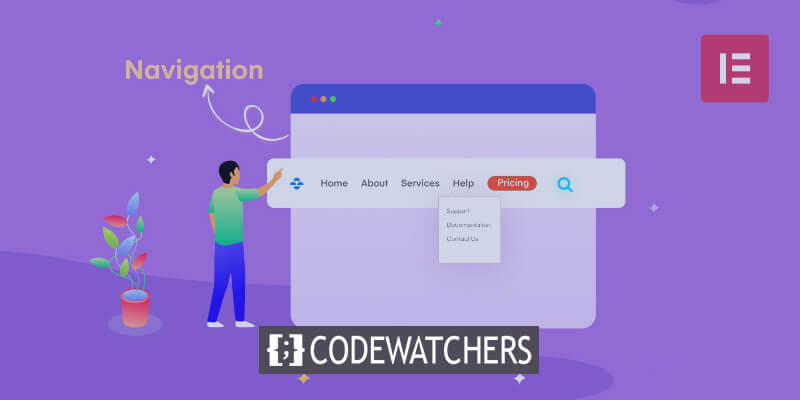
A nav menu can be regarded as organized horizontal or vertical links that provide directions to internal pages. Benefits include enhancing user experience by enabling easy browsing, reducing bounce rates since visitors access multiple pages, and boosting appeal through animations, typography, and graphics.
This article will demonstrate how to use Elementor, a popular WordPress page builder with professional templates and widgets, to add horizontal, vertical, and drop-down navigation menus to WordPress sites.
Adding A Nav Menu In Elementor
Before utilizing Elementor to build a custom navigation menu to a website, you should first create it using the WordPress default editor.
Create Amazing Websites
With the best free page builder Elementor
Start NowHere are the steps for constructing a navigation menu.
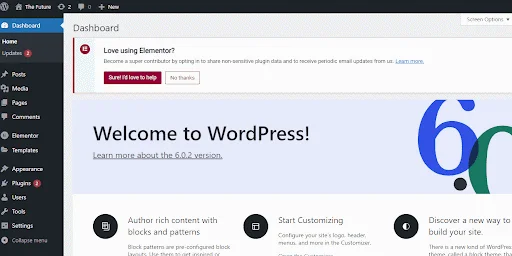
Open your WordPress dashboard

We'll presume that you already have a WordPress account for this part. It's simple to create an account on WordPress if you don't already have one. If this is your first time using WordPress, you should first read our tutorial on creating the finest WordPress website.
Note: You must first construct the custom menu using the WordPress default editor before you can use Elementor to add it to a WordPress website.
As a result, navigate to your WordPress dashboard as indicated below.
Menu Section

Next, select the Appearance item from the WordPress dashboard's vertical menu by clicking on it.
The sections for Themes, Customize, Widgets, Menus, Background, and WordPress Theme File Editor will be displayed in a pop-up menu. Select Menus to continue.
On your WordPress dashboard, a Menu window ought to be visible. Your navigation menu will be created, edited, and saved by you.
Menu Creating
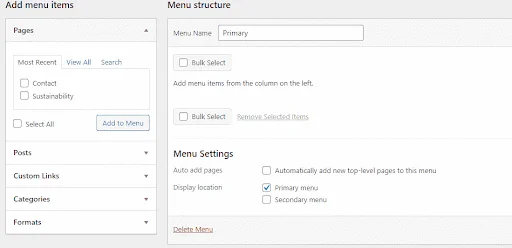
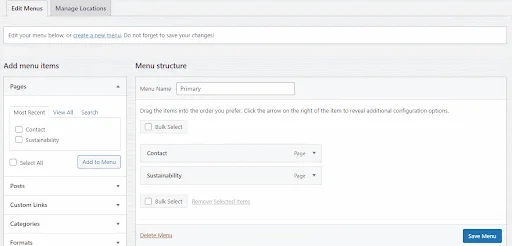
Go to the menu structure (below) and enter your name in the designated text area to add a menu name. Let's use Primary as the primary menu name in this instance.

Since the menu is your principal navigation element, you must next set it to primary.
To accomplish this, navigate to the Menu Settings area and confirm that the radio button for the Primary menu is checked.
Then, click Create Menu.
Adding Elements To Menu
To your WordPress menu, you may add pages, articles, custom links, and many categories. Nevertheless, adding pages to the menu is the major topic of this course.
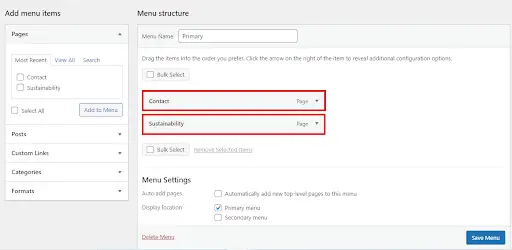
The website now contains two primary pages for the tutorial: Sustainability and Contact. As seen in the GIF below, the pages are located in the Most Recent section. You will need to select the View All button in order to view every page on your website if it has several.
Click the check box next to the name of the pages you want to add, then click the Add to Menu button, as shown below, to add the appropriate pages to the menu.
The menu structure section will be updated with the chosen pages.
You may also build dropdown or submenu items using WordPress. For example, you can click and drag the Sustainability item to the right, as indicated below, if you want it to appear as a dropdown menu item.
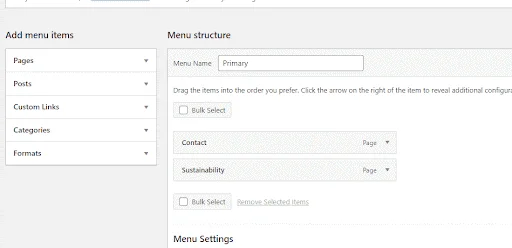
The Sustainability item in the example above will be a child of the Contact menu item. Stated differently, the information will only appear on the website when you hover over the Contact menu item. However, since the example website only has two pages, the lesson stops using this functionality.
Save & Publish
Now save and publish the menu.
Adding the Nav Menu using Elementor
You may now use the Elementor editor to add the navigation menu to the website after creating it with the WordPress default editor.
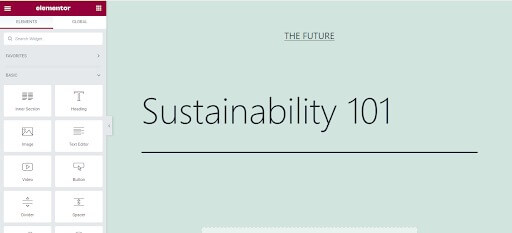
Through the WordPress Dashboard, open the Elementor editor. To modify an Elementor page, navigate to the Pages area, hover over the page, and then click the edit button that displays.
The WordPress editor by default will be displayed to you. To open the Elementor page builder, click the Edit with Elementor button at the top of the default editor.
Because there isn't a navigation menu on the tutorial Elementor website right now, users can't browse other internal web pages. One of the most common WordPress errors is having poorly designed navigation, which is something you should try to prevent.
Let’s improve the above web page by adding an Elementor menu.
Adding Header Section
First, as shown below, click the + button on the editor page and choose the single row option to add a new header section.
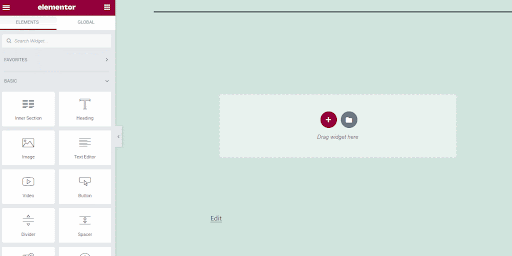
Adding Nav Menu Widget
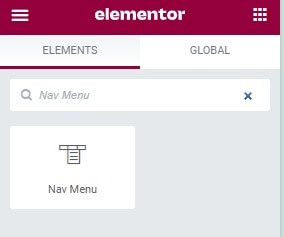
In the Elementor widgets box, look for the Nav Menu widget.
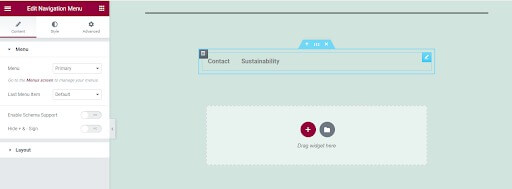
Drag & drop the Nav Menu widget into the header section to add your constructed navigation menu.
The navigation menu that you created with WordPress' built-in editor should be visible.
Menu Styling
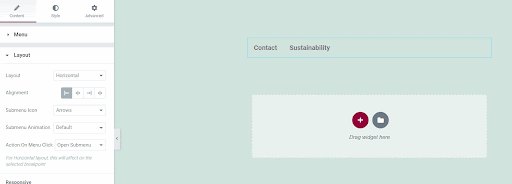
Using the menu layout setting in the Nav Menu widget, configure the menu style to either vertical or horizontal as shown below.
When designing websites, responsiveness is something to take into account. A well-designed webpage should display properly on a variety of screen sizes. Thankfully, there are features in the Elementor Nav menu widget that guarantee the responsiveness of the navigation menu.
To begin with, you can designate a distinct breakpoint for various devices. The navigation menu can adapt to a changing screen arrangement with the help of a breakpoint. At the moment, tablets have a default breakpoint of 1025 pixels, while mobile devices have a breakpoint of 768 pixels. Since these are the typical breakpoint values, you shouldn't alter them.
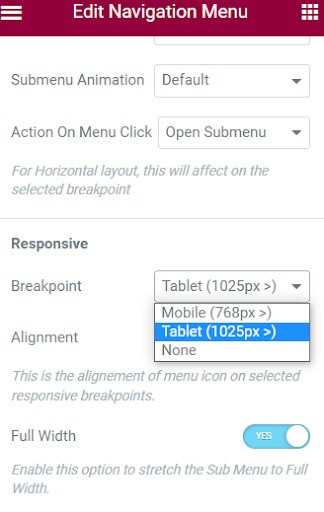
However, when it comes to responsiveness, you can conceal the menu item and swap it out with a hamburger icon on little screens. In this instance, clicking the hamburger icon will cause the menu items to appear, and clicking the close icon will cause them to disappear. This feature makes sure that on mobile devices, the navigation menu is not cluttered. The navigation menu will display at its full width on computer devices.

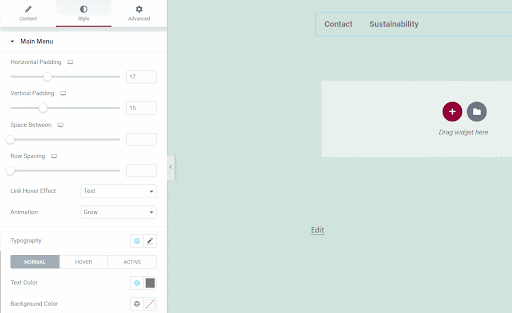
Thus far, you've used Elementor to successfully add your navigation menu to the website. Still, it appears rather simplistic. Its topography, intuitive appearance, and visual appeal can all be enhanced by adding a style. Let's enhance the navigation menu by adding more design options.
To access the customization choices, navigate to the style tab located at the top of the Edit Navigation Menu box.
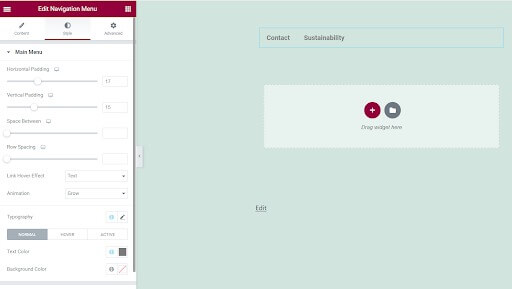
You can alter the text color, background color, animation, hover effect, padding on the horizontal and vertical axes, and other features in the style tab. Modify the background, horizontal padding, and font color of your menu to provide an example.
That is all. You've successfully used Elementor to add a navigation menu to a WordPress website.
Wrapping Up
With Elementor, you can do much more, like add dropdown items, animations, secondary menus, and custom styling. As WordPress is extremely popular, having Elementor skills is valuable for easily creating and styling web pages. You now know the basics of incorporating a clean, functional nav menu.
Additional capabilities include building nested dropdowns, applying hover effects, integrating search bars, and optimizing mobile responsiveness. With practice, you'll be able to leverage Elementor to make professional navigation menus that enhance website navigation and user experience.


