
When a user has to re-log into your website and they are redirected to the login page, it creates distraction and sometimes results in them bouncing off your website.

It is essential to give your user a pleasant and clean experience, so a login popup is needed. This will increase their time on your website and make your website look clean and clutter-free. In this tutorial, we will understand how to create a login form popup on WordPress using Elementor.
How to Create a Login Popup with Elementor
To start off, head over to your WordPress dashboard and go to plugins.
Make sure you have premium Elementor Website Builder installed and activated on your WordPress.
Create Amazing Websites
With the best free page builder Elementor
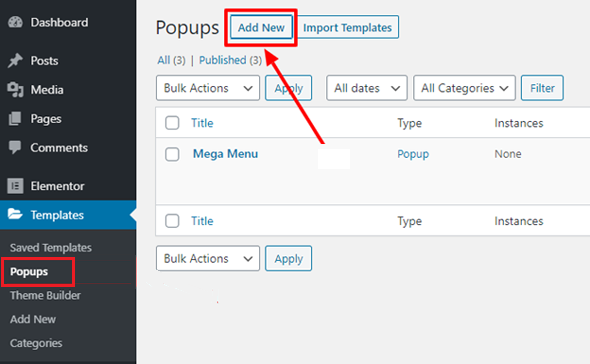
Start NowAnd then, go to the Popup page from the templates option and press Add New.
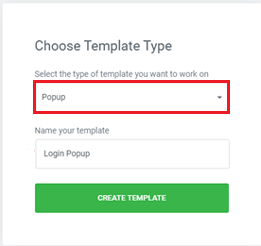
Next, you will have to select the type of the popup and its name.
You can choose from the Popups Library among a large number of predesigned popups ready to be used. You can also customize any of the pre-designed templates or create a new one from scratch.
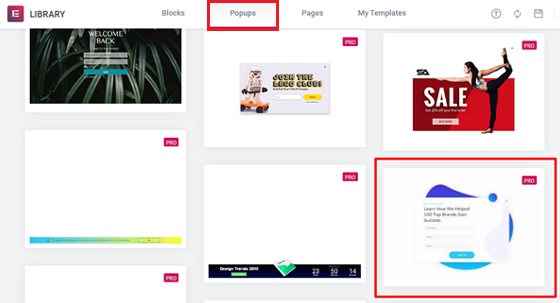
For this tutorial, let's select a popup template and customize it according to our needs. First using the '+' icon preview the template you want to use and then using the Insert button to add it to your website.
Next, you need to go to the popup settings and hide the overlay to make the 'X' button work. Without hiding this button, the users will be unable to close the popup, leading to the user leaving your website.
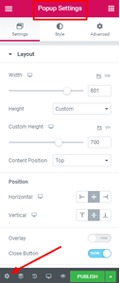
The popup animation will also play a role in making it look much more professional. Adding on, you need to set up the close button to fit the dimensions.
In the styles tab, make the following changes.
- Size - 25
- Vertical Position - 9
- Horizontal Position - 18

From the Advanced tab, enable the "Prevent Closing on Overlay" option and then proceed.
After making all the changes above, you need to customize the popup. You can change or delete the widgets you do not need.
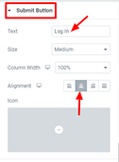
For this popup, we will be deleting the first heading widget and rename the second heading widget with Login to your Account as we wanted to create a login popup.
Make sure to change its alignment to centre for better placement.
Next, you need to decide the page you want your users to be redirected to. For example, if you have an online store you might want to redirect them to the cart as they sign in to your website.
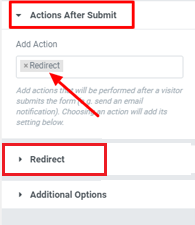
To set up the redirect page, head over to the Action After Submit option and choose Redirect. In the field next to redirect, paste the redirect page link.
Once you are done with all the changes, you can go ahead and Publish.
You might get the configuration popup from which you don't have to change a thing. You can just Save and Close the popup.
How To Connect Login Button with the Popup
For your login button on the popup to work, you need to integrate the login button with your popup. To open the Elementor Finder press Ctrl + E on your keyboard.
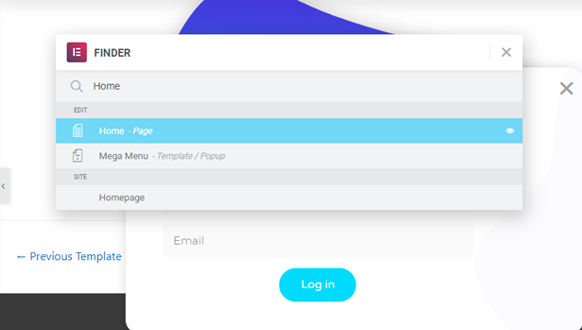
Search for homepage and then from the homepage edit the button to integrate the login popup.
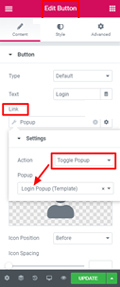
Head over to the Link option, go to Dynamic and from the actions choose Popup.
Again press the popup and choose toggle popup as an action. Now you can check the popup on your website by hitting the login button.
This how you can create a login popup on your website using Elementor Website Builder. We hope this tutorial helped you in making your site look better. Make sure to follow us on our Facebook and Twitter to never miss out on our tutorials.


