
Adding a contact form in the footer section of a website can have a significant impact on the user experience and the conversion rate of a website. It allows users to easily get in touch with the website owner or support team, improving customer service and building trust with the users. Also, it can help bring in leads and turn visitors into customers by making it easier for them to take action and contact the website owner with questions or feedback. Overall, putting a contact form in the website's footer can make it easier for people to use and get involved with the site, which can lead to better website performance and business growth.
You can put a contact form in the footer of your Divi site. With the Divi Theme Builder, it's simple to do this. We can't just put it anywhere, though, because there are a few things to keep in mind for ease of use. In this post, we'll look at how to add a contact form to the footer of your Divi site. Let's look at an example to help you get started.
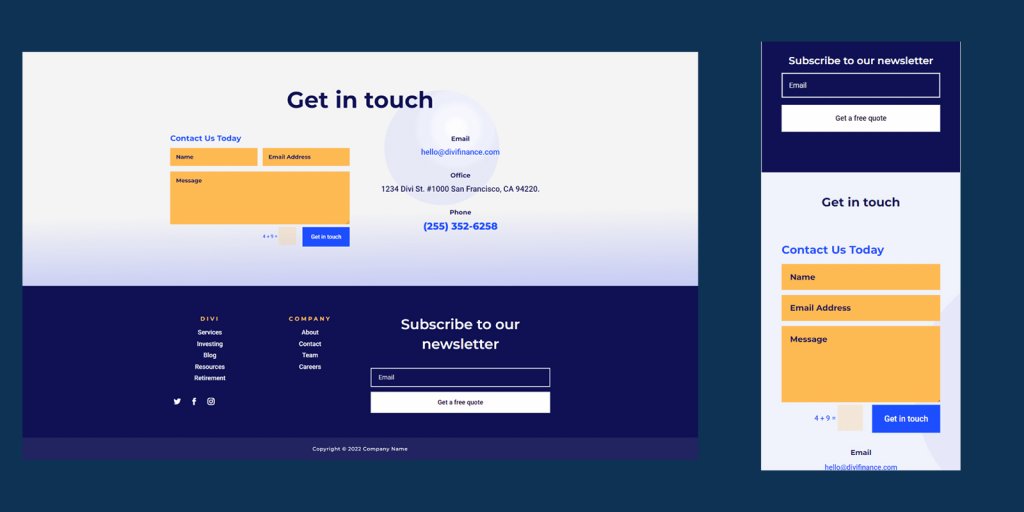
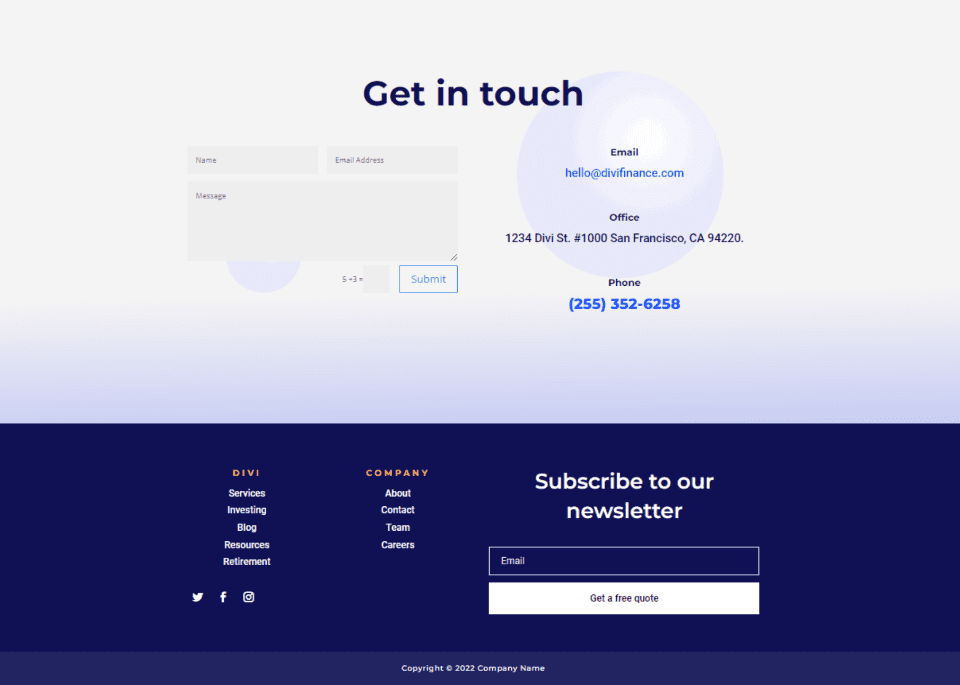
Design Preview
Here is the footer design preview where you can see the contact form is beautifully integrated and fully functional. We have displayed it both in desktop and mobile versions.
Import Divi Footer Layout
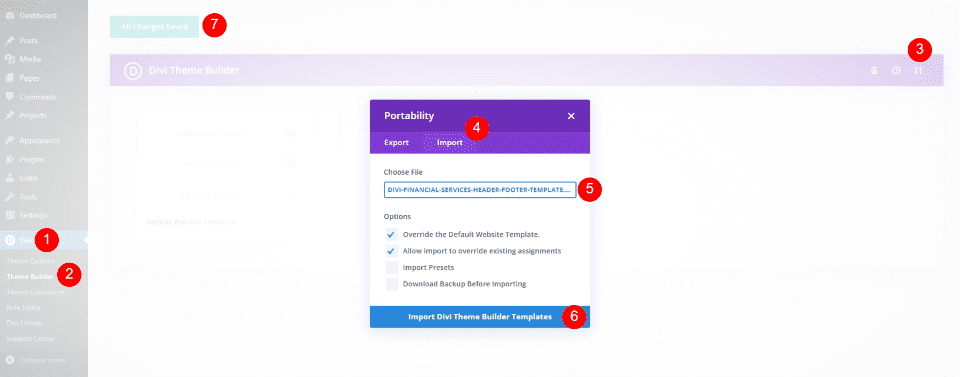
Go to Divi > Theme Builder in the WordPress dashboard. Choose "Add Global Footer." If you don't have a global footer, choose Add New Template or choose the footer template you want to add the contact form to. A new footer will be brought in. In this example, we'll add a contact form to the Financial Services Layout Pack's Header & Footer.
Create Amazing Websites
With the best free page builder Elementor
Start NowIn the top right corner of the Theme Builder, click on the icon that says "Portability." Find your header and footer template on your computer, click on it, and then click Import Divi Theme Builder Templates. Save your changes.
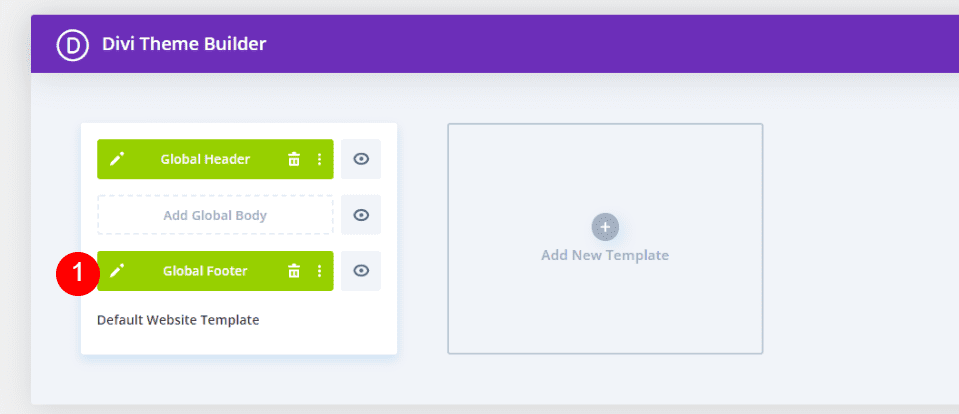
Then, click on the Edit button next to the footer template. This will take us to the builder, where we'll make changes to the footer template.
Add A Contact Form In Divi Footer
The contact form will be added to the footer layout next. First, we'll have to change the design of the layout. We can see that the design has two parts. The title of the section at the top lets you know that it has contact information. This Section has three different kinds of contact information that are all lined up across the page.
We'll put the information about how to get in touch on the right, above the form for signing up for emails. Then, on the left, we'll put a Divi Contact Form Module. This makes this Section bigger and adds a form to each side of the footer to make it look more even.
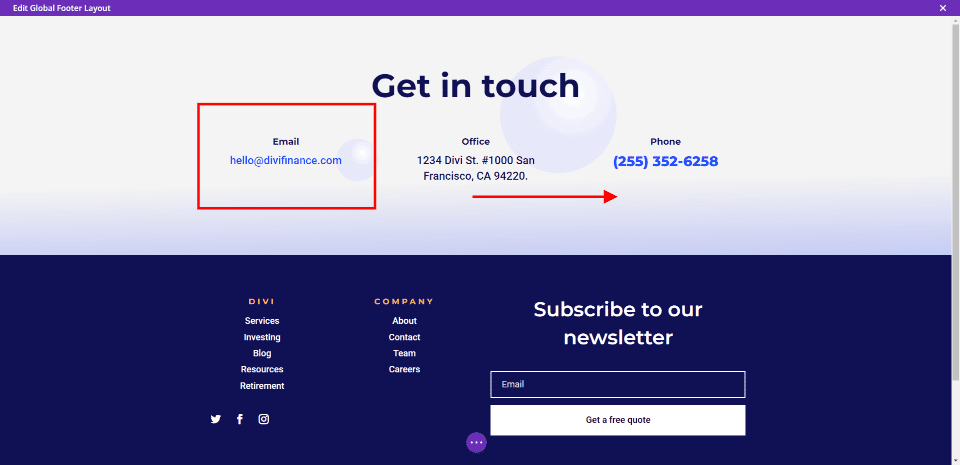
Move Contact Information
First, move the Text Modules to the right column by dragging and dropping. Put Email on top, Office in the middle, and Phone at the very bottom.

Add Contact Form
Next, modify the Row in order to have only two columns and not three.
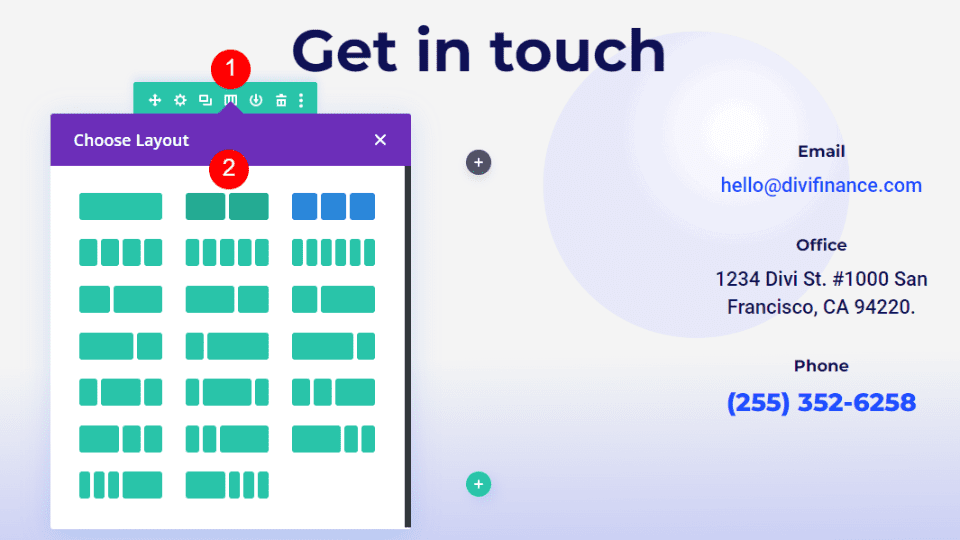
Lastly, add a Contact Form Module to the column on the left.

Now the Divi layout now has a form for people to get in touch with us. The contact form and the email form on the other side of the layout work well together. It does work, but until we style it, it won't look good with the layout.
Style Divi Footer Contact Form
Now, let's look at how to style the Divi Contact Form Module to match the layout. We'll look at two examples, including the one we're already working on. We'll take our design ideas from the layout.
Text
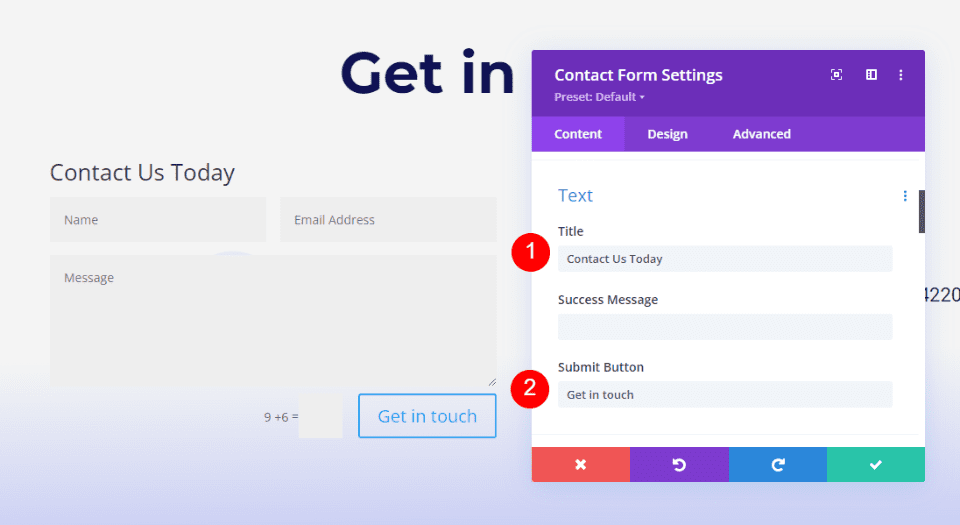
Open up the settings for the Contact Form Module. Type the text for the Title and the "Submit" button.
- Title: Contact Us Today
- Submit Button: Get in touch
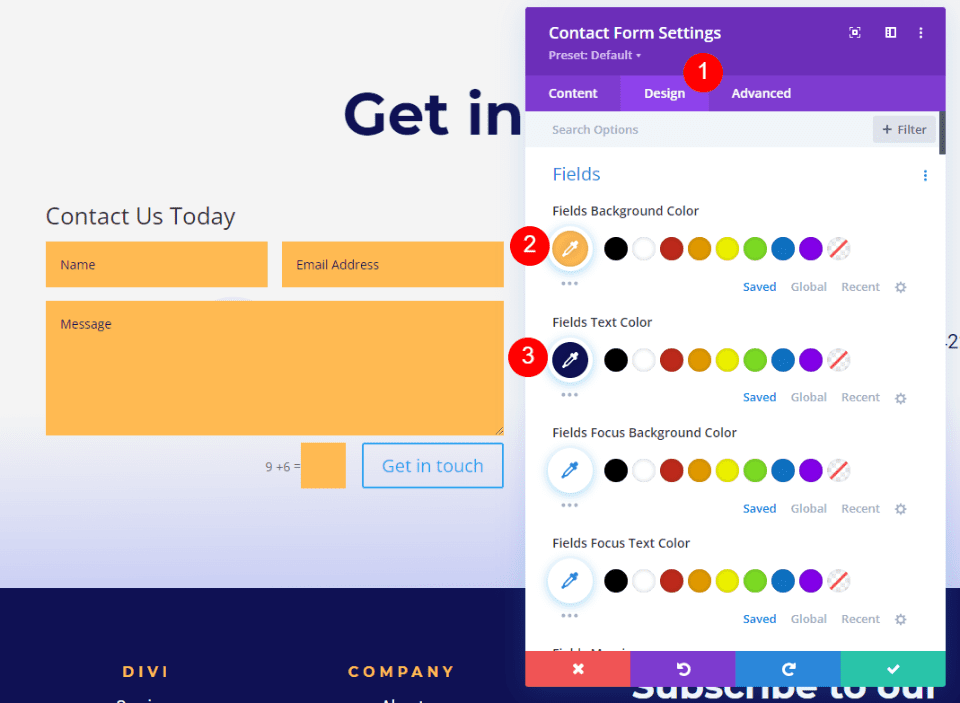
Fields
Click the Design tab next. Change the background color of the Fields to #ffba52 and the text color of the Fields to #0f1154. Leave the colors of the focus as they are. So, they can use the same colors as the other fields.
- Background Color: #ffba52
- Text Color: #0f1154
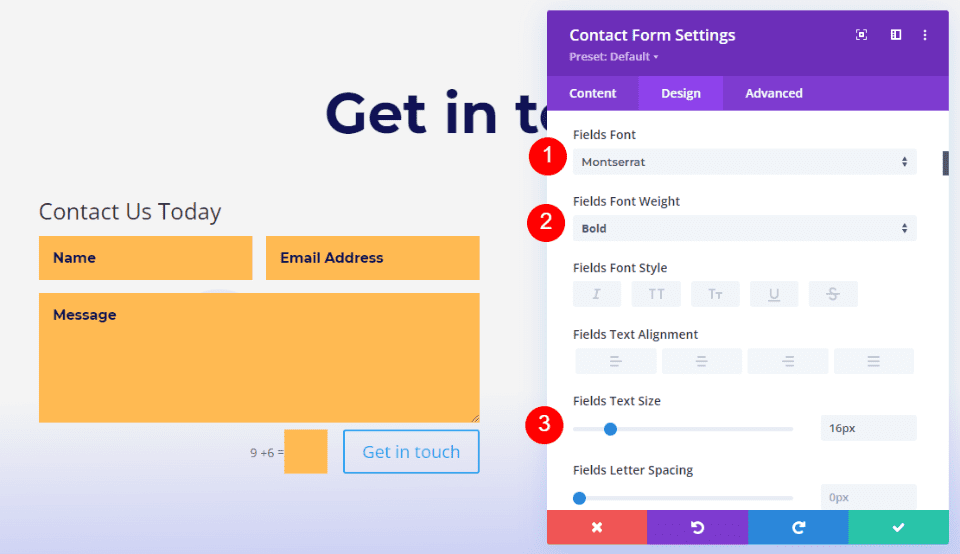
Now, change the following settings,
- Font: Montserrat
- Weight: Bold
- Size: 16px
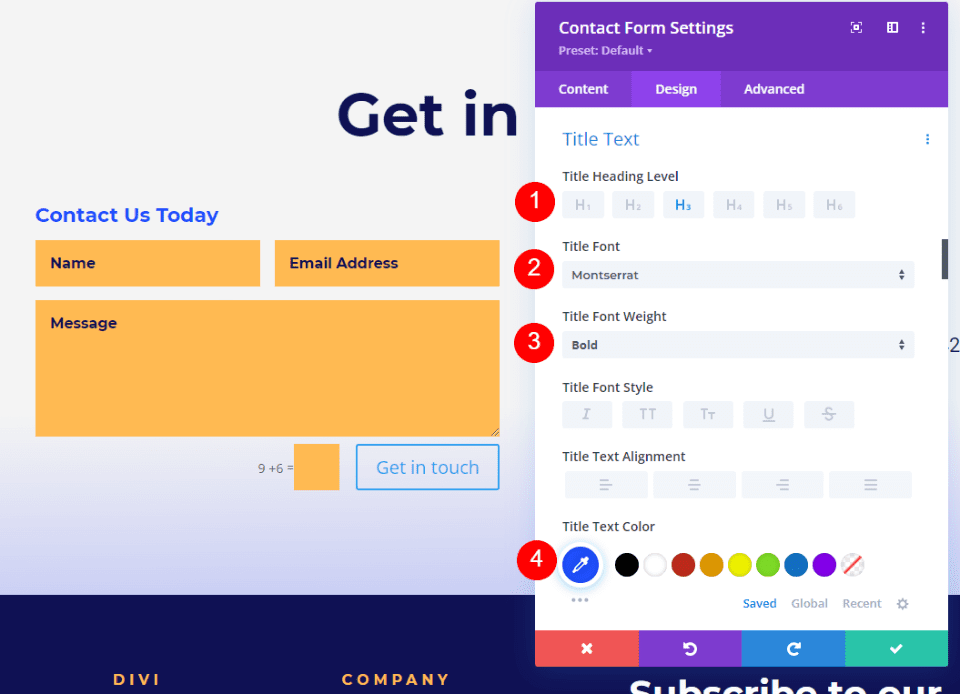
Title Text
Then, move down until you see Title Text. Heading Level H3 is the right choice. The title of this section is written in H2, so choosing H3 will make the page look right. Choose the font Montserrat. Change the Weight to Bold and the Color to #1d4eff.
- Heading Level: H3
- Font: Montserrat
- Weight: Bold
- Color: #1d4eff
Captcha Text
Next, move down until you see "Captcha Text." In this setting, we'll change the Captcha Text and add some CSS to change the color of the field. Change the font to Roboto, the size to medium, and the color to #1d4eff. The CSS will come at the end.
- Font: Roboto
- Weight: Medium
- Color: #1d4eff

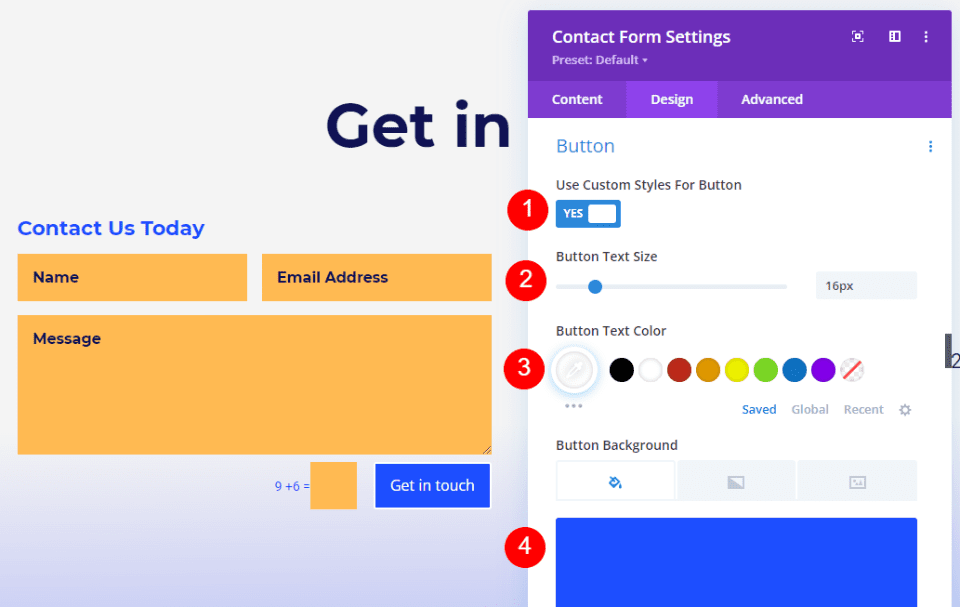
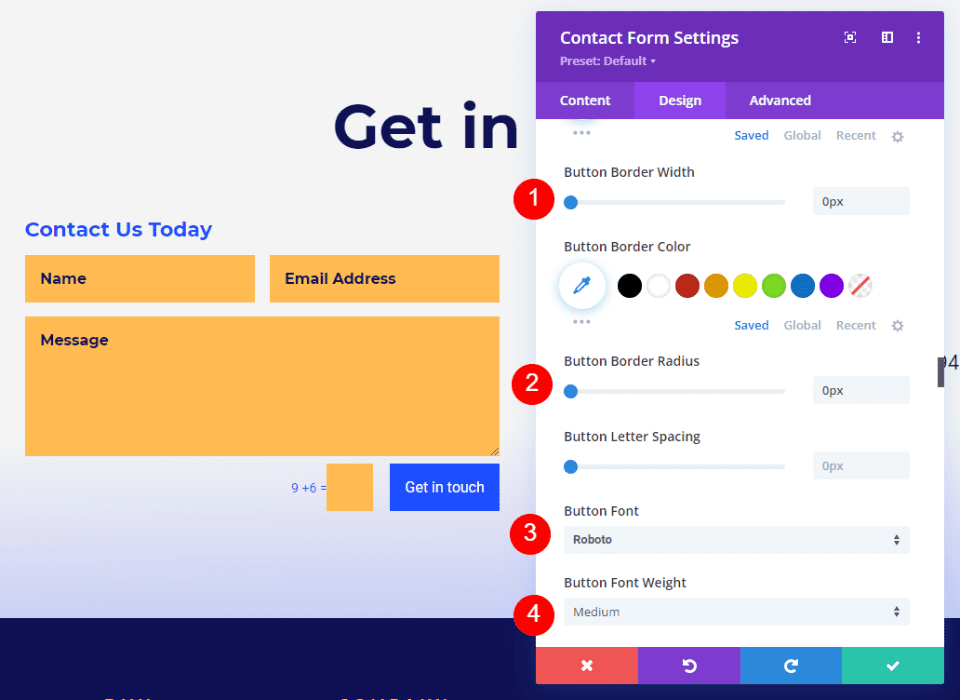
Button
Next, go to the bottom of the page and turn on Use Custom Styles for Button. Change the size of the font to 16px, the color of the font to white, and the color of the background to #1d4eff.
- Use Custom Styles for Button: Yes
- Size: 16px
- Text Color: #ffffff
- Background Color: #1d4eff
Put both the Border Width and the Border Radius at 0px. Change the font to Roboto and the size to Medium.
- Border Radius: 0px
- Border Width: 0px
- Font: Roboto
- Weight: Medium
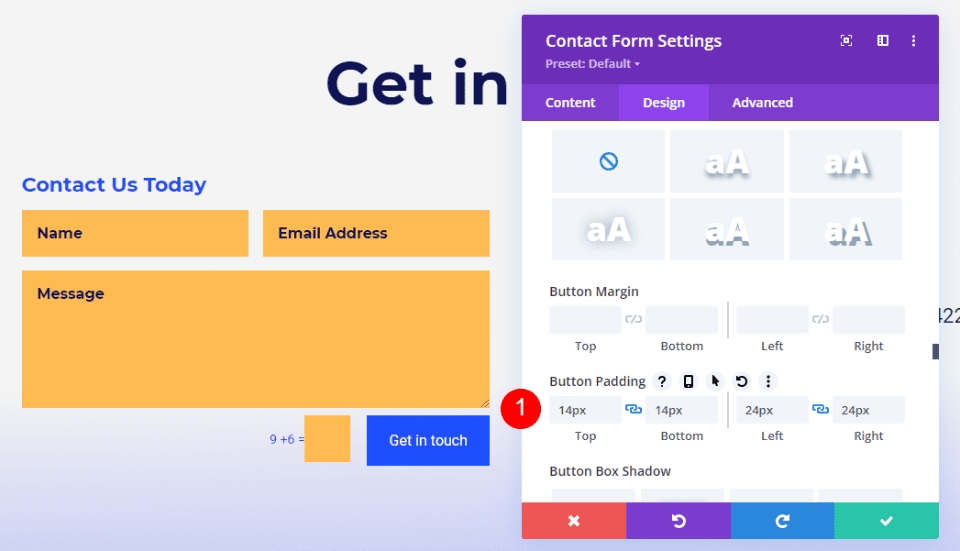
Next, go to the bottom and click Button Padding and make the following changes.
- Padding: 14px Top and Bottom, 24px Left and Right
Captcha Background
Lastly, click on "Advanced" and scroll down until you see the "Captcha Field." Type the CSS into the field below. This makes the background a different color than the rest of the form, so users will know it's different. Now, close the module and save the changes you made.
Enter the following code in the Captcha Field CSS.
background-color:rgba(255,186,82,0.2)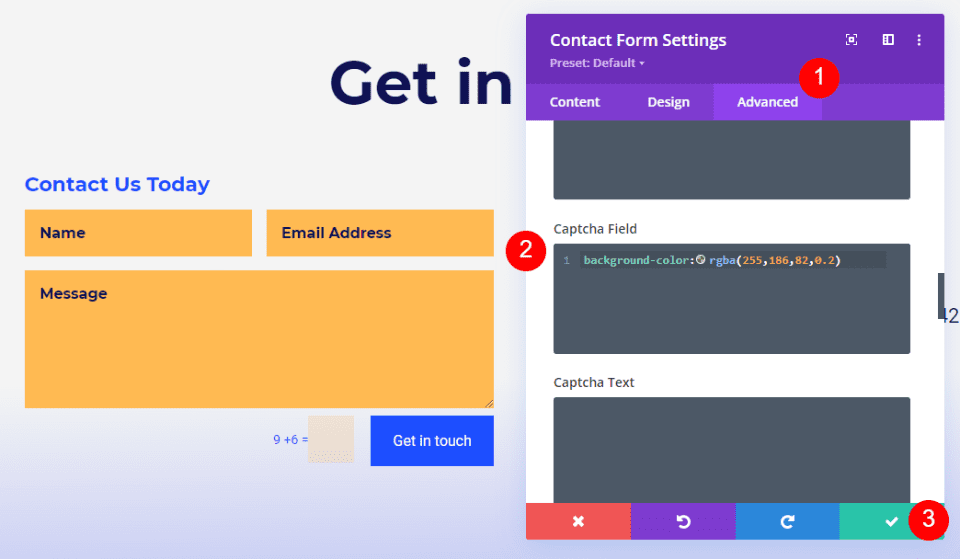
And you are done!
This way you can make amazing footers with contact forms in them.
Wrapping Up
So, that's how to put a contact form in the footer of your Divi site. The Divi Contact Form Module is easy to add to any Divi footer layout and easy to style to match any Divi layout. By following a few design rules, you can make the most of the space in the footer.


