
Would you like to simplify the payment process for your clients on your WordPress website? If so, you might want to think about integrating QR codes for Stripe payments on your website. Users can use their mobile phones to scan a particular form of barcode called a QR code, or quick response code.

One of the most widely used and safest payment gateways on the internet, Stripe, is available for them to use when they click on a payment link. You can boost conversions, decrease cart abandonment, and streamline the checkout process by utilizing Stripe payments with QR codes.
They can also save you money and effort by removing the need for complicated plugin installations or scripting.
I'll walk you through using QR codes to take Stripe payments on your WordPress website without the need for any coding in this blog post.
Create Amazing Websites
With the best free page builder Elementor
Start NowThis tutorial will explain what Stripe payments with QR codes are, why you should use them, and how to use a straightforward plugin to create and display them on your website.
It will only take a few minutes to implement Stripe with QR codes for online payment acceptance after reading this guide. Now let's get going!
Creating a Payment Form for Stripe
To begin accepting online payments from clients, you must first add a Stripe payment form on your website.
WPForms is the most effective way to accomplish it. It is the best WordPress contact form plugin, incredibly user-friendly, and seamlessly compatible with Stripe. With the drag-and-drop builder, you can alter any of the numerous form templates that are available.
You'll need the WPForms Pro license for this tutorial as it comes with the Stripe extension. Additionally, a free version of WPForms Lite is available. Although there is a 3% transaction fee for payments made through your forms, it enables you to accept Stripe payments.
To begin, you need to install and activate the WPForms plugin. After activation, go to WPForms » Settings on your WordPress dashboard and enter your license key which can be found in your account area on their website.
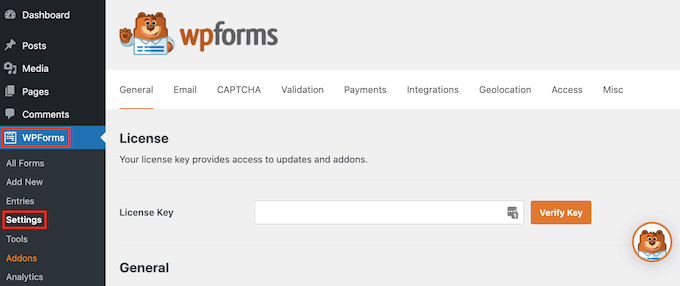
After entering your license key, make sure to click on the Verify Key button. After verifying, go to the WPForms » Addons page and install the Stripe addon.
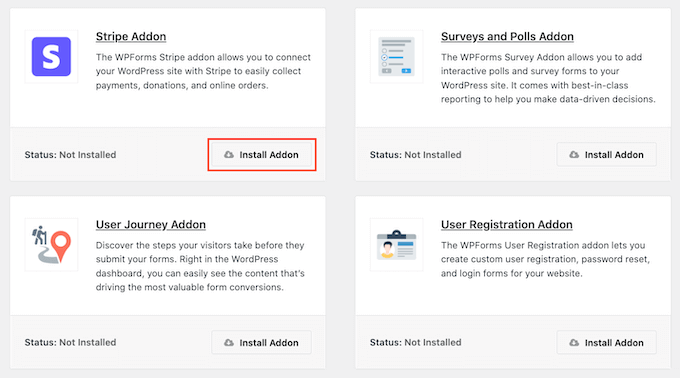
Click the "Install Addon" button, and WPForms will install and activate it for you instantly.
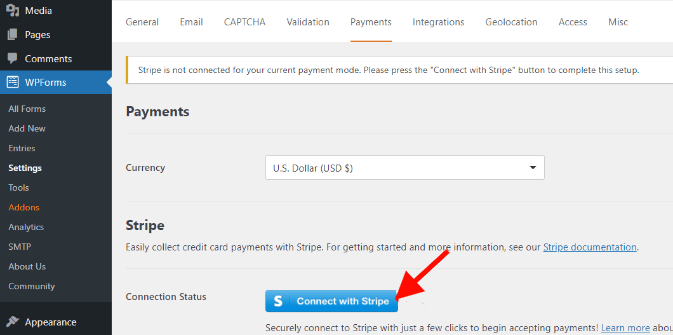
From the WordPress admin panel, navigate to the 'Payments' tab by going to WPForms » Settings.
Then, to link your account with WPForms, just click the "Connect with Stripe" button and follow the on-screen directions.
Go to WPForms » Add New once the Stripe has been connected.
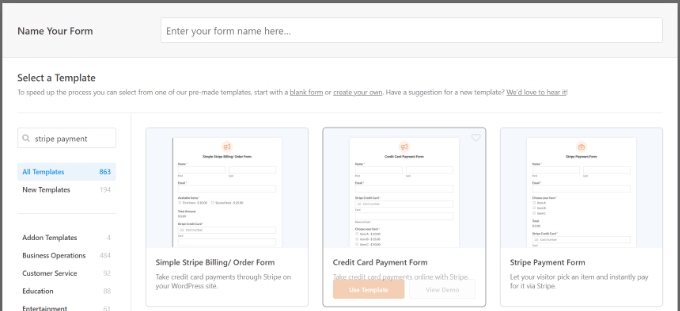
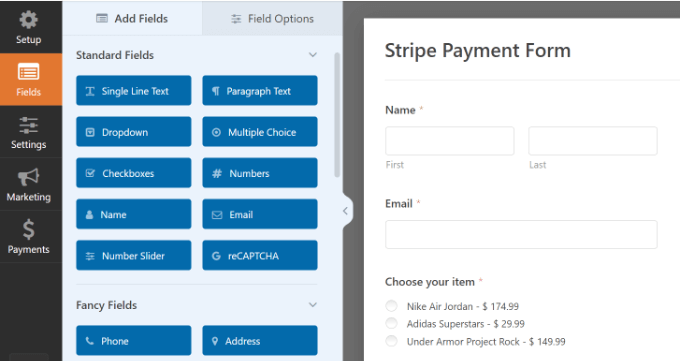
There are numerous form templates available from WPForms. You have the option to personalize a straightforward order form, contact form, or Stripe payment form.
But for the sake and purpose of this tutorial, we will be using the Stripe payment form.
You may add more form fields, such as a dropdown menu, checkboxes, email, phone, address, website, and more, to the template using WPForms.
You may choose to customize the form further.
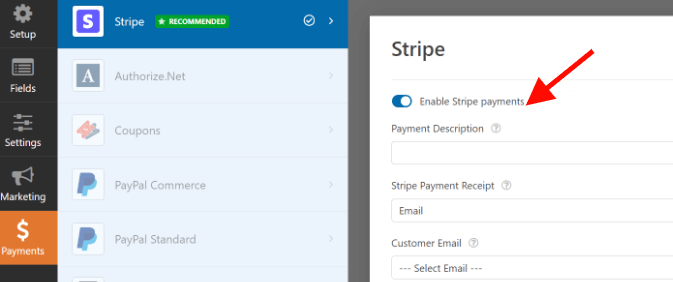
Once you are done customizing your form, move to the payments tab and select Stripe.
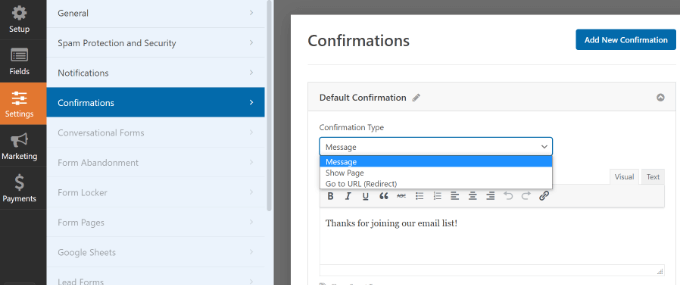
You can then navigate to the Settings tab options to modify the confirmation and notification settings.
For example, you can decide what happens after a user submits a form. With WPForms, you may display a page, a message, or even send people to a URL.
Once done, click on the 'Save' button to save your changes, then click the 'Embed' button at the top.

For this lesson, we will select the "Select Existing Page" option from the popup that WPForms will display, giving you the option to embed your form on an already-existing page or build a new one.

You will now need to enter a name on your page. Once that is done, click on the 'Let's Go' button.

After that, a preview of your Stripe payment form will be shown on the WordPress content editor.
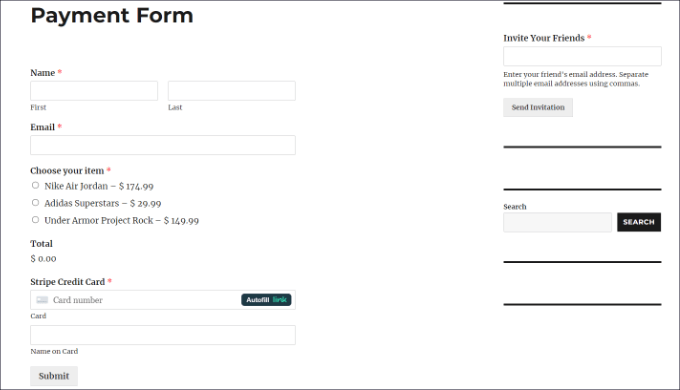
Copy the link to the page where your payment form is located now; you'll need it to generate a QR code.
Adding a QR Code to Your Stripe Payment Form
Your Stripe payment form is now ready to be displayed anywhere on your website by creating a QR code for it.
There are two methods for including a QR code on your website. You can either use a WordPress plugin or a feature of the Google Chrome browser.
1. Create a QR Code Using a Plugin
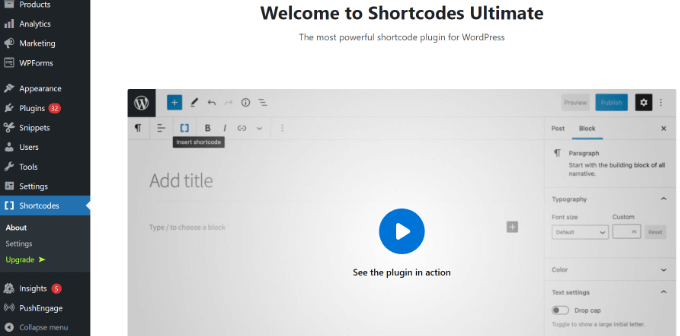
You may use a WordPress plugin like Shortcodes Ultimate to add QR codes to your website. With the help of this free plugin, you may make more than 50 various kinds of shortcodes, including QR codes.
Install and activate the Shortcodes Ultimate plugin. After activating, you will see the Shortcode Ultimate welcome screen.
To add your QR code, you will then need to edit a page or post. All you have to do is add a shortcode block once you're in the content editor.
To do that search for the Shortcode widget and add it to your page.
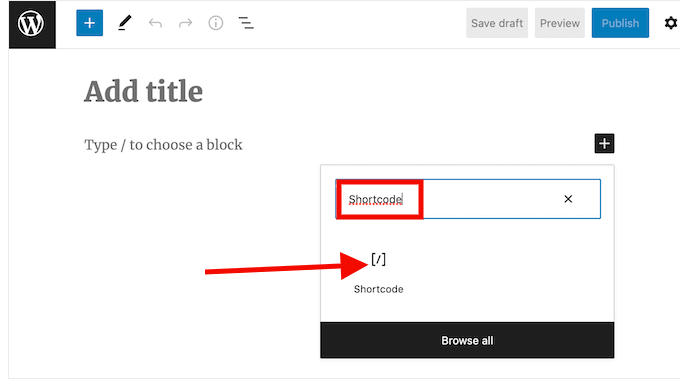
You will later see an 'Insert Shortcode' option. Once inserted, click on the double square bracket icon.
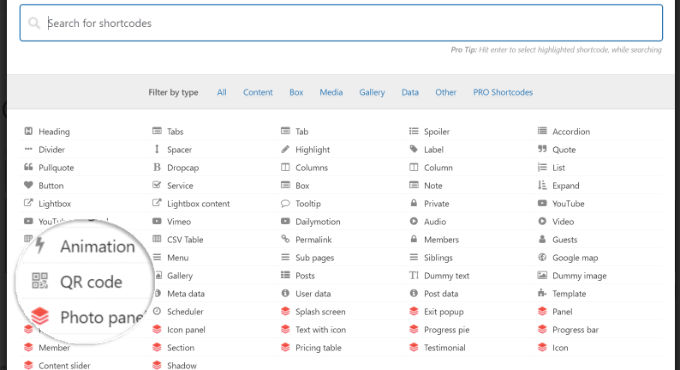
There are many shortcode suggestions that will be displayed. Go ahead and choose the QR Code.
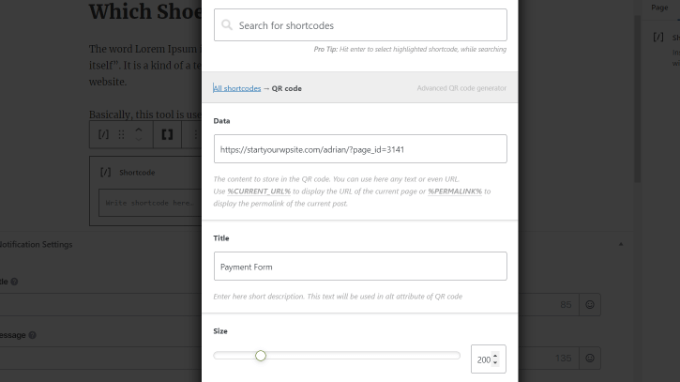
Following that, different options to enter your QR code's details will appear. You can insert the URL of your previously constructed Stripe payment form in the Data area.
In addition, a title for the code—which serves as an alt-text—can be entered. Your QR code's size is also modifiable.
You can add more customization options to your QR code by scrolling down. You can alter the background color, primary color, and other elements, for example.
When you're finished, just click the "Insert shortcode" button to
The plugin allows you to preview your QR Code.
To see the Stripe payment form QR code in action, publish your page now.

2. Adding QR Code Using Google Chrome
A QR code can be used to share a webpage if you are using the Google Chrome browser. The Stripe payment form page must first be accessed in a new tab or window.
Next, you can click the share icon located in the address bar of the website's upper right corner. Just choose the "Create QR Code" option from this menu.

Following that, your Stripe payment form page will have a QR code generated by Google Chrome.
You can now download the QR code in the form of an image.

The image can then be placed anywhere on your website.
For instance, you may display the QR code on product pages so that buyers may instantly scan them to access the order form.
Recap
In this post, we have shown you how to accept Stripe payments with QR codes on your WordPress site by using WPForms and Shortcodes Ultimate or Google Chrome QR Code scanner. This is a great way to make it easy and fast for your customers to pay for your products or services.
You can create a Stripe payment form with WPForms and then generate a QR code for it using either the Google Chrome browser’s feature or the Shortcodes Ultimate WordPress plugin. You can then share the QR code online or embed it on your site as a buy button. By scanning the QR code, your customers can open the payment link and complete the purchase without any hassle.
We hope this tutorial was helpful and you enjoyed learning how to add Stripe QR code payment in WordPress.
Thank you for reading!


