
From Elementor 3.8, was introduced a new feature that could enrich the developer and designer experience. That new feature is the Loop Builder. In this tutorial, we'll explore how you can take advantage of this feature to build fast and modern websites. For instance, we can create better eCommerce websites with custom product listings. We'll additionally, dive into how you can make both work with Flexbox Containers and the improved workflow that comes with the new Remove Kit function. With this release, Elementor started a new mechanism that promised better reliability and robustness of websites. So let's get started.
What Is The Loop Builder
Elementor 3.8 Pro has made a significant addition to its platform by introducing the Loop Builder. This new feature empowers users to design the main item for repeating content, such as listings, posts, and products, allowing you to customize their layout on the page. According to third-party experts, creating a main item template allows for greater flexibility compared to the traditional Posts widget.
In the first phase of the Loop Builder, users can create a main item for posts and custom post types and include dynamic content from their posts. This provides an easy and efficient way to design the display of posts, portfolios, listings, and more. Since WooCommerce is already supported, you can also enrich your eCommerce section.
Creating Template Grid
To get started, we'll create a new page as we used to do on Elementor. Now you'll drag the Loop Widget on the canvas.
Create Amazing Websites
With the best free page builder Elementor
Start Now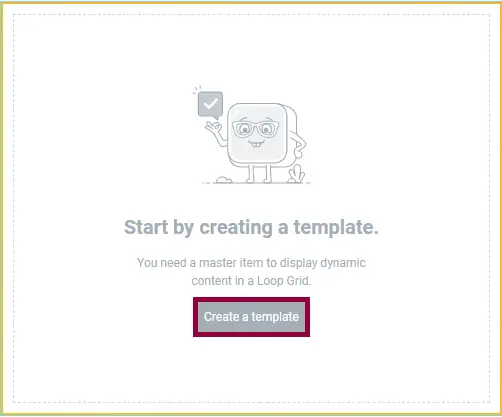
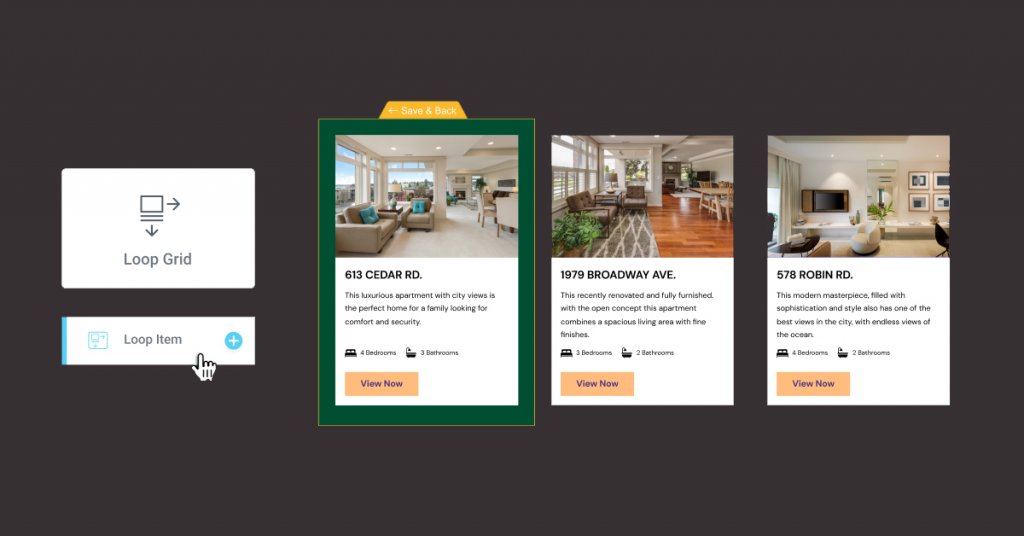
Note that before creating a Loop Grid, we need to create a template first. That's what we'll do. Note that, you can also build a Loop Grid from existing templates.
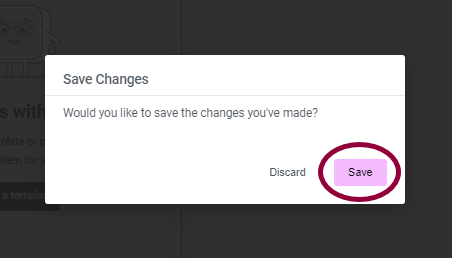
Proceed by clicking on "Save". Assuming you want to create a custom Loop grid for your articles, this template will be used for each loop item.
Customize Loop Item
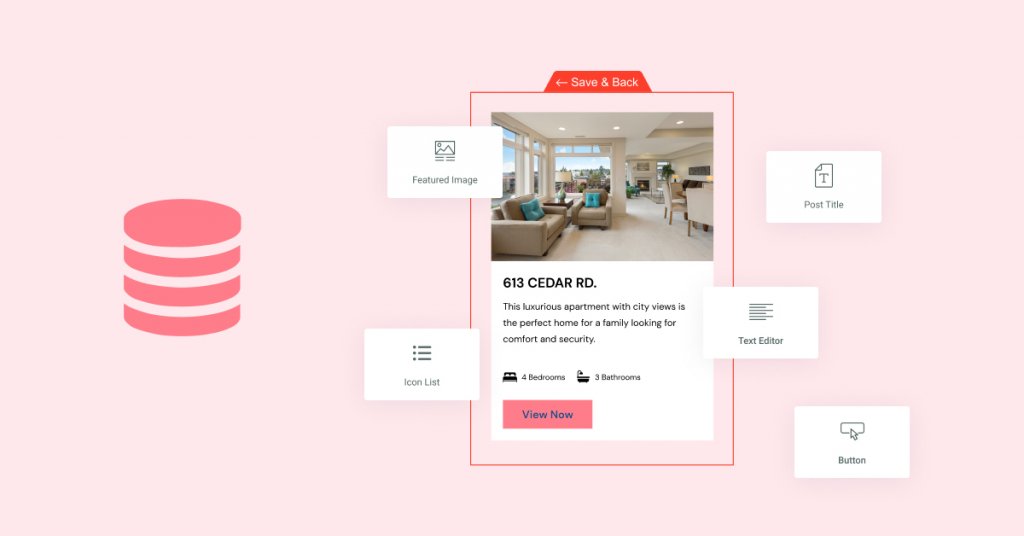
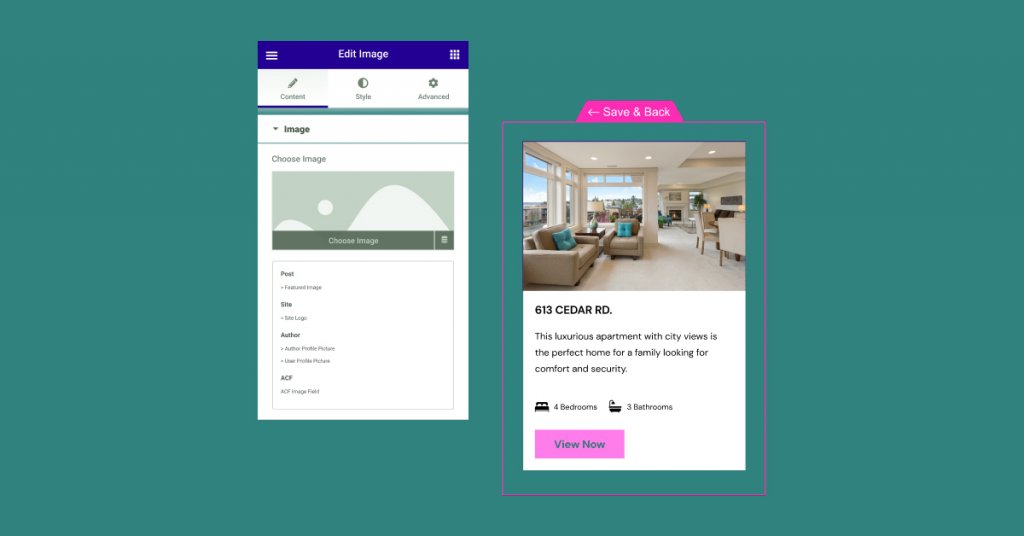
To design the main item template, Elementor provides an extensive range of widgets that can be used. These widgets can be assigned dynamic fields available on the website, or they can be left static to enhance the design of the main item. Having that in mind, designers can customize the main item template to suit their needs, making it easy to create visually appealing and functional templates.
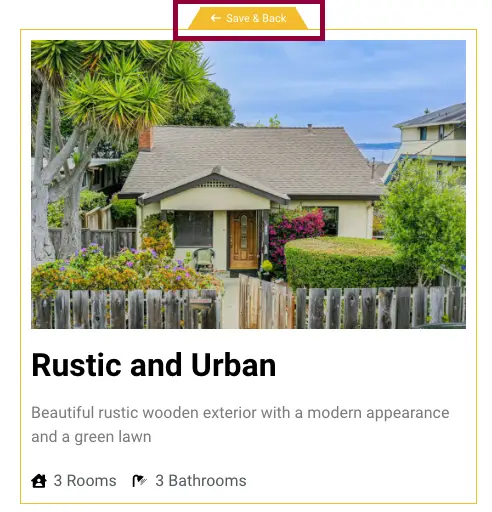
When you've finished designing your Loop Item, click on Save & Back, to return to the page.
Selecting The Content Source
When designing a website, it's important to have control over how your content is displayed. That's where Elementor's Loop Builder comes in. Once you've created your design, you can choose what content you want to be displayed on the page. You can use the single Loop Item template we created and use it on different pages to display different content, or you can create different templates for different post types.
Imagine you're crafting a website for a real estate agency. This tool allows each property listing to stand out with its own custom design, showcasing unique information such as the number of bedrooms and bathrooms through dynamic content fields tailored for each listing. Alternatively, when designing a section for blog posts, you could opt to feature an estimated reading time for each article, enhancing the user experience by providing valuable insights at a glance.
Incorporating dynamic content into your website's layout is straightforward with this feature. By utilizing the Dynamic Content icon within each widget on your Loop Item template, you can seamlessly integrate dynamic fields such as property details or reading times. To curate your content feed, the Loop Grid widget offers the flexibility to filter posts by type, authorship, and terms directly on your webpage. This widget not only allows for precise content selection but also provides options to organize your posts in either ascending or descending order, giving you full control over how your content is presented to your audience.
Adjusting the Listing Layout
When it comes to creating loop templates, the Loop Builder in Elementor 3.8 provides users with a flexible and easy-to-use toolset. After creating the desired template, it can be used on any page by simply utilizing the Loop Grid widget. With the Loop Builder, one can choose the number of columns they want to display, adjust the gap between each item, and choose whether to display all listings on one page or divide them into multiple pages.
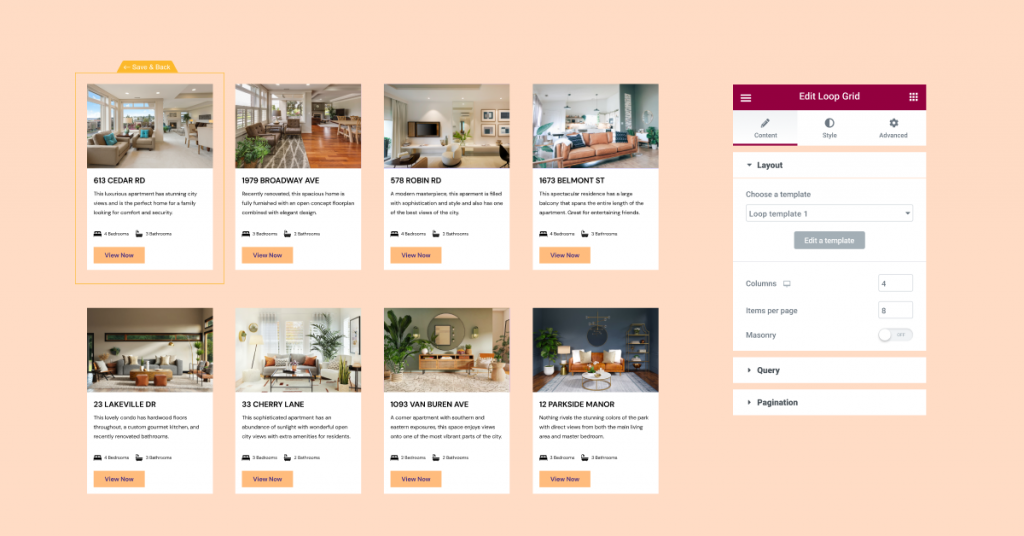
In addition to layout, users can also add styling options such as background images or motion effects. However, it is important to note that currently, the Loop Builder can only be used with Containers. Therefore, enabling two experiments, Flexbox Containers, and the Loop Builder will be necessary to use this feature. By utilizing the Loop Builder, users can customize their posts and product collections with ease, creating a more visually appealing and engaging experience for their audience.
Flexbox Containers: Everything You Need To Know
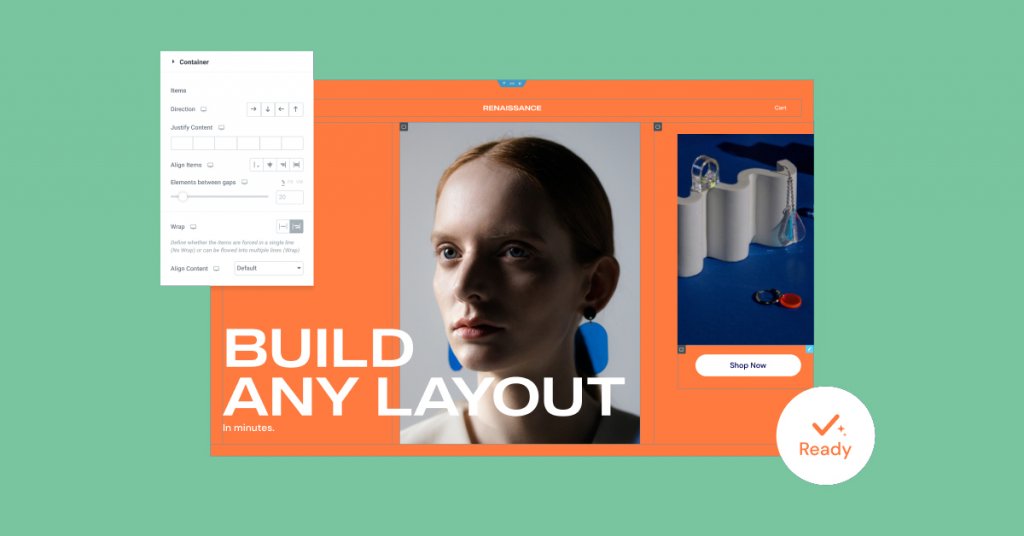
As an expert reviewer, it has been confirmed that, after undergoing thorough testing and reviews in various conditions and use cases, Flexbox Containers have now become a beta experiment, or stable depending on the WordPress version you're using. This means that they have achieved a level of stability that allows users to confidently integrate them into their website design. However, as the Containers transition from an Alpha to a Beta experiment, it is important to note that any changes made to the Container may affect how it appears on the website. Therefore, it is recommended to thoroughly test any live websites that use the container to ensure everything looks and works as expected. While the integration of Flexbox Containers may require some learning and get used to, users are given the flexibility to activate the experiment and use Containers on their website at their own discretion.
New Addition: Remove Kit
Website Kits provide an excellent way to quickly set up a website by offering all the necessary elements and associated global styles. However, until recently, there was no easy way to restore your website to its previous state if you wanted to switch to a different kit or remove it altogether.
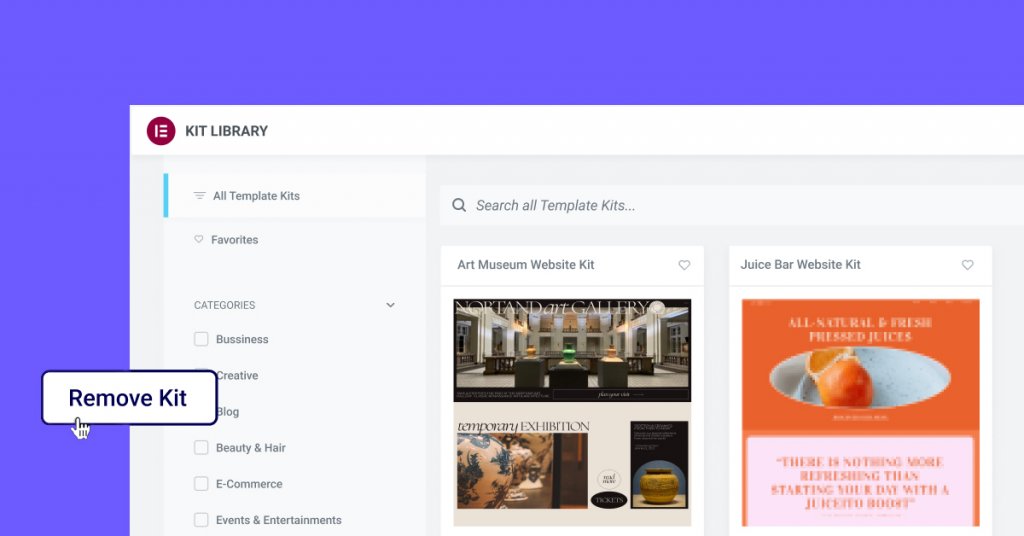
Fortunately, the latest version of Website Kits now includes a new feature called "Remove Kit." This button appears on the Import/Export tab in the WordPress dashboard under Elementor Settings → Tools, and it allows users to remove the most recent kit and its global styles without restoring the entire website to a previous version.
When using the Remove Kit feature, any new content created in a new page or post will remain, but it will adopt the website's previous global styles. Moreover, all pages, posts, and assets added to the website as part of the kit will be removed, including any changes made to the kit's content. Therefore, it is advisable to create a new page and copy any content before removing the kit if you want to keep those changes.
Enjoy More Design Flexibility With Elementor
In conclusion, users of Elementor can now have more flexibility and control over their website design with its latest update, Elementor 3.8 Pro. With these new features, such as improved customization options for listings and advanced layout possibilities with Containers, users can expect an enhanced design experience. It is recommended to explore and utilize these updates to their full potential and share feedback on their effectiveness in the comments.


