
One thing you might want to do is adjust the margins if you want to customize the look of your WordPress website. The spaces that exist between your website's edges and its content are known as margins.

You can improve the readability and appearance of your website by modifying the margins to add or remove white space, positioning your content to the center or the sides, and more.
With the help of this article, you will be able to fully manage the style of your website by learning how to change margins in WordPress step-by-step.
Regardless of your level of skill, our tutorial will help you make the necessary adjustments to improve the look of your WordPress website.
Create Amazing Websites
With the best free page builder Elementor
Start NowWhat are Margins?
The space that exists between an element's border and any surrounding content or other elements is referred to as its margin. You may adjust the spacing and arrangement of different items on your website, such as headlines, photos, and paragraphs, by changing the margins.
In this blog post, we will show you how to change margins in WordPress using two different methods: using CSS code and using a plugin. Both methods are easy to follow and do not require any coding skills.
Let’s get started!
Method 1: Using CSS Code
CSS (Cascading Style Sheets) is a language that controls how your website looks. You can use CSS code to change the margins of your website or specific elements on your website, such as paragraphs, images, headings, etc.
To change margins using CSS code, follow these steps:
Step 1: Navigate to the Customizer
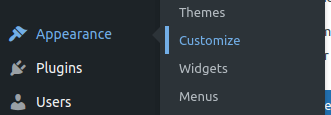
Login to your dashboard and go to Appearance > Customize.
Step 2: Insert Additional CSS
In the WordPress customizer, click on Additional CSS at the bottom of the left panel and add the following code:
body {
   margin-top: 50px;
   margin-bottom: 50px;
   margin-left: 50px;
   margin-right: 50px;
}
This code modifies the website's left, right, top, and bottom margins.
Step 3: Publish your changes
Click "Publish" to save your changes after that.
Method 2: Using a Plugin
WordPress provides a number of plugins that make altering margins easier for users who would rather take a more hands-on approach. "Simple CSS" is a well-liked plugin for this use. This is how you apply it:
Step 1: Install and Activate the plugin
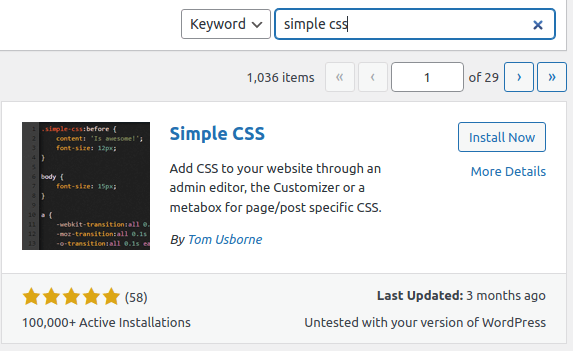
Go to Plugin > Add New Plugin, then search for the name of the plugin.

Step 2: Accessing the plugin
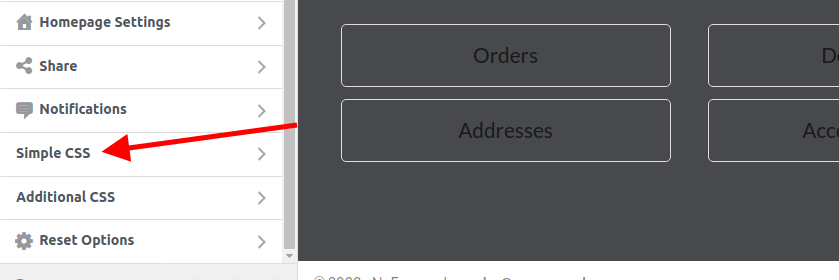
Once the plugin is activated, locate and select "Appearance" from the menu on the left. Next, choose "Simple CSS."
Step 3: Modify the margins
Once the Simple CSS menu is open, you can modify your margins. Let's look at an example below.
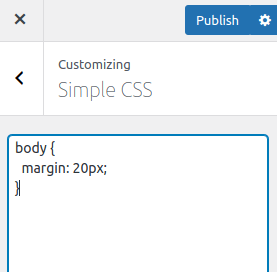
Note: "In the image above, I am adding a margin to the whole body of the website, but you can target a particular section using its ID or class.
Applying a value to your rule (margin: 20px) applies to the top, right, bottom, and left of that section you are targeting."
Step 4: Save changes
After applying your margin, click on Publish.
Conclusion
One easy approach to customize the look and feel of your website and make it more visually appealing and user-friendly is to adjust the margins in WordPress.
To alter the margins of a particular element on your website or the overall layout of your website, you can use a plugin or CSS code.
We hope that this blog post has given you some insight into WordPress margin changes and motivated you to give them a try on your own website.
Happy WordPressing!


