
Featured images are a great way to add visual appeal and context to your WordPress posts. They can also help you improve your SEO and social media presence, as they can be used as thumbnails and previews for your content.
However, there may be times when you want to hide featured images from your WordPress posts, either for aesthetic or functional reasons.
For example, you may want to hide featured images from your homepage, archive pages, or single posts, to avoid repetition, clutter, or distraction. Or, you may want to hide featured images from certain categories, tags, or post types, to create a more consistent and professional look.
Whatever your reason, hiding featured images in WordPress is not as difficult as you may think. In fact, there are several methods you can use to achieve this, depending on your preference and skill level.
Create Amazing Websites
With the best free page builder Elementor
Start NowIn this blog post, we will show you 4 effective methods to hide featured images in WordPress and guide you through each step with clear instructions and screenshots.
By the end of this blog post, you will be able to hide featured images in WordPress with ease and customize your website to your liking.
The 4 methods we will talk about include:
- Don't Upload Featured Images for Specific Posts
- Using Hide Featured Image Feature on Your Theme (If available)
- Using Code to Hide Featured Image
- Use a plugin to Hide Featured Images Conditionally
Ready to get started? Let’s dive in.
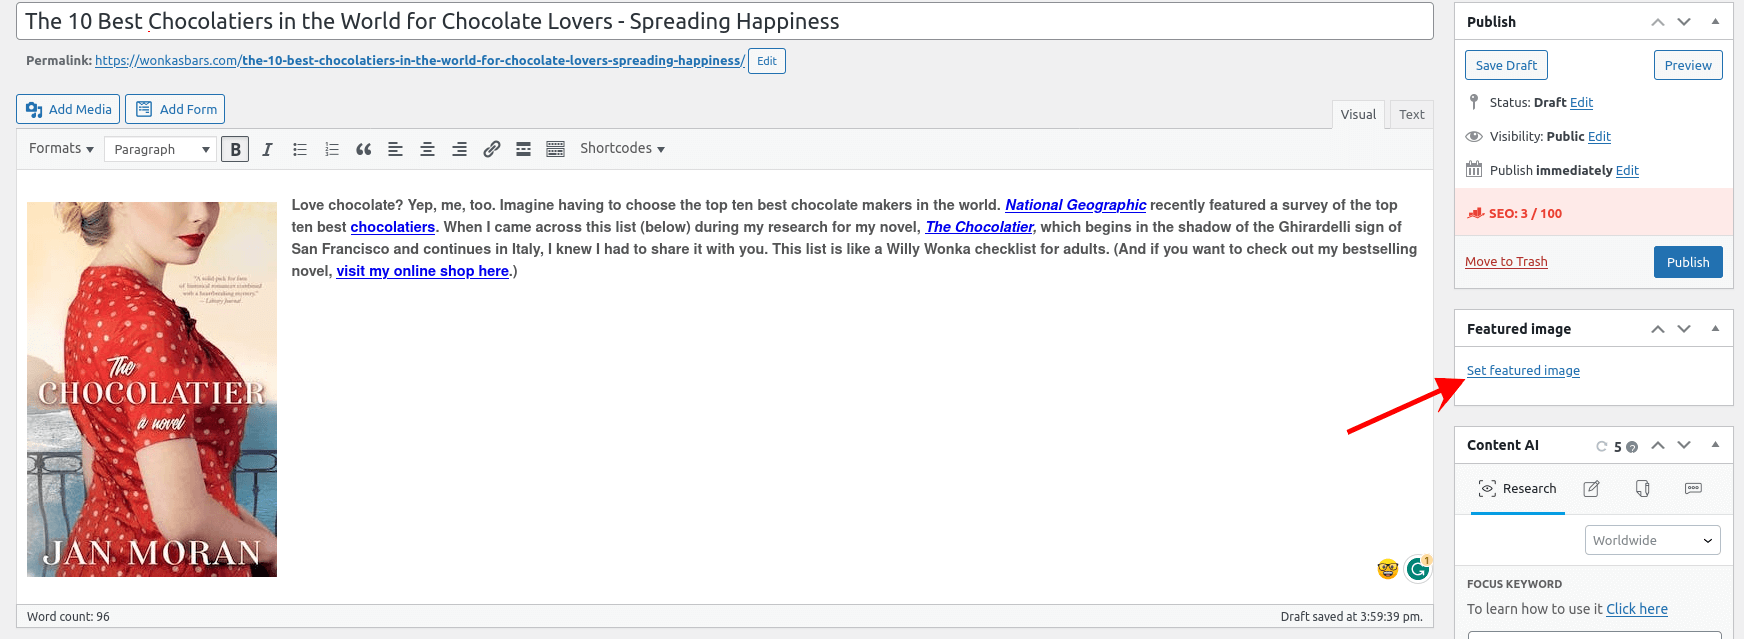
Method 1: Don't Upload Featured Images for Specific Posts
One of the ways not to have a featured image on your particular post is to not upload it at all.
You can also remove the featured images if you previously uploaded them. You can do this by clicking on "Remove featured image"
When you are done, click on 'Update'.
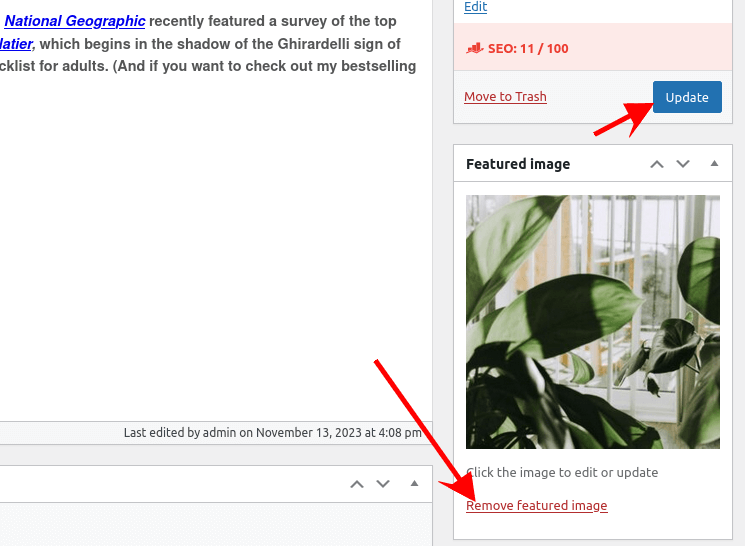
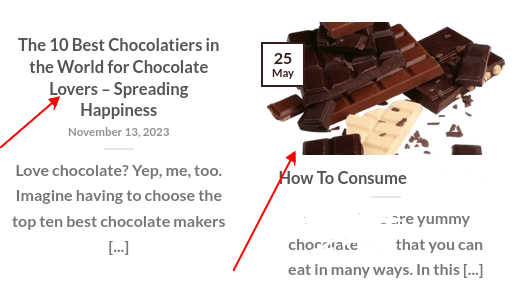
After doing this, you won't have a featured image appear on your published post.
Method 2: Using Hide Featured Image Feature on Your Theme (If available)
Featured images appear in both Posts/Pages and the Blog page.
So you may want to hide your featured image from both, or 1 of them.
We are going through this method using the Neve Theme.
Hide featured images from blog listing pages
After installing Neve, navigate to WordPress' Appearance > Customize and select Layout > Blog/Archive.
Locate the Post Content Order section and choose it by clicking the Eye icon next to Thumbnail.
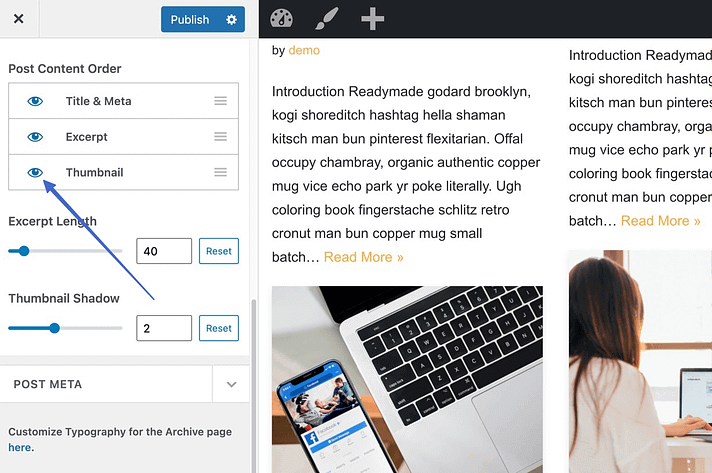
This turns off the display of the "Thumbnail," which is another term for the featured image.
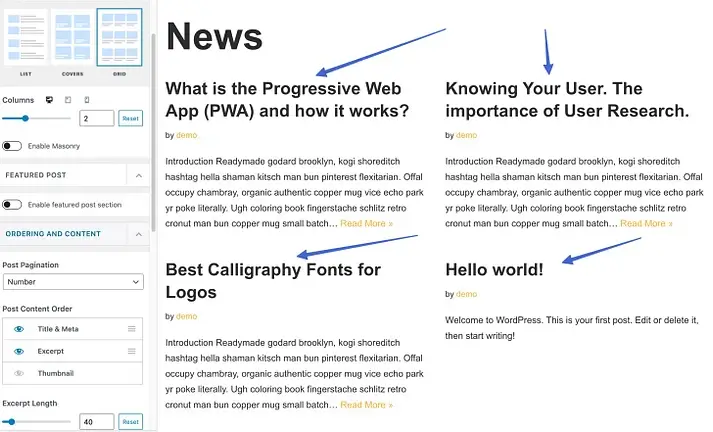
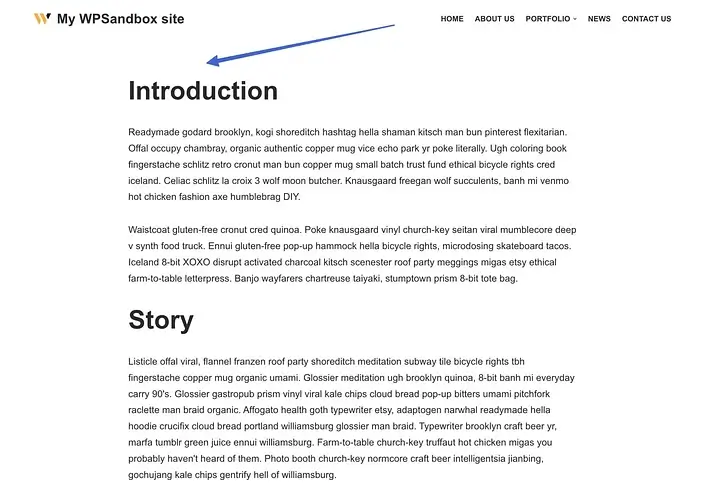
As a result, the featured image in each and every article is hidden on the blog page. Because of this, all that's on the Blog page are the post titles, descriptions, and any additional metadata you choose to provide.
Hide featured images from all single post pages
It is also possible to choose to hide all featured photos on the posts themselves with the Neve theme.
The featured image for each and every article will be hidden if you apply the technique described in this section. On the other hand, you will discover how to simply remove the featured image for specific posts in the next section.
To get started, go to WordPress > Appearance > Customize and select Layout > Single Post.
Scroll down to the Elements Order section of the Customizer if your header layout is Normal.

The Eye icon adjacent to the Thumbnail element should be unmarked.
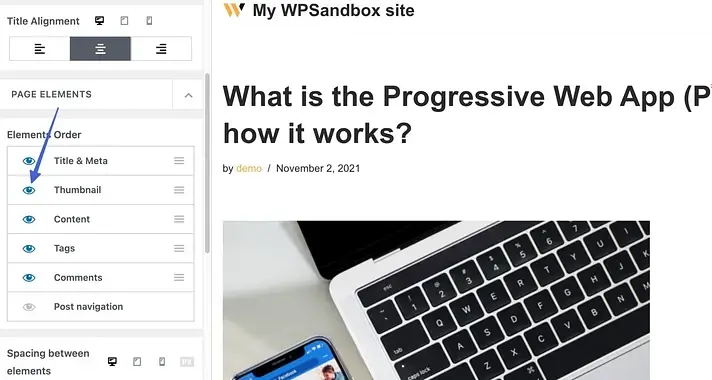
This hides the featured image (Also called 'Thumbnail' in this case).

There is a small difference in the procedure if you are using a Cover header layout.
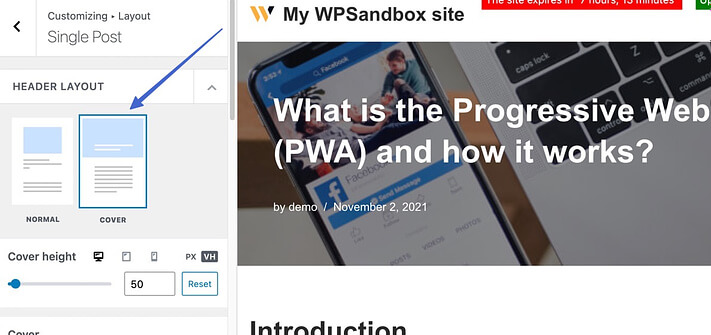
To access the Hidden Featured Image setting, navigate to the Layout section of the Customizer and scroll down. After flipping the switch, press the Publish button.
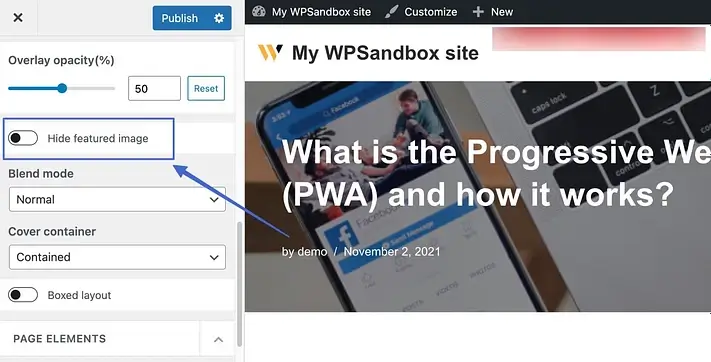
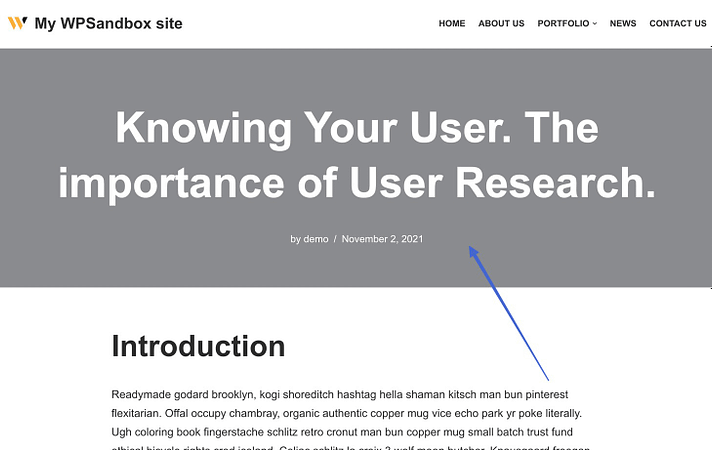
When the setting is turned on, the post's featured image will be hidden.
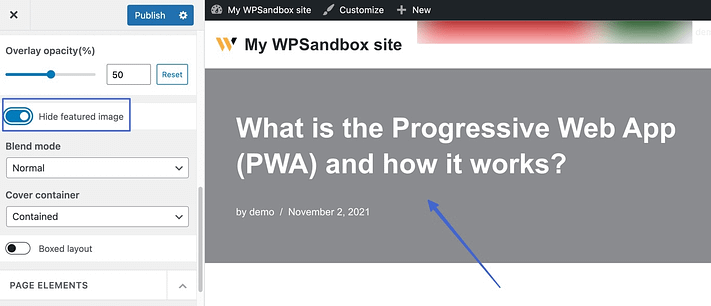
Moreover, all of your posts' featured images are hidden on every post on your website.
"However, keep in mind that posts that have their featured picture hidden in the theme settings are still viewable on the Blog page. Thus, it's a great choice if you prefer thumbnail-featured photos on the blog page but less clutter on the posts."

Hide featured images for individual blog posts
Last but not least, Neve (like with a lot of other well-known themes) also offers you the ability to disable the featured image by default on a post-by-post basis.
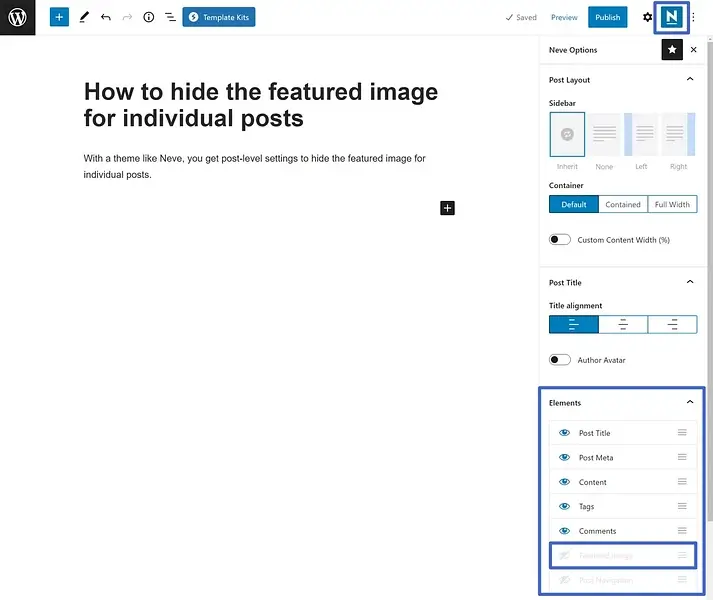
In order to access this setting, open the post editor where you wish to hide the featured image. Next, to access the Neve Options, click the Neve icon in the upper-right area.
The prominent image can then be disabled in the Elements section.
Method 3: Using Code to Hide Featured Image
The most sophisticated way to hide featured photos is to use CSS code, which allows you to target the exact posts where you want the image to be hidden.
Nevertheless, in order to customize these snippets to your theme, you may need to know some basic CSS.
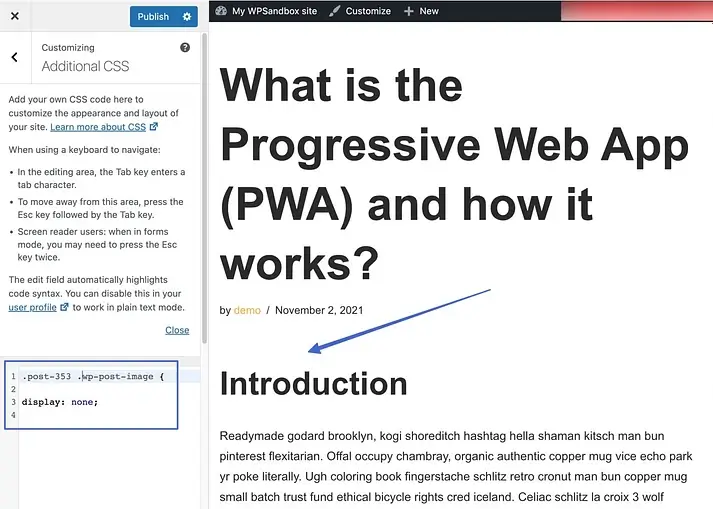
Go to Appearance > Customize and select Additional CSS to use CSS to hide the featured image for a specific article.
Copy and paste this code into the Additional CSS box and click on Publish:
.post-123 .wp-post-image {
display: none;
}
Replace the 123 with the ID number of the desired post.
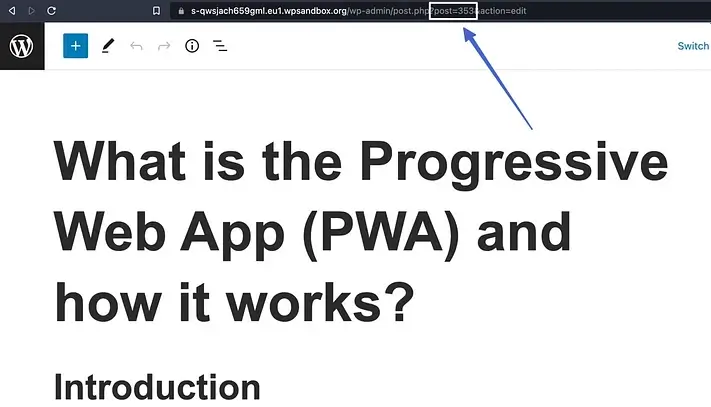
You can find the ID number by opening the post editor. There, you can look at the editor URL in the browser, which is in the form 'post='.
Make sure you click the Publish button after entering the code and the correct post number in the Additional CSS area. WordPress then only hides the featured image for that particular article.
Remember that even with this strategy, your website's Blog page still displays the thumbnails of its featured images.
Furthermore, you should be able to view the featured images in posts other than the one in which you hid the featured image.
Method 4: Use a plugin to Hide Featured Images Conditionally
Finally, you may consider using a plugin to display or conditionally hide featured images.
The plugin "Conditionally display featured image on singular posts and pages" is what you'll need for this.

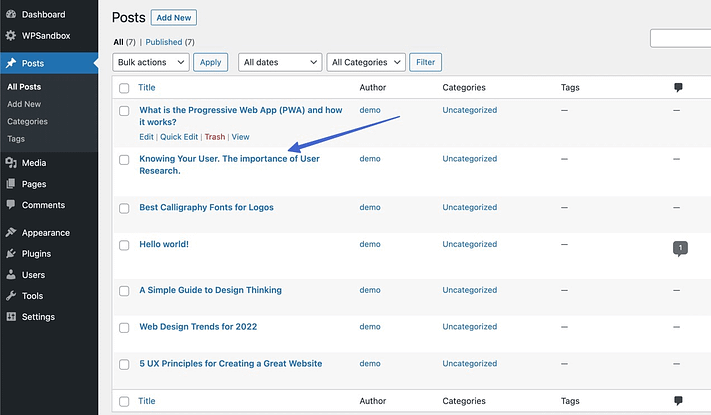
Select Posts in WordPress after the plugin has been installed and activated. Choose a post whose featured image you want to hide.
You can now choose to "Display featured image in post lists only, hide on singular views" after installing the plugin.
To make the feature active, check that box.

When done, click 'Update' or 'Publish'
You’ll notice the plugin still leaves thumbnail-featured images in your Blog page list.
However, the plugin's actual goal is to make the featured image disappear from one post or page without requiring you to do it.
And it functions flawlessly for that.
"Note: In the Neve theme, the plugin only functions properly if you have the Normal header layout set, but it does nothing with the Cover header layout."
Conclusion
Hiding featured images in WordPress can be a great way to improve your site’s appearance, performance, and user experience. You can make your posts look more professional, load faster, and fit your theme better. You can also avoid duplicate images, reduce clutter, and increase engagement.
You have learned four effective methods to hide featured images in WordPress, and you can choose the one that suits your needs and preferences. Whether you want to use a plugin, a code snippet, a CSS rule, or a theme option, you can easily hide featured images in WordPress with a few simple steps.
Don’t be afraid to experiment and explore new possibilities. Hiding featured images in WordPress is not as difficult as you may think, and it can make a big difference in your site’s quality and performance.
Go ahead and try it today, and see for yourself how awesome your site can be!


